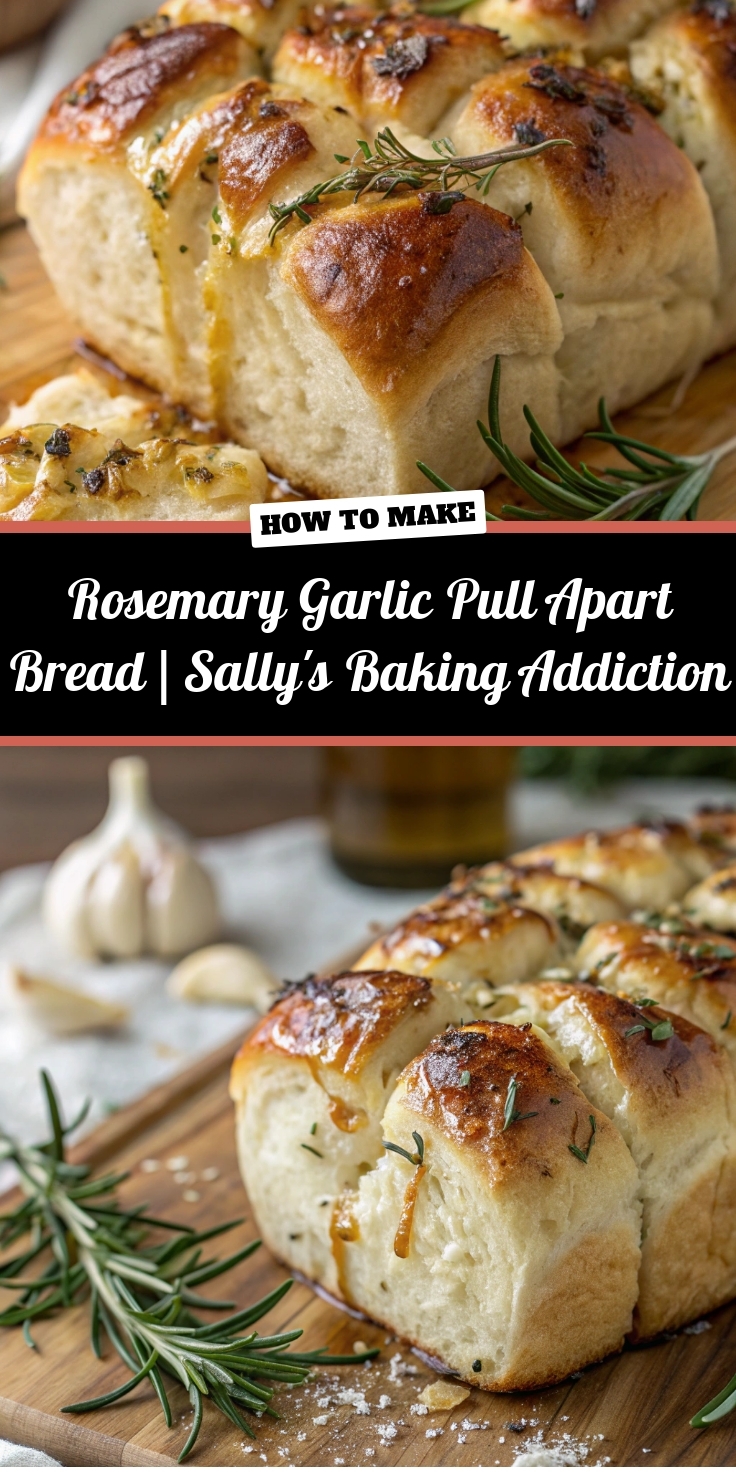
Easy Rosemary Garlic Pull Apart Bread Recipe
Introduction
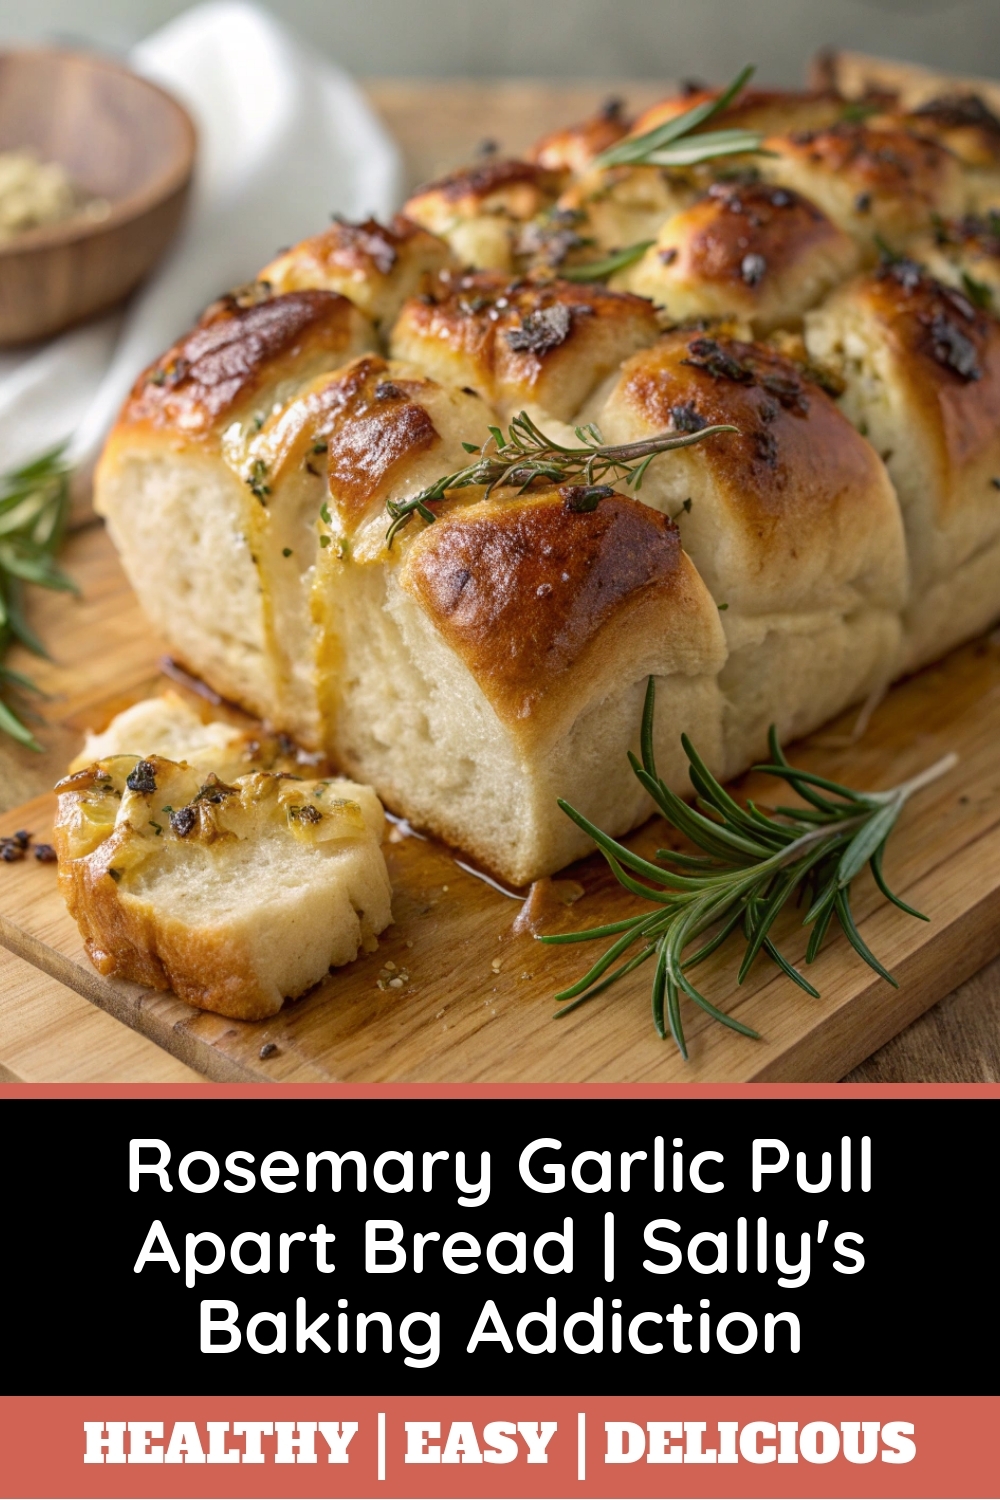
Is there anything more comforting than the smell of fresh bread baking? Now, imagine that heavenly aroma infused with the robust fragrance of rosemary and the savory punch of roasted garlic. This is the magic of Rosemary Garlic Pull Apart Bread | Sally’s Baking Addiction. It is the ultimate shareable appetizer or side dish, because it transforms a simple baking project into an interactive, utterly delicious experience that brings everyone to the table with eager hands.
This particular recipe for Rosemary Garlic Pull Apart Bread | Sally’s Baking Addiction is a true standout, even among other savory breads. Its uniqueness comes from the method of stuffing garlic butter and fresh herbs between layers of soft dough, which then bakes into a tear-and-share masterpiece. Every single piece is coated in that incredible flavor. This recipe perfectly aligns with my blog’s mission to demystify baking, as it uses a straightforward dough that is forgiving for beginners yet impressive for any occasion. It’s the ideal companion to a cozy bowl of soup, but it also shines as the star of your holiday spread. For another fantastic savory baking project, you should definitely try my popular Everything Bagel Soft Pretzels. And if you’re looking for the perfect main course to serve alongside this bread, my One-Pan Herb Roasted Chicken is an absolute winner.
Why I Love This Recipe
I absolutely love this Rosemary Garlic Pull Apart Bread | Sally’s Baking Addiction because it never fails to create a moment of pure joy. The look on my friends’ faces when I bring this warm, fragrant loaf to the table is everything. It’s a recipe that feels both rustic and elegant, and I adore how the simple act of pulling it apart fosters a real sense of connection and shared enjoyment over a truly delicious homemade treat.

Health and Nutrition
Why it’s good for your body
Rosemary Garlic Pull Apart Bread | Sally’s Baking Addiction offers more than just incredible flavor. This savory bread provides tangible health benefits because of its thoughtfully chosen ingredients. Fresh rosemary, for instance, is a powerful herb packed with antioxidants. These compounds actively fight oxidative stress in your body, so they support your cellular health. The garlic also delivers a major nutritional punch, as it contains allicin, a compound known for its anti-inflammatory properties.
Furthermore, olive oil serves as the primary fat in this recipe. It is a fantastic source of heart-healthy monounsaturated fats. Consuming these fats supports good cardiovascular function, even though this is an indulgent treat. The carbohydrates from the flour supply your body with immediate energy, which is perfect before an activity. Ultimately, enjoying Rosemary Garlic Pull Apart Bread | Sally’s Baking Addiction means you are treating yourself to a snack made with real, wholesome ingredients. While it is a comfort food, it avoids artificial additives, so you know exactly what you are eating. Every delicious bite brings both joy and valuable nutrients to your day.
How it fits in a healthy lifestyle
This bread fits beautifully into a balanced diet when enjoyed mindfully. Consider it a flavorful complement to a meal rather than the main event. Pair a serving with a large classic chopped salad and a lean protein for a completely satisfying and nutritious lunch. This approach ensures you get a wide range of macros and micros.
For those with specific dietary goals, simple modifications can make it more aligned. While the classic recipe is not gluten-free, you could experiment with a 1:1 gluten-free flour blend. To boost the protein content, consider serving it alongside a hearty creamy Tuscan chicken skillet. Practically, baking it at home allows you to control the quality of ingredients, like using extra virgin olive oil. Savoring a single portion satisfies cravings without overindulgence, making it a sustainable part of your everyday eating habits.
PrintRosemary Garlic Pull Apart Bread

Make a flavorful pull apart bread using this delicious rosemary-infused yeasted dough. You can use your favorite cheese in the filling. I love and usually use shredded parmesan.
- Prep Time: 3 hrs
- Cook Time: 50 mins
- Total Time: 4 hrs
- Yield: 1 loaf 1x
- Method: Bread
- Cuisine: American
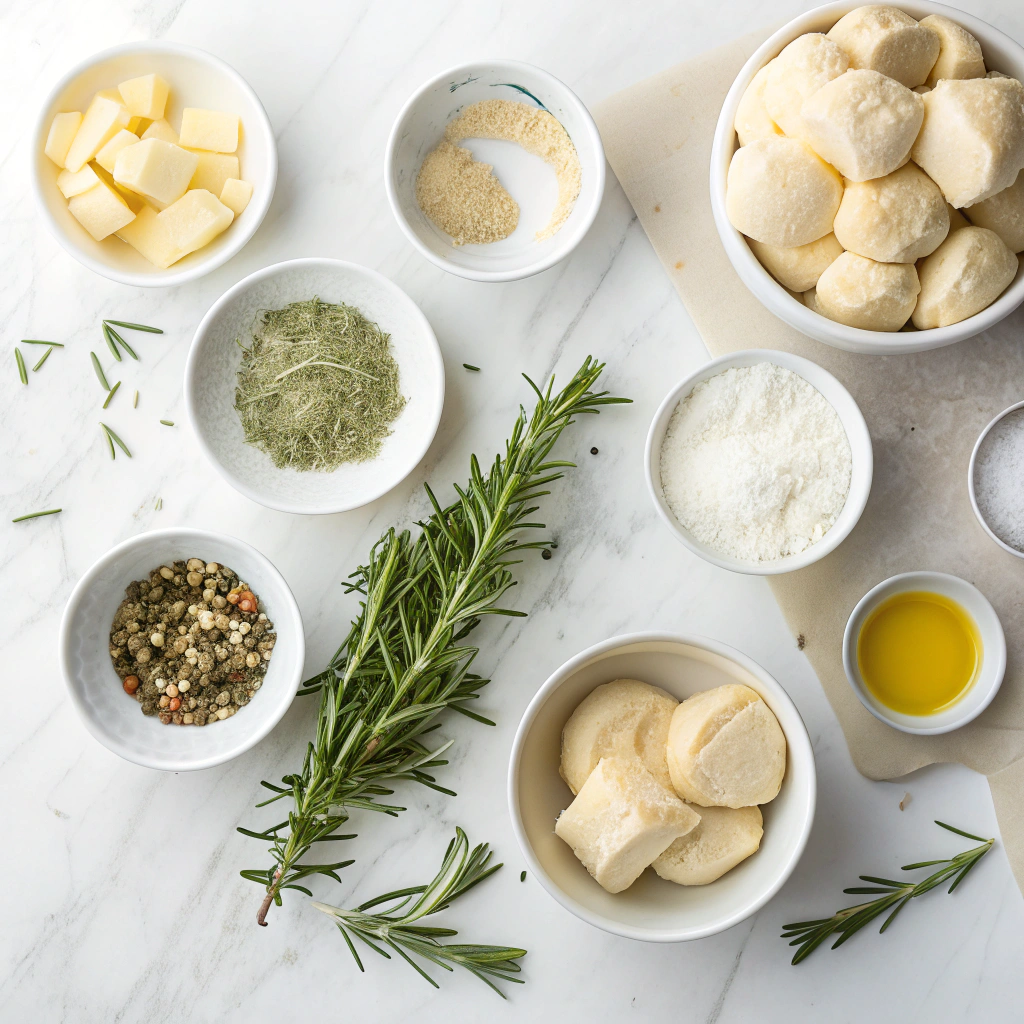
Ingredients
- 2 teaspoons Platinum Yeast from Red Star*
- 1 Tablespoon granulated sugar
- 3/4 cup (180ml) whole milk
- 3 Tablespoons (43g) unsalted butter, softened to room temperature
- 1 large egg
- 2 and 1/3 cups (291g) all-purpose flour (spooned & leveled), plus more as needed*
- 1 teaspoon salt
- 1 teaspoon garlic powder
- 1 Tablespoon finely chopped fresh rosemary (or 2 teaspoons dried)
- 5 Tablespoons (71g) unsalted butter, extra soft (see note)
- 1 Tablespoon finely chopped fresh rosemary (or 2 teaspoons dried)
- 1 Tablespoon finely chopped fresh parsley (or 2 teaspoons dried)
- 2 garlic cloves, minced or 1/2 teaspoon garlic powder
- 1/4 teaspoon salt
- 3/4 cup (95g) shredded parmesan, mozzarella, or white cheddar cheese (or your favorite shredded cheese)
- 1 Tablespoon (14g) unsalted butter, melted
- coarse or flaky sea salt for sprinkling
Instructions
- Place the yeast and sugar in the bowl of a stand mixer fitted with a dough hook or paddle attachment. Or, if you do not own a stand mixer, a regular large mixing bowl. Heat the milk on the stove or in the microwave until warm to touch, about 110°F (43°C). Pour warm milk on top of yeast/sugar. Whisk gently to combine, then loosely cover with a clean kitchen towel and allow to sit for 5-10 minutes. The mixture will be frothy after 5-10 minutes.
- Add the butter, egg, flour, salt, garlic powder, and rosemary. Beat on low speed until the dough comes together and pulls away from the sides of the bowl, about 3 minutes. If the dough isn't pulling away from the sides of the bowl, add a little more flour, a Tablespoon at a time. Dough will be soft.
- Keep the dough in the mixer (and switch to the dough hook if using the paddle) and beat for an additional 5 full minutes, or knead by hand on a lightly floured surface for 5 full minutes. (If you're new to bread-baking, my How to Knead Dough video tutorial can help here.) If the dough becomes too sticky during the kneading process, sprinkle 1 Tablespoon of flour at a time on the dough or on the work surface/in the bowl to make a soft, slightly tacky dough. Do not add more flour than you need because you do not want a dry dough. After kneading, the dough should still feel a little soft. Poke it with your finger—if it slowly bounces back, your dough is ready to rise. You can also do a 'windowpane test' to see if your dough has been kneaded long enough: tear off a small (roughly golfball-size) piece of dough and gently stretch it out until it's thin enough for light to pass through it. Hold it up to a window or light. Does light pass through the stretched dough without the dough tearing first? If so, your dough has been kneaded long enough and is ready to rise. If not, keep kneading until it passes the windowpane test.
- Shape the kneaded dough into a ball. Place the dough in a greased bowl (I use nonstick spray to grease) and cover with plastic wrap or aluminum foil. Place in a slightly warm environment to rise until doubled in size, around 60-90 minutes. (If desired, use my warm oven trick for rising. See my answer to Where Should Dough Rise? in my Baking with Yeast Guide.)
- As the dough rises, prepare the filling in the next step and grease a 9×5-inch loaf pan.
- In a medium bowl, mix the soft butter, rosemary, parsley, garlic, and salt together. If the butter is soft enough, you can just mix it all together with a spoon or fork. You can use an electric mixer if that's easier too. Cover tightly and set aside until ready to use. (Don't refrigerate unless making well in advance. It's easiest to spread on the dough when at room temperature. If refrigerated, let it come to room temperature before spreading on dough pieces.)
- Punch down the dough to release the air. Place dough on a lightly floured work surface. Divide it into 12 equal pieces, each about 1/4 cup of dough and a little larger than a golf ball. Using lightly floured hands, flatten each into a circle that's about 4 inches in diameter. The circle doesn't have to be perfectly round. I do not use a rolling pan to flatten, but you certainly can if you want. Spread 1-2 teaspoons of filling mixture onto each. Sprinkle each with 1 Tablespoon of cheese. Fold circles in half and line in prepared baking pan, round side up. See photos above for a visual.
- Cover with plastic wrap or aluminum foil and allow to rise once again in a slightly warm environment until puffy, about 45 minutes.
- Adjust the oven rack to the lower third position then preheat oven to 350°F (177°C).
- Bake until golden brown, about 50 minutes. If you find the top of the loaf is browning too quickly, tent with aluminum foil. (Don't be alarmed if there's melted butter around the sides of the bread as it bakes, it will seep into the bread before it finishes.) Remove from the oven and place the pan on a wire rack. If desired, brush with melted butter for topping and sprinkle with sea salt.
- Cool for 10 minutes in the pan, then remove from the pan and serve warm.
- Cover and store leftovers at room temperature for up to 2 days or in the refrigerator for up to 1 week. Since the bread is extra crispy on the exterior, it will become a little hard after day 1. Reheat in a 300°F (149°C) oven for 10-15 minutes until interior is soft again or warm in the microwave.
Notes
This bread is best served warm. Store leftovers at room temperature for 2 days or refrigerate for up to 1 week. Reheat in a 300°F oven for 10-15 minutes to restore softness. Use your favorite cheese variety for the filling – parmesan, mozzarella, or white cheddar all work well.
Nutrition
- Calories: 220
- Sugar: 2
- Sodium: 280
- Fat: 13
- Saturated Fat: 8
- Unsaturated Fat: 4
- Trans Fat: 0
- Carbohydrates: 20
- Fiber: 1
- Protein: 6
- Cholesterol: 45
How to Prepare This Dish
Steps and time-saving tips
First, activate your yeast in warm milk and a little sugar. Consequently, you will see it become frothy after about five to ten minutes. Meanwhile, whisk your flour and salt together in a large bowl. Next, pour the yeast mixture, along with melted butter and an egg, into the dry ingredients. Then, stir everything together until a shaggy dough forms. Turn the dough out onto a floured surface and knead it for several minutes until it becomes smooth and elastic. After that, place the dough in a greased bowl, cover it, and let it rise in a warm spot until it doubles in size, which typically takes about one to two hours. For a fantastic time-saving tip, you can prepare the dough the night before and let it slowly rise in the refrigerator overnight. While the dough rises, simply melt more butter and stir in minced garlic and fresh rosemary for the flavorful filling.
Once the dough has risen, punch it down and roll it into a large rectangle on your floured surface. Subsequently, generously brush the entire surface with your garlic-rosemary butter. Then, use a pizza cutter or sharp knife to slice the dough into small squares. After that, pile these buttered squares loosely into your greased loaf pan. Finally, let the shaped Rosemary Garlic Pull Apart Bread | Sally’s Baking Addiction rise again until puffy before baking it until it is golden brown and your kitchen smells incredible. Immediately after taking it from the oven, brush the top with any remaining herbed butter for an extra flavor boost.
Mistakes I’ve made and learned from
I have definitely learned a few lessons the hard way with this recipe. Initially, I used to kill my yeast by using milk that was far too hot; consequently, my dough would never rise, which was incredibly frustrating. Now, I always use a reliable instant-read thermometer to ensure the liquid is just warm, not hot. Another common mistake I made was overpacking the dough squares into the loaf pan, which resulted in a dense, undercooked center. I learned to layer them loosely, allowing plenty of room for expansion during the final proof and bake. This technique ensures every piece of your Rosemary Garlic Pull Apart Bread | Sally’s Baking Addiction bakes evenly. For more troubleshooting, my guide on common dough mistakes covers these issues in greater detail.

Cultural Connection and Variations
Where this recipe comes from
While pull-apart bread feels like a modern party staple, its heart beats with the ancient rhythm of communal baking. The concept of sharing a warm, fragrant loaf that’s torn apart by hand is a tradition found across countless cultures. Think of Italian focaccia, deeply dimpled and glistening with olive oil, or the layered, buttery goodness of Hungarian pogácsa. This style of baking is inherently social because it is designed to be broken and shared directly from the pan, which fosters connection and conversation around the table.
The specific magic of Rosemary Garlic Pull Apart Bread | Sally’s Baking Addiction springs from this beautiful tradition. It takes the familiar, comforting essence of garlic bread and reimagines it into an interactive, show-stopping centerpiece. The use of fresh rosemary and garlic is a classic pairing that whispers of Mediterranean kitchens and rustic, family-style meals. It’s the kind of recipe that often gets passed down, not on a formal card, but through the act of gathering in a warm kitchen, smelling the herbs, and eagerly waiting for the golden-brown finish.
Many families have their own version, perhaps using dried herbs or a different cheese, so each iteration becomes a personal signature. This particular rendition, Rosemary Garlic Pull Apart Bread | Sally’s Baking Addiction, captures that universal spirit of generosity and warmth, which makes it perfect for any occasion that calls for breaking bread together.
How it fits in today’s cooking
This bread remains incredibly relevant because it perfectly suits our modern desire for food that is both impressive and approachable. It’s a superstar during the holidays while it sits proudly next to a roast or a bowl of soup, but it’s also simple enough for a weeknight pasta dinner. Home cooks love it so it delivers that unforgettable “wow” factor without requiring advanced pastry skills.
Modern adaptations are endless, which encourages bakers to make it their own. Some might add a sprinkle of crispy pancetta or a handful of caramelized onions into the layers for a deeper flavor profile. Others might swap the rosemary for everything bagel seasoning or a mix of Italian herbs for a completely different twist. It’s an incredibly versatile canvas. Because it’s such a beloved comfort food, it pairs wonderfully with a variety of dishes. It’s the ultimate tool for sopping up the delicious sauces from a classic chicken cacciatore or for serving alongside a warm, creamy soup. For a complete cozy meal, try it with a bowl of our favorite creamy tomato soup for the ultimate dunking experience.
Taste and Texture
What makes it delicious
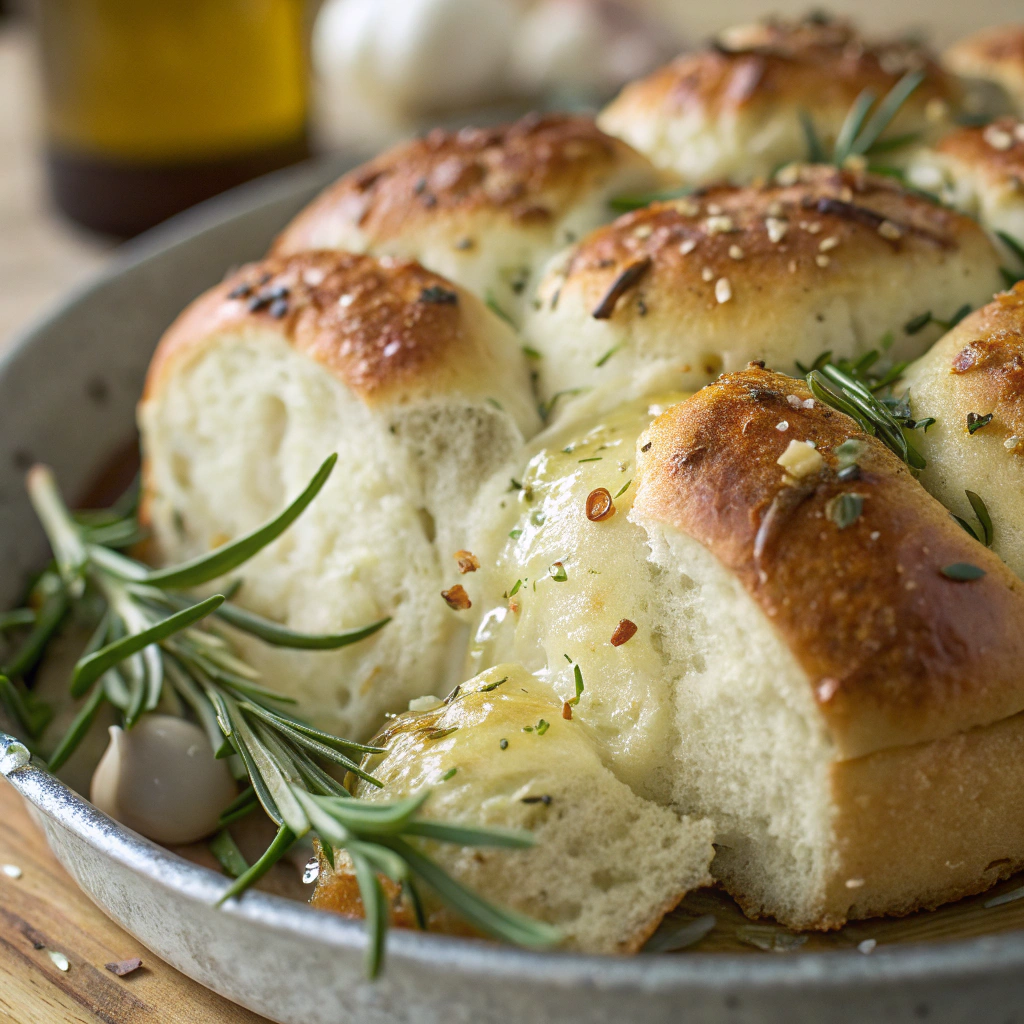
This Rosemary Garlic Pull Apart Bread | Sally’s Baking Addiction is a fragrant and savory masterpiece. Each soft, tender square is infused with the earthy aroma of fresh rosemary and the rich, pungent kick of roasted garlic. When you pull a piece away, the bread reveals its wonderfully airy and chewy interior, which perfectly soaks up the luxurious garlic-herb butter. The top and edges bake to a beautiful golden-brown, offering a satisfyingly crisp contrast to the soft, fluffy layers inside. Every bite is a perfect harmony of textures, from the slightly crisp exterior to the impossibly tender crumb. The flavor profile is deeply savory and aromatic, because the butter seeps into every nook, ensuring no bite is bland. This Rosemary Garlic Pull Apart Bread | Sally’s Baking Addiction fills your kitchen with an irresistible scent that promises a truly delicious experience.
Boosting the flavor
You can easily boost the flavor of your bread with a few simple tweaks. For a richer, more complex taste, try swapping the fresh garlic for a batch of our savory roasted garlic because it mellows the sharpness and adds a sweet, caramelized depth. Consider folding a half cup of shredded parmesan or sharp cheddar cheese into the butter mixture for an extra layer of savory, creamy goodness. A sprinkle of flaky sea salt over the top just before baking will enhance all the other flavors and provide a delightful salty crunch. If you are serving it with a meal, a side of warm marinara sauce or a creamy ranch dip for dipping takes it to another level. You can also add a pinch of red pepper flakes to the butter for a subtle, warming heat that complements the rosemary beautifully.
Tips for Success
Best practices for results
Always use fresh rosemary for the most potent and aromatic flavor in your Rosemary Garlic Pull Apart Bread | Sally’s Baking Addiction. Ensure your milk is warm to the touch, around 110°F, because this temperature perfectly activates the yeast without killing it. Use a digital kitchen scale to measure your flour by weight for consistent results, as scooping with a cup can lead to a dry and dense dough. Generously butter your bundt pan to guarantee an easy and clean release after baking, so your beautiful bread stays intact.
Mistakes to avoid
Avoid using cold butter or milk, as this will hinder the yeast’s activity and prevent your dough from rising properly. Do not rush the first rise; although it is tempting, allowing the dough to double in size is crucial for a light and airy texture. Many bakers make the error of adding too much flour during kneading, which results in a tough bread, so instead, lightly oil your hands and work surface to manage the sticky dough. For more on this, our guide on common baking mistakes offers excellent insights. Furthermore, be careful not to over-bake the bread, even though the golden-brown exterior is tempting, because pulling it out of the oven promptly ensures a soft and tender interior, a technique also covered in our perfect bread texture article.
Serving and Pairing Suggestions
How to serve this dish
For a truly show-stopping presentation, serve your Rosemary Garlic Pull Apart Bread | Sally’s Baking Addiction right in the skillet it was baked in. Consequently, this rustic approach keeps it wonderfully warm and creates a beautiful, communal centerpiece for your table. Moreover, place a small bowl of high-quality olive oil or a side of softened butter infused with extra rosemary right next to it for an extra layer of flavor.
This bread is incredibly versatile, making it ideal for a variety of occasions. For instance, it’s a guaranteed hit at holiday gatherings and celebratory dinners. Alternatively, it transforms a simple weeknight pasta meal or a cozy weekend brunch into something truly special. Finally, don’t forget a final flourish; a light sprinkle of flaky sea salt and some fresh rosemary leaves make for a perfect garnish.
What goes well with it
A rich, creamy tomato soup is the ultimate partner for this savory bread. The tangy, velvety texture of the soup is perfect for dipping each fluffy, garlicky piece, creating a comforting and complete meal. Similarly, a crisp, refreshing salad provides a wonderful contrast. For example, our popular Classic Caesar Salad offers a crunchy, peppery counterpoint that cuts through the richness beautifully.
When considering beverages, a chilled glass of white wine like Sauvignon Blanc complements the herbal notes of rosemary. Otherwise, a hoppy IPA also stands up wonderfully to the robust garlic flavor. For a heartier pairing, consider serving it alongside a main course. Ultimately, this bread is a fantastic side for our incredibly juicy Perfect Herb Roasted Chicken, as the flavors harmonize perfectly.
Pull apart bread is typically made from a soft yeast dough that is cut or rolled into small pieces. These pieces are then layered in a pan with various fillings like butter, herbs, cheese, or garlic. The recipe for Rosemary Garlic Pull Apart Bread from Sally’s Baking Addiction uses fresh rosemary, minced garlic, and butter for its flavorful filling.
The best way to reheat pull apart bread is to wrap the whole loaf or individual portions in aluminum foil. Warm it in a 350°F (177°C) oven for about 10-15 minutes, or until heated through. This method helps restore the soft, warm texture of your Rosemary Garlic Pull Apart Bread without drying it out.
Yes, you can prepare this bread ahead of time. After assembling the dough balls with the garlic and rosemary butter in the pan, cover it tightly and refrigerate overnight. The next day, let it sit at room temperature for about 45 minutes before baking as directed in the Sally’s Baking Addiction recipe.
Dense pull apart bread is often caused by overhandling the dough, which can deflate the air bubbles necessary for a light texture. Using old or expired yeast that doesn’t proof properly can also lead to poor rising. For a guaranteed light and fluffy result, carefully follow the instructions for the Rosemary Garlic Pull Apart Bread | Sally’s Baking Addiction.