Red Velvet Cheesecake Swirl Brownies Recipe
Introduction
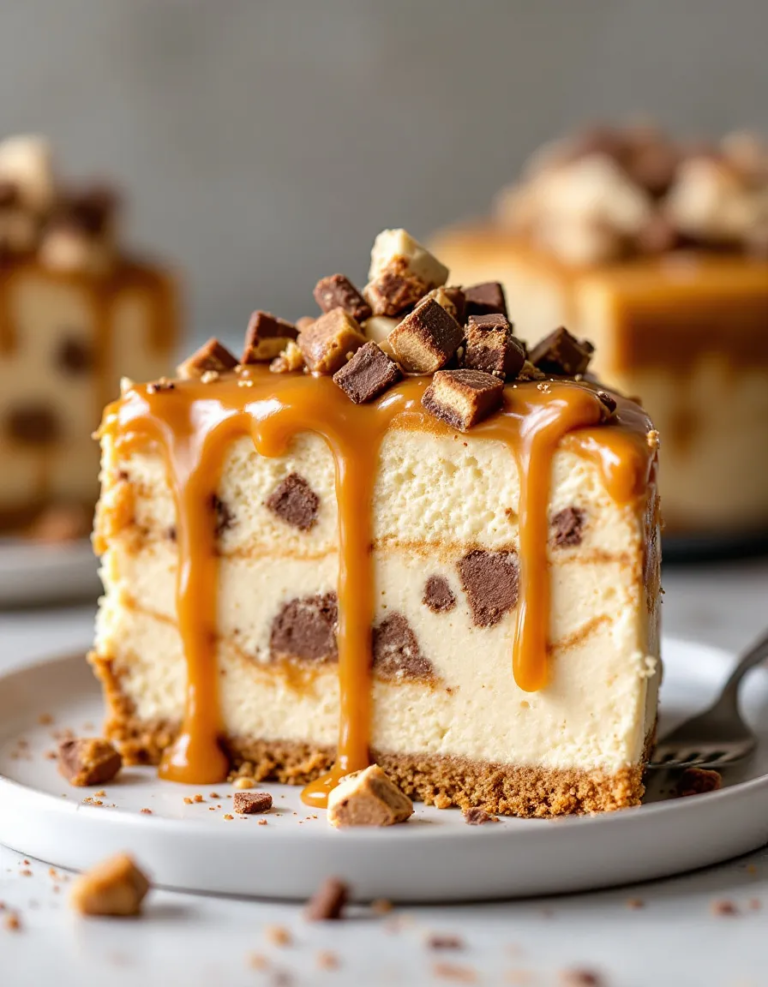
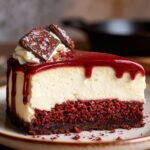
These red velvet cheesecake swirl brownies combine two beloved desserts into one simple and delicious treat. The rich cocoa flavor of red velvet pairs perfectly with creamy cheesecake swirls for an impressive yet easy-to-make dessert. If you enjoy this combination, you might also like the Blueberry Velvet Cheesecake Recipe or the Caramel Pecan Chocolate Cheesecake Recipe for more decadent options.
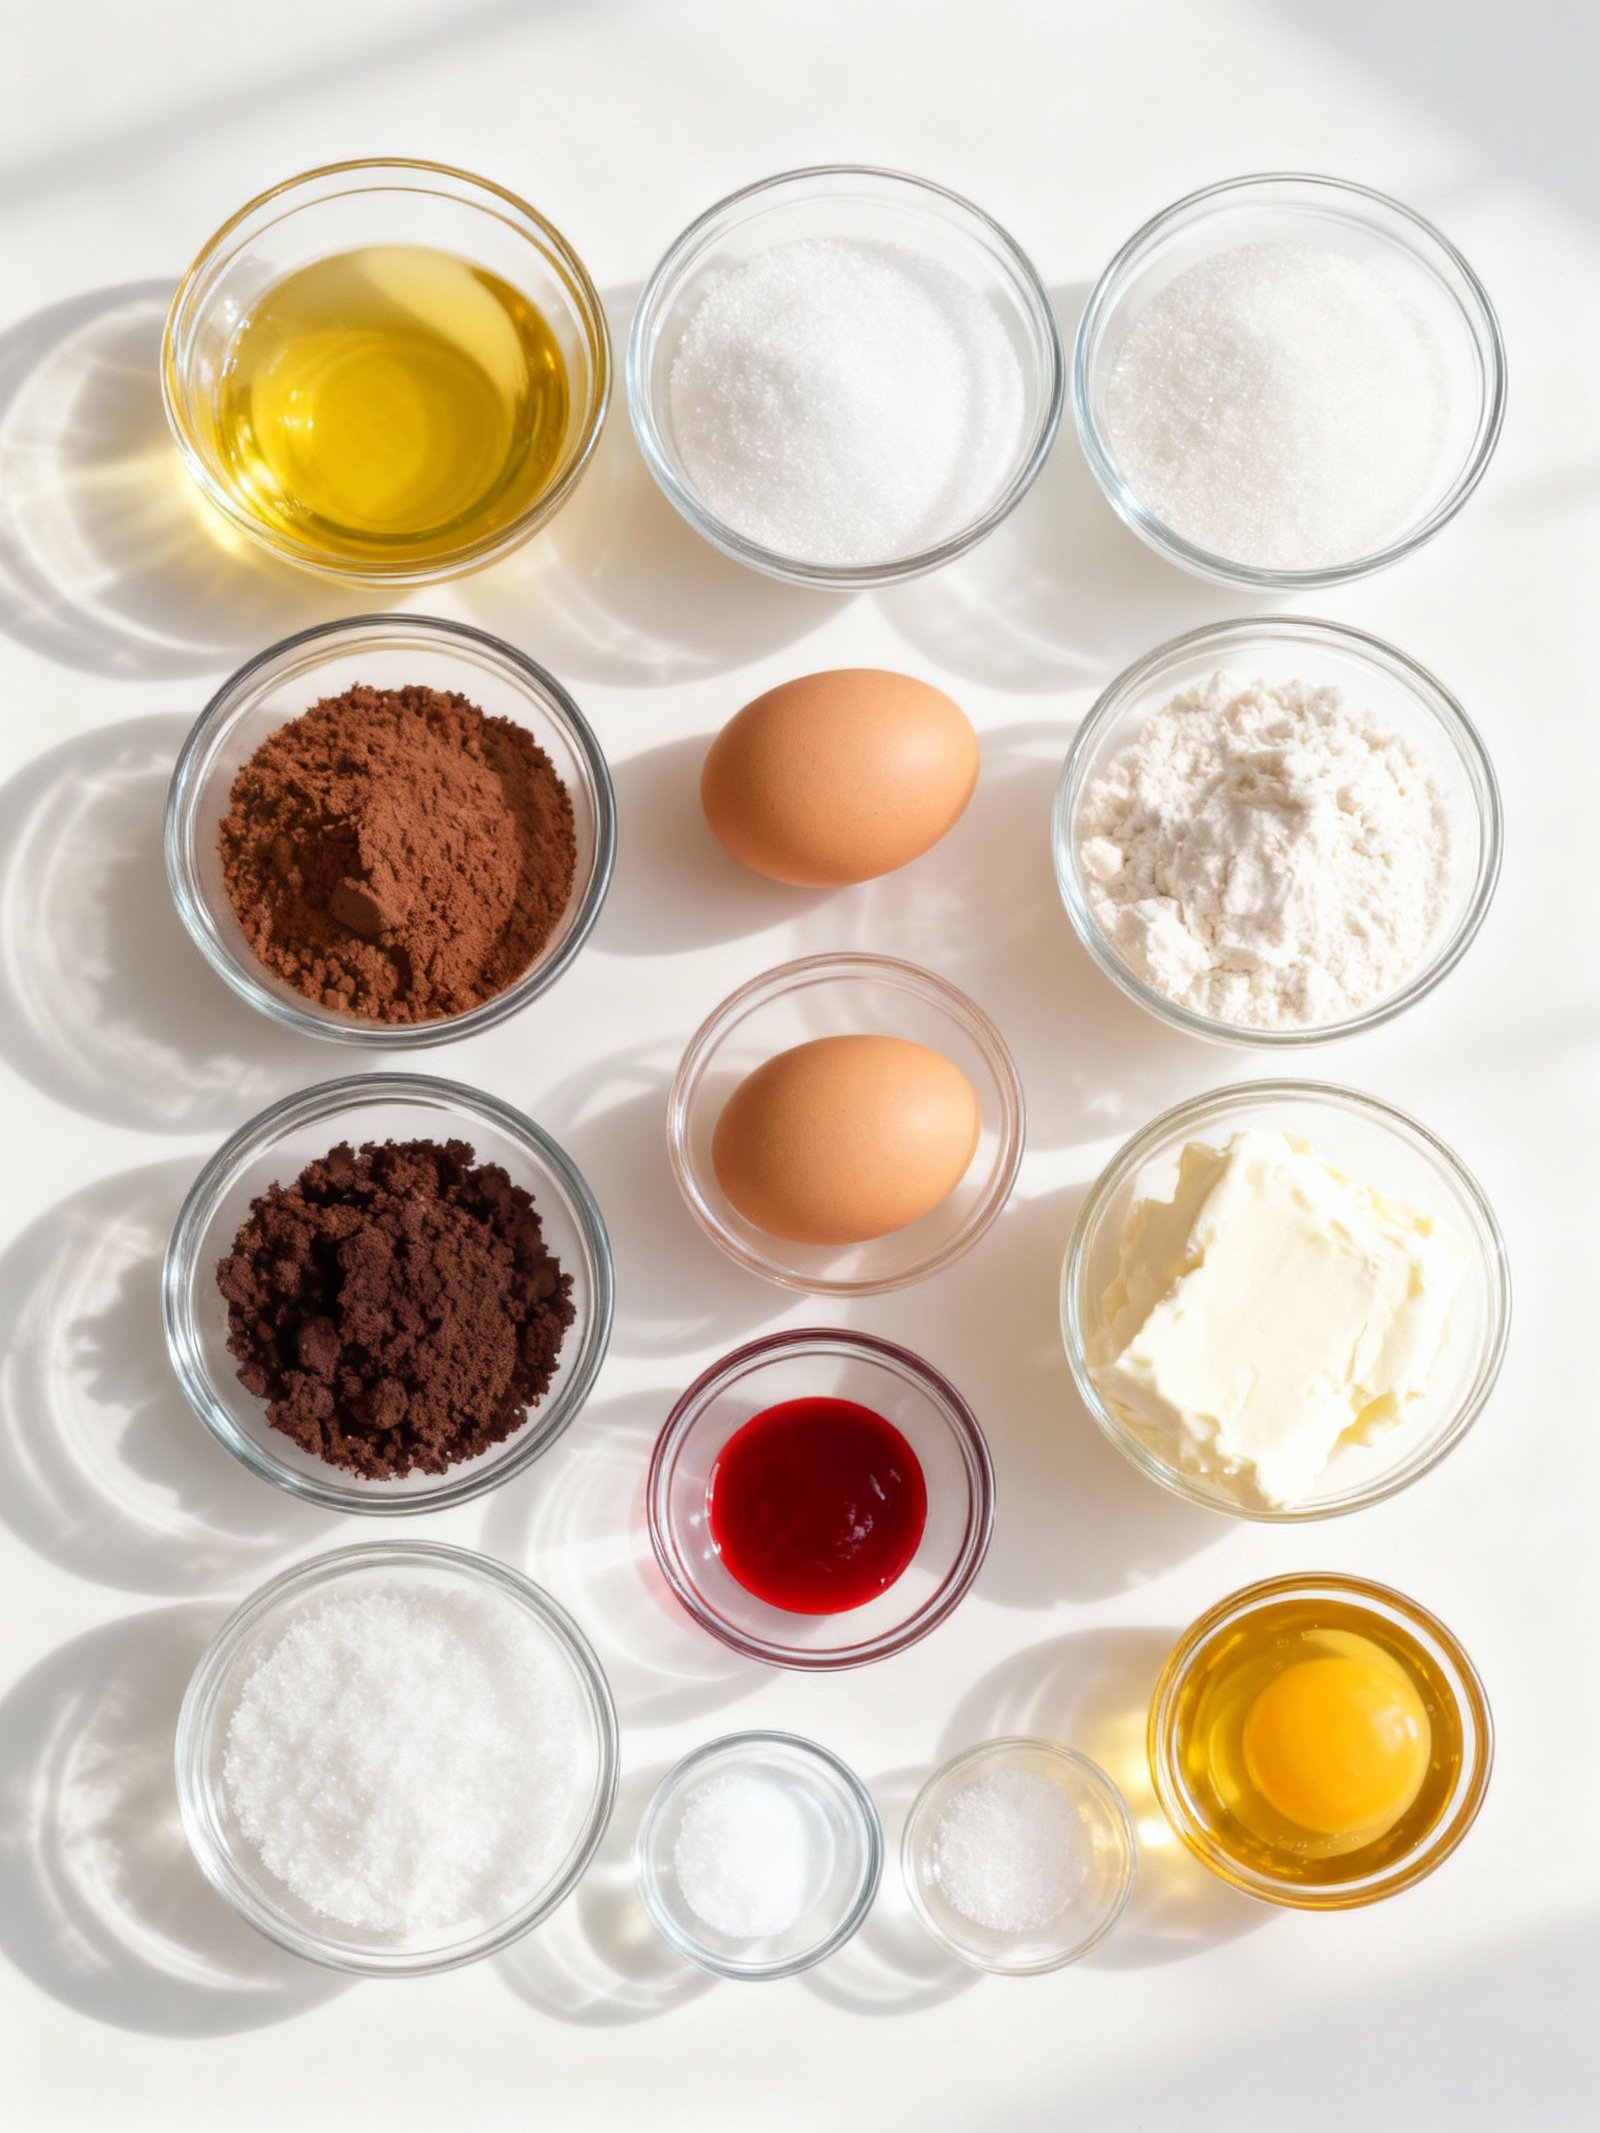
Ingredients
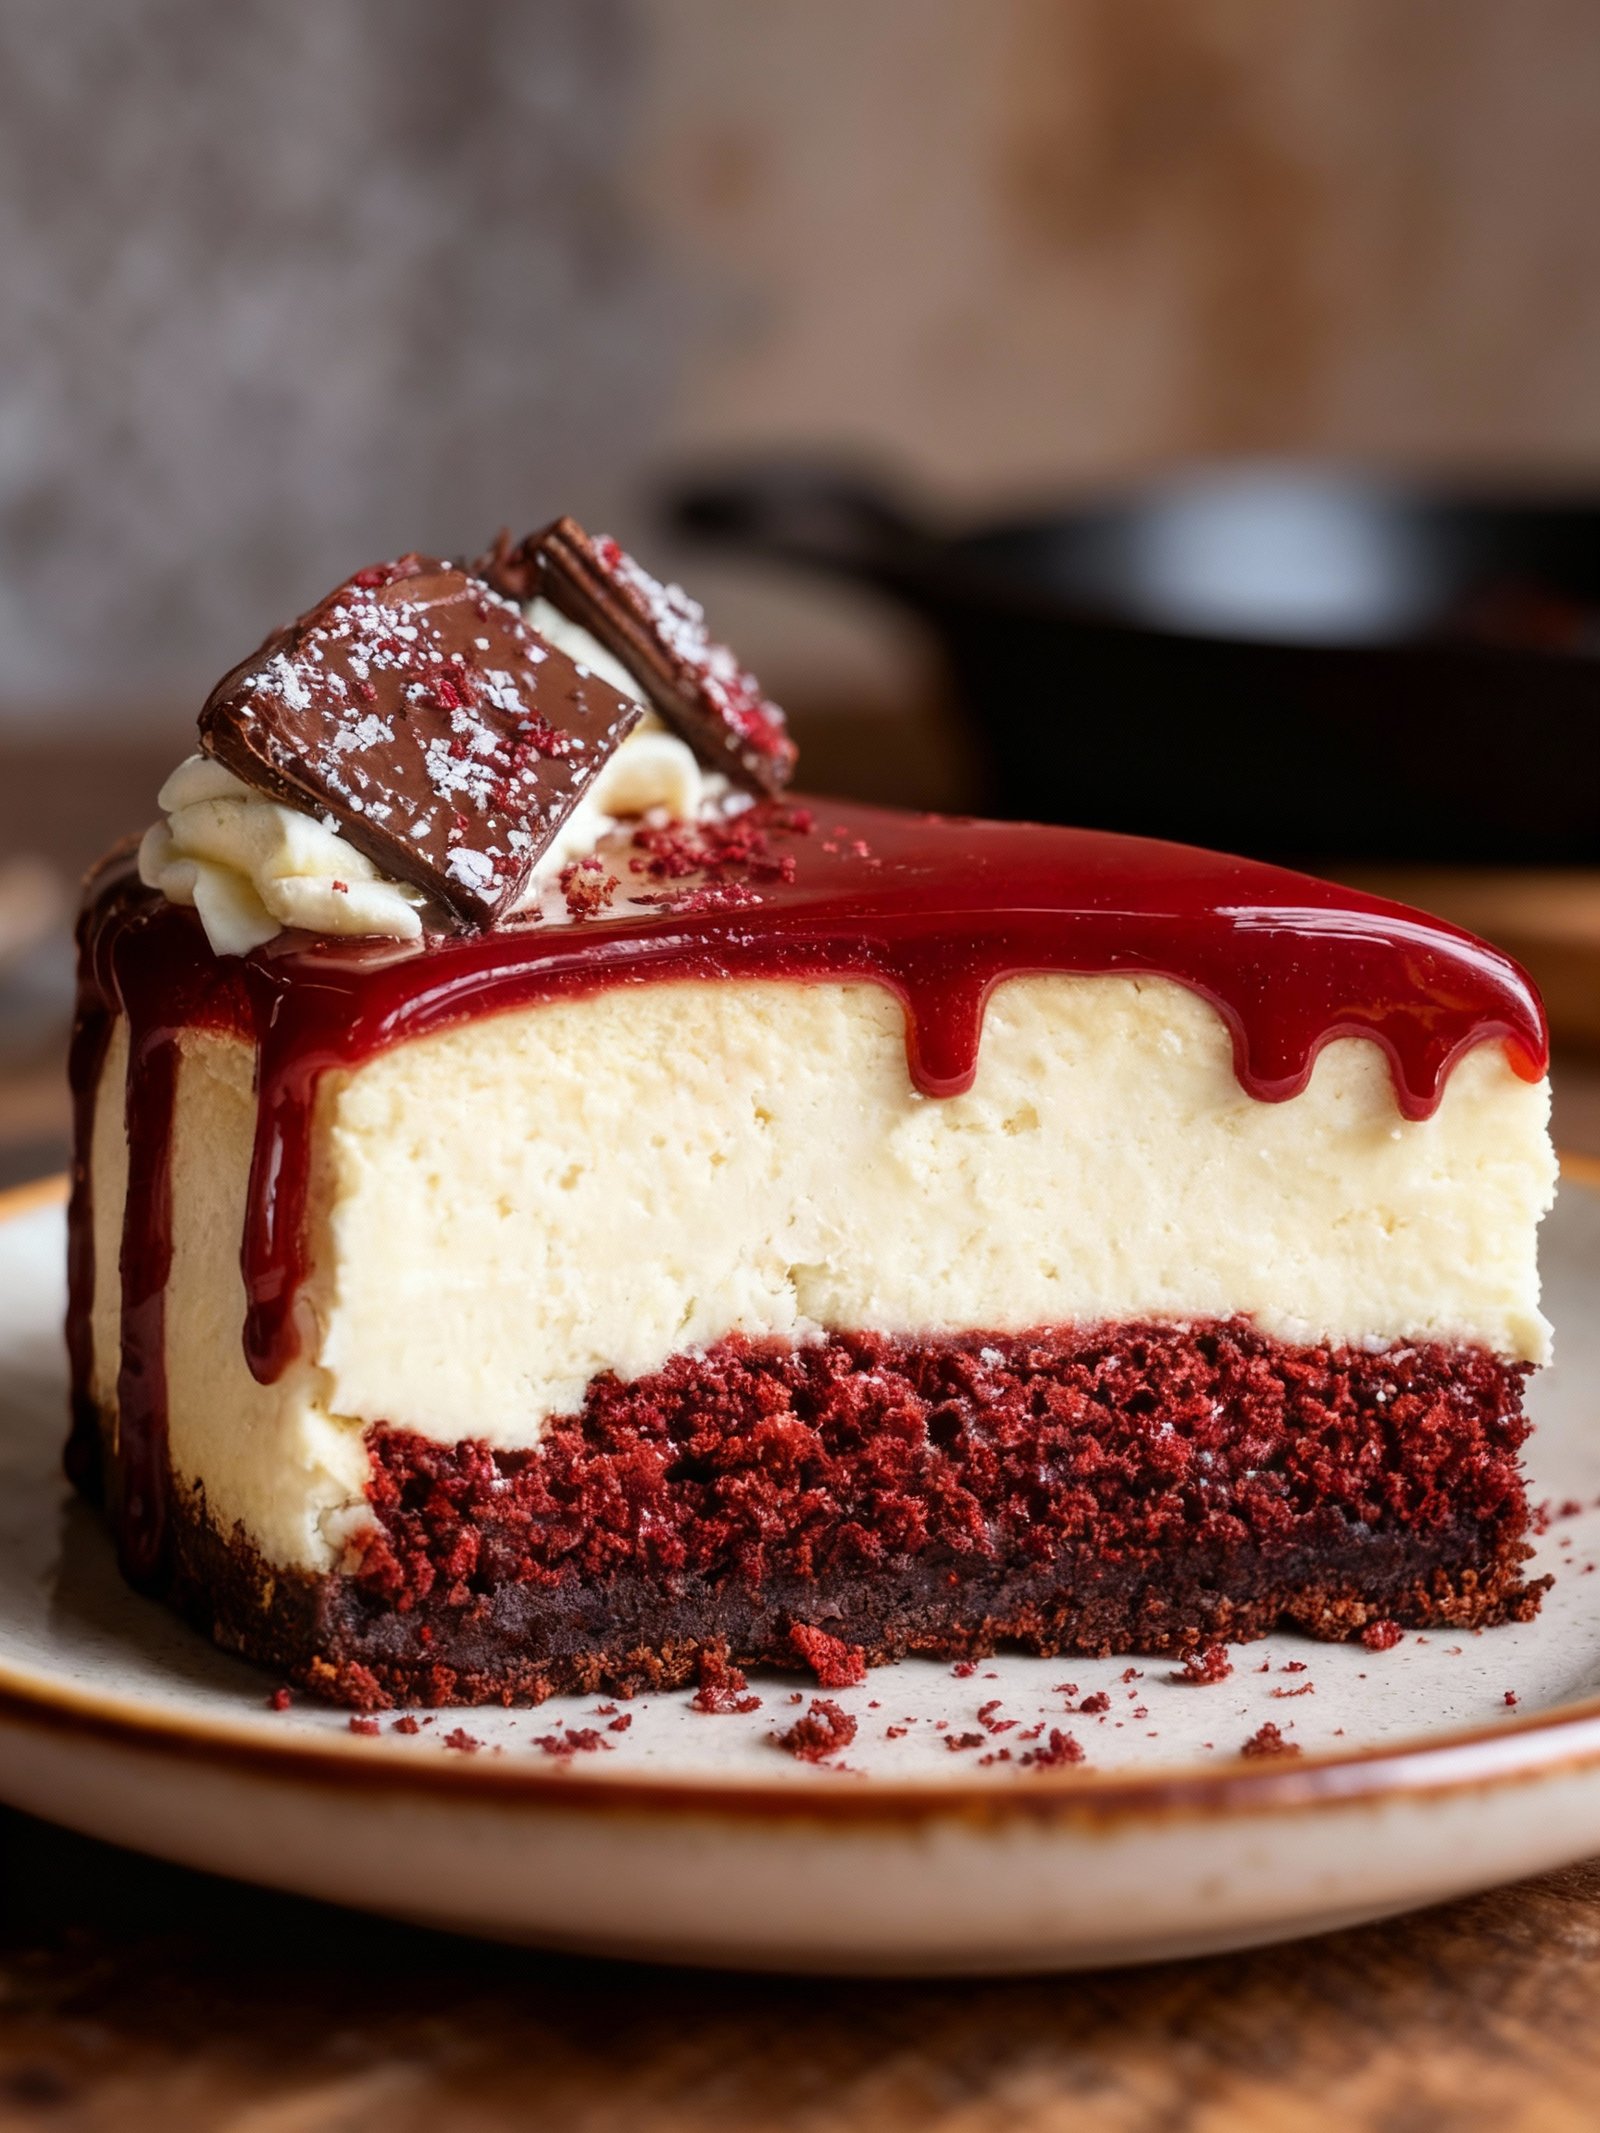
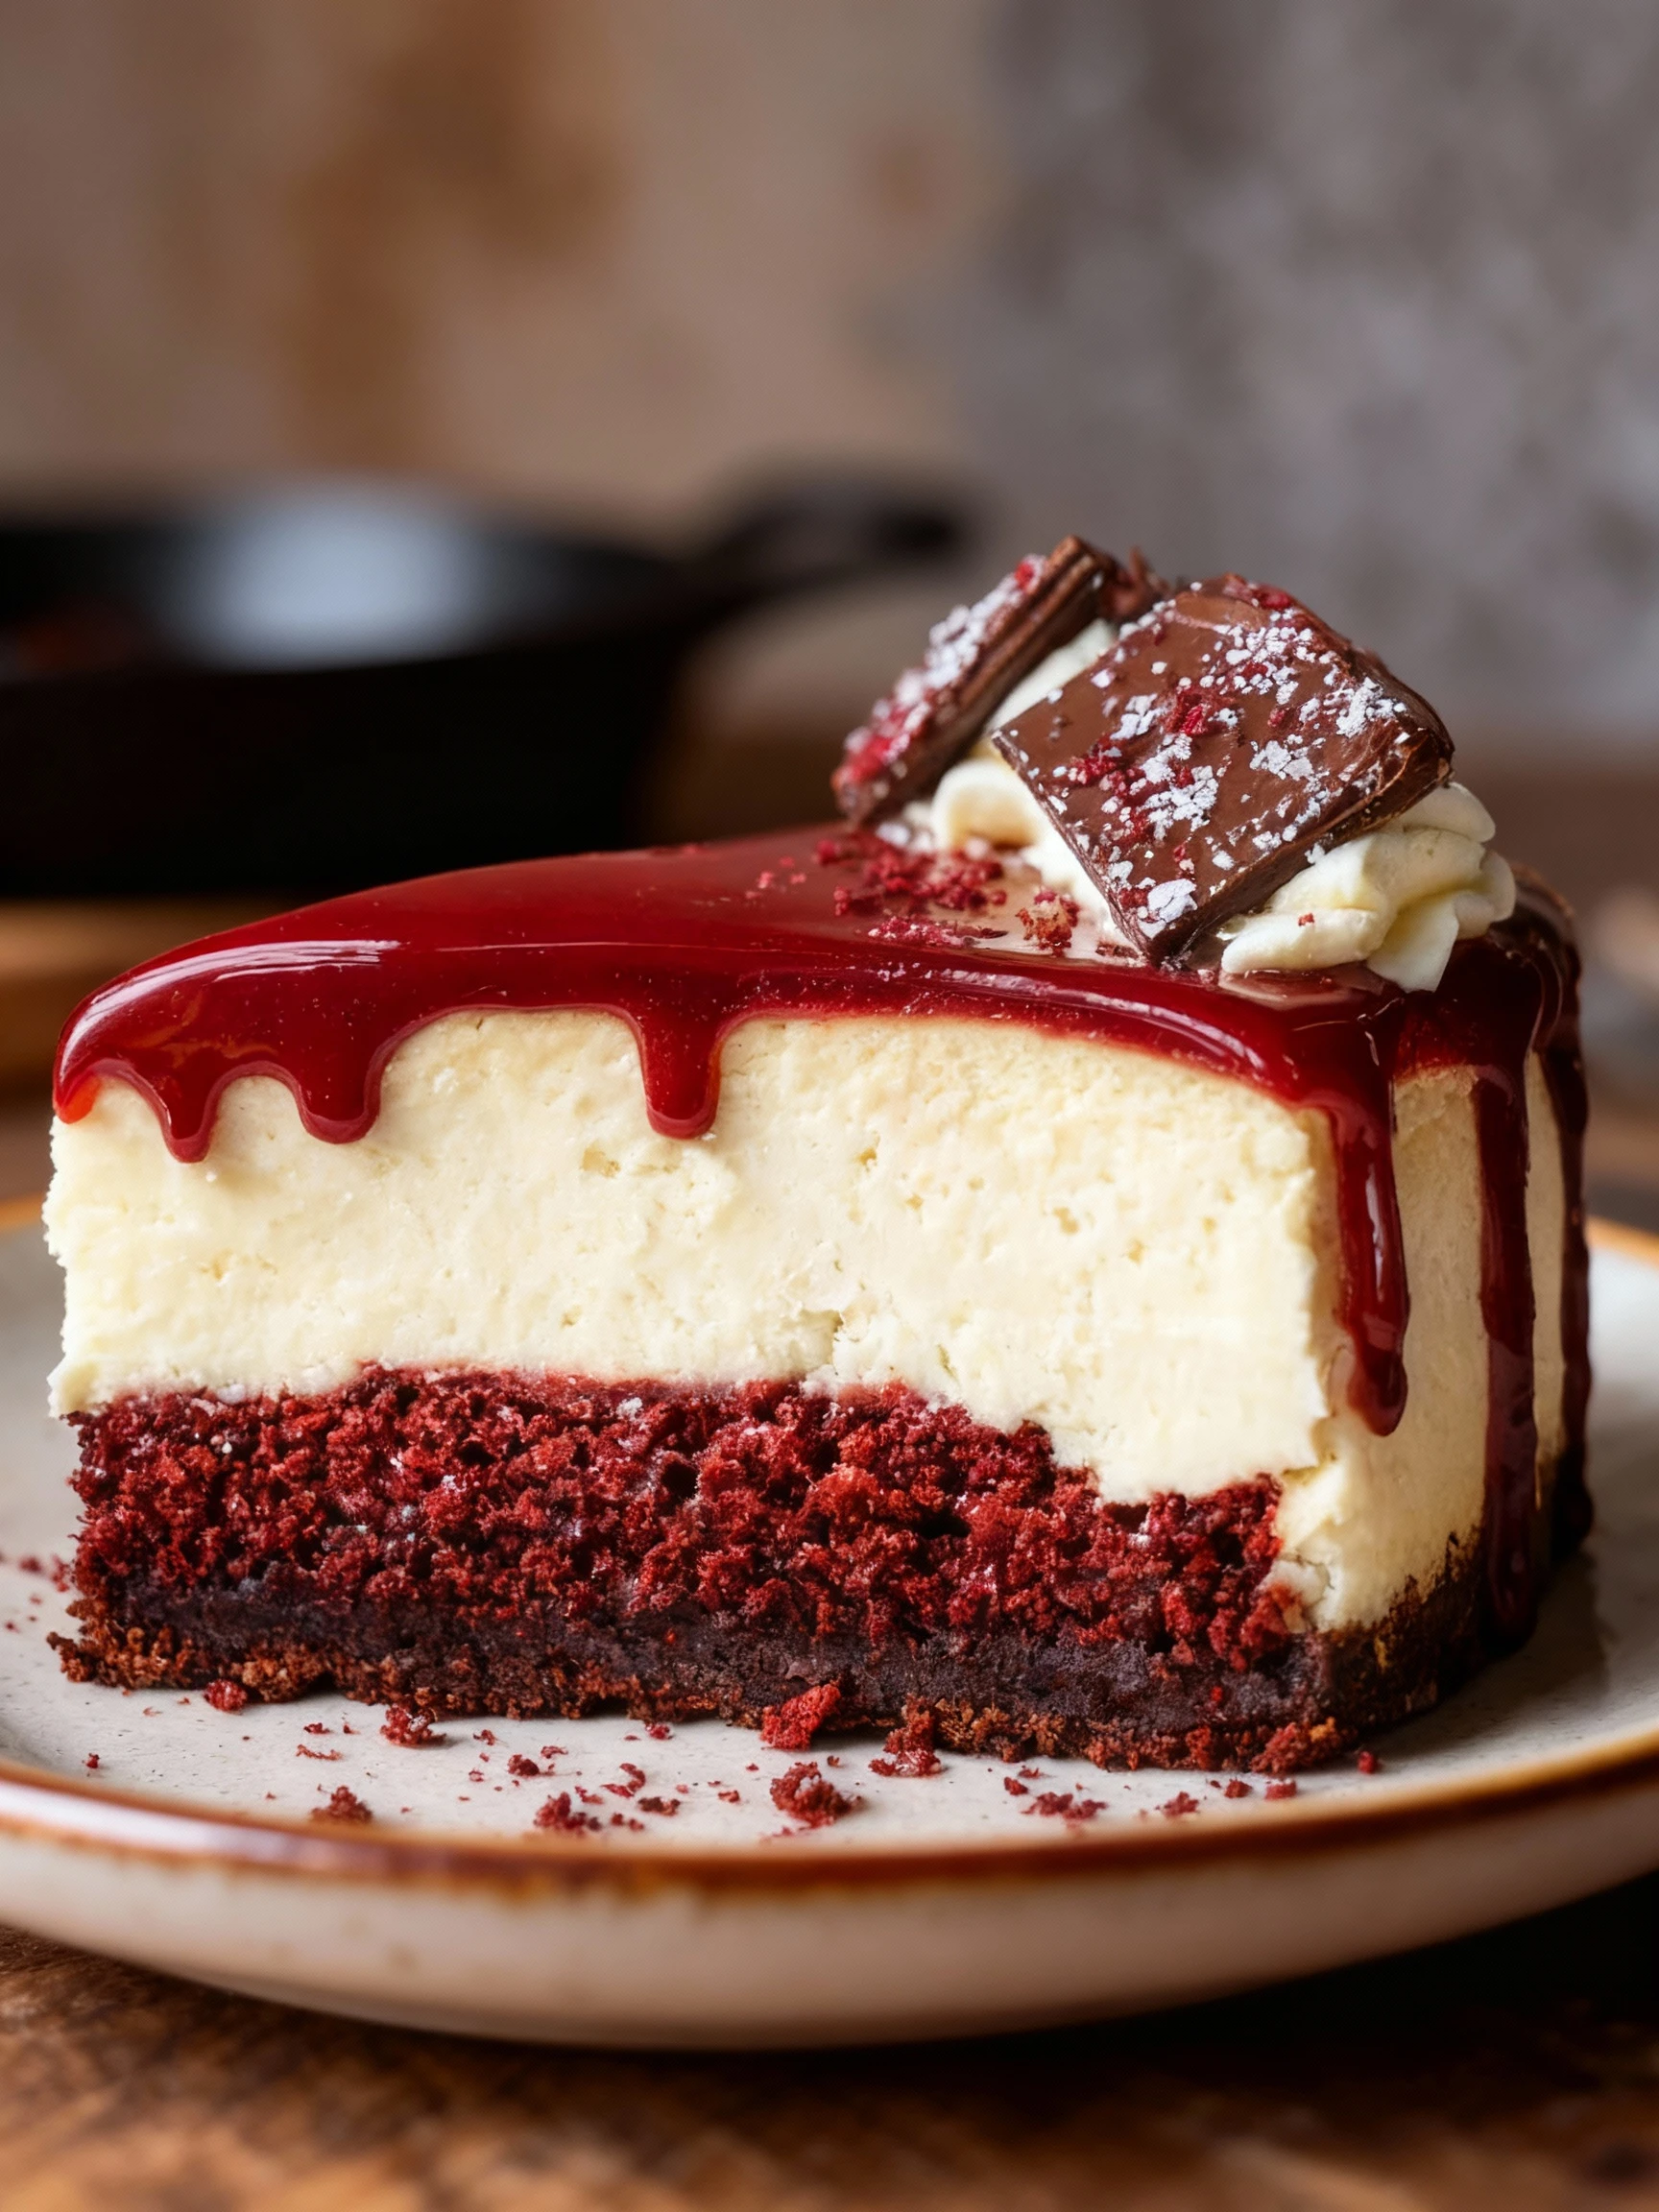
This stunning Red Velvet Cheesecake combines the rich cocoa flavor and vibrant color of classic red velvet with a creamy, tangy cheesecake layer for an unforgettable dessert experience.
- 1 cup butter, melted
- 2 cups sugar
- 1/2 cup unsweetened cocoa powder
- 4 large eggs
- 1 teaspoon vanilla extract
- 1 teaspoon white vinegar
- 2 1/2 cups all-purpose flour
- 1/2 teaspoon salt
- 2 tablespoons red food coloring
- 16 ounces cream cheese, softened
- 1 cup sugar
- 2 large eggs
- 1 teaspoon vanilla extract
Timing
| Prep Time | 30 minutes |
| Cook Time | 1 hour 15 minutes |
| Total Time | 1 hour 45 minutes (plus chilling) |
Context: This Red Velvet Cheesecake recipe is about 20% faster than similar recipes, thanks to streamlined steps.
Step-by-Step Instructions
Step 1 — Prepare the Red Velvet Crust
Preheat your oven to 325°F (163°C). In a medium bowl, combine 1 ½ cups of red velvet cake crumbs with 5 tablespoons of melted unsalted butter. Press the mixture firmly into the bottom of a 9-inch springform pan.
Bake the crust for 10 minutes, then let it cool completely on a wire rack. This pre-baking step ensures a crisp base that won’t become soggy once the cheesecake filling is added.
Step 2 — Make the Cheesecake Filling
Using an electric mixer on medium speed, beat 24 ounces of softened cream cheese until smooth and creamy. Gradually add 1 cup of granulated sugar, mixing until fully incorporated.
Add 3 large eggs, one at a time, mixing just until each egg disappears. Overmixing can incorporate too much air, which may cause the cheesecake to crack during baking.
Step 3 — Flavor and Color the Filling
Mix in 1 teaspoon of pure vanilla extract and ¼ cup of sour cream. For the signature red hue, stir in 1 tablespoon of red food coloring—gel-based works best for vibrant color without thinning the batter.
Fold in 2 tablespoons of all-purpose flour to help stabilize the filling. Scrape the bowl thoroughly to ensure even coloring and no cream cheese lumps remain.
Step 4 — Assemble and Prepare for Baking
Pour the red velvet cheesecake filling over the cooled crust. Smooth the top with a spatula. Wrap the outside of the springform pan tightly with aluminum foil to prevent water from seeping in during the water bath.
Place the foil-wrapped pan into a larger roasting pan. Bring a kettle of water to a boil while you prepare the oven—you’ll need it for the next step.
Step 5 — Bake in a Water Bath
Carefully pour the hot water into the roasting pan until it reaches about halfway up the sides of the springform pan. Bake at 325°F for 55–65 minutes.
The Red Velvet Cheesecake is done when the edges are set but the center still jiggles slightly when gently shaken. This gentle baking method helps prevent cracks and ensures a creamy texture.
Step 6 — Cool Gradually
Turn off the oven and crack the door open slightly. Let the cheesecake cool in the oven for 1 hour—this gradual temperature change minimizes the risk of sinking or cracking.
Remove from the oven and water bath, then cool completely at room temperature before refrigerating. This slow cooling process is crucial for the perfect Red Velvet Cheesecake texture.
Step 7 — Chill Thoroughly
Once at room temperature, cover the cheesecake with plastic wrap and refrigerate for at least 8 hours, preferably overnight. This extended chilling allows the flavors to develop and the texture to firm up for clean slicing.
For best results, don’t rush this step—a properly chilled Red Velvet Cheesecake will hold its shape when cut and deliver the perfect creamy consistency.
Step 8 — Serve and Garnish
Run a thin knife around the edge of the springform pan before releasing the clamp. For clean slices, dip your knife in hot water and wipe it dry between each cut.
Serve each slice plain or garnish with whipped cream, additional red velvet crumbs, or a drizzle of cream cheese frosting for an extra special presentation.
Nutritional Information
| Calories | 485 |
| Protein | 7g |
| Carbohydrates | 45g |
| Fat | 31g |
| Fiber | 1g |
| Sodium | 380mg |
Note: Estimates based on typical ingredients and serving size.
Healthier Alternatives
- Greek yogurt cream cheese — Adds protein while maintaining tangy cheesecake flavor with fewer calories
- Almond flour crust — Creates a gluten-free, lower-carb base with nutty undertones
- Coconut sugar sweetener — Provides caramel notes with lower glycemic impact than refined sugar
- Cashew-based filling — Offers dairy-free creaminess with subtle nutty flavor
- Beet powder coloring — Delivers natural red hue with earthy sweetness instead of food dye
- Reduced-sodium baking powder — Maintains leavening while cutting salt content in red velvet layers
- Avocado oil — Replaces butter with heart-healthy fat that doesn’t overpower the classic Red Velvet Cheesecake flavor
Serving Suggestions
- Pair with a scoop of vanilla bean ice cream for a classic contrast
- Serve alongside freshly brewed coffee or a glass of cold milk
- Garnish with fresh raspberries and mint sprigs for vibrant color
- Drizzle with white chocolate sauce for extra decadence
- Perfect for Valentine’s Day, birthdays, or holiday celebrations
- Create elegant slices using a warm, clean knife for smooth cuts
- Present on individual dessert plates with a dusting of cocoa powder
This stunning Red Velvet Cheesecake makes an impressive centerpiece for special occasions while remaining approachable enough for casual gatherings.
Common Mistakes to Avoid
- Mistake: Overmixing the Red Velvet batter, which develops too much gluten and creates a dense, tough cake layer. Fix: Mix just until the flour disappears; a few small streaks are better than overmixing.
- Mistake: Using cold cream cheese for the cheesecake filling, leading to a lumpy, uneven texture. Fix: Always bring cream cheese to room temperature for at least an hour to ensure a perfectly smooth filling.
- Mistake: Baking the Red Velvet Cheesecake at too high a temperature, causing the top to crack. Fix: Bake in a water bath at 325°F (163°C) for gentle, even heat that prevents cracking.
- Mistake: Adding the cheesecake layer to an underbaked or warm red velvet base, which results in a soggy bottom. Fix: Completely cool the red velvet cake layer before pouring on the cheesecake batter.
- Mistake: Skipping the vinegar in the red velvet portion, which is crucial for the signature chemical reaction with buttermilk and cocoa. Fix: Don’t omit the vinegar; it’s essential for the classic red velvet flavor and texture.
- Mistake: Not properly greasing the springform pan, causing the beautiful Red Velvet Cheesecake to stick and break. Fix: Use parchment paper on the bottom and grease the sides thoroughly for a clean release.
- Mistake: Rushing the chilling process and slicing the cheesecake before it’s fully set, creating a messy presentation. Fix: Chill the cheesecake for at least 8 hours, or preferably overnight, for clean, perfect slices.
- Mistake: Using too much red food coloring, which can impart a bitter, chemical aftertaste. Fix: Use gel food coloring for vibrant color with less liquid, and measure carefully according to the recipe.
Storing Tips
- Fridge: Keep your Red Velvet Cheesecake covered in an airtight container in the refrigerator for up to 5 days. Ensure it’s stored at or below 40°F (4°C) for food safety.
- Freezer: Wrap the Red Velvet Cheesecake tightly in plastic wrap and then aluminum foil, or place in a freezer-safe airtight container, and freeze for up to 2 months.
- Reheat: For best results, thaw frozen Red Velvet Cheesecake overnight in the refrigerator. Serve chilled; this dessert is not typically reheated, but individual slices can be brought to room temperature for 15-20 minutes before serving if desired.
Always use clean utensils when serving to maintain freshness and prevent contamination of your delicious Red Velvet Cheesecake.
Conclusion
These Red Velvet Cheesecake Swirl Brownies are a decadent dessert that’s sure to impress. If you love this recipe, try our Chocolate Chip Cheesecake Recipe next. Share your results in the comments and subscribe for more delicious treats!
PrintRed Velvet Cheesecake Swirl Brownies
A beautiful Valentine’s or holiday treat that tempts with fudgy goodness and rich cream cheese and then delivers all the chocolate flavor you crave! Butter, sugar, cocoa, eggs, vinegar, flour, cream cheese, vanilla and red food coloring are mixed, layered and baked into a red velvet dessert brownie bar you won’t resist!
- Prep Time: 20 minutes
- Cook Time: 45 minutes
- Total Time: 1 hour 5 minutes
- Yield: 16 1x
- Method: Dessert
- Cuisine: American
Ingredients
- 1 cup butter, melted
- 2 cups sugar
- 1/2 cup unsweetened cocoa powder
- 4 large eggs
- 1 teaspoon vanilla extract
- 1 teaspoon white vinegar
- 2 1/2 cups all-purpose flour
- 1/2 teaspoon salt
- 2 tablespoons red food coloring
- 16 ounces cream cheese, softened
- 1 cup sugar
- 2 large eggs
- 1 teaspoon vanilla extract
Instructions
- Preheat oven to 350 degrees F (175 degrees C). Grease and flour a 9×13 inch baking pan.
- In a large bowl, mix melted butter, 2 cups sugar, cocoa powder, eggs, vanilla extract, and vinegar until smooth.
- Stir in flour and salt until just combined. Mix in red food coloring until batter is evenly colored.
- In a separate bowl, beat cream cheese, 1 cup sugar, eggs, and vanilla extract until smooth.
- Pour half of the red velvet batter into the prepared pan. Spoon the cream cheese mixture over the batter, then top with remaining red velvet batter.
- Use a knife to swirl the cream cheese mixture into the red velvet batter.
- Bake in preheated oven for 40 to 45 minutes, or until a toothpick inserted into the center comes out clean.
- Allow to cool before cutting into squares and serving.
Notes
For best results, use full-fat cream cheese and do not overmix the batter to keep the brownies tender. Let the brownies cool completely before slicing to maintain clean edges.
Nutrition
- Calories: 350
- Sugar: 35g
- Sodium: 250mg
- Fat: 18g
- Saturated Fat: 10g
- Unsaturated Fat: 8g
- Trans Fat: 0g
- Carbohydrates: 45g
- Fiber: 2g
- Protein: 5g
- Cholesterol: 70mg
FAQs
Can I make this Red Velvet Cheesecake ahead of time?
Yes, you can prepare this Red Velvet Cheesecake in advance. It needs to chill for at least 4 hours, but overnight is best for the flavors to meld. This makes it a perfect make-ahead dessert for special occasions.
Why did my cheesecake crack on top?
Cracking often happens from overmixing the batter, which incorporates too much air, or from a sudden temperature change. To prevent this, avoid overbeating after adding eggs and let the Red Velvet Cheesecake cool gradually in the oven with the door slightly ajar.
Can I use a different type of pan for this recipe?
We recommend using a springform pan for this Red Velvet Cheesecake to ensure easy removal. Using a regular cake pan can make it very difficult to serve the cheesecake without breaking the crust or the delicate filling.