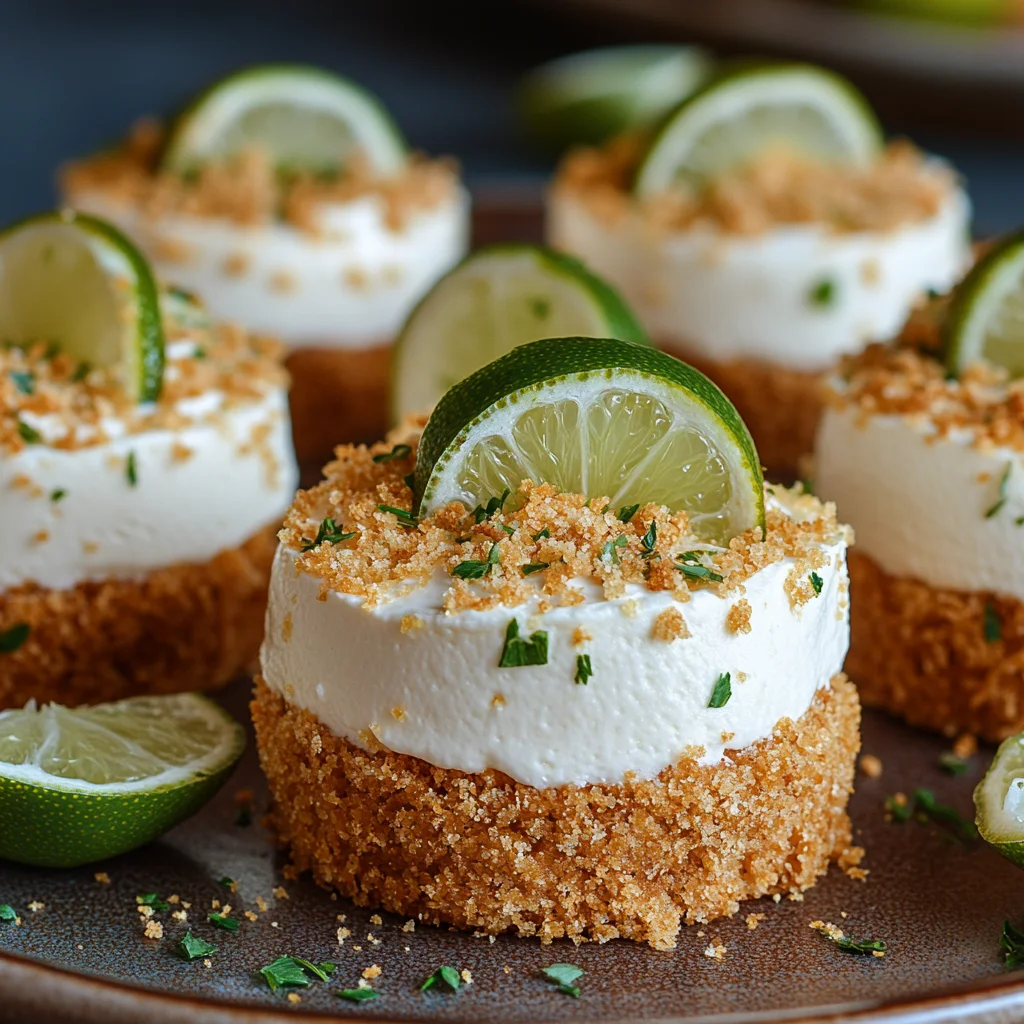
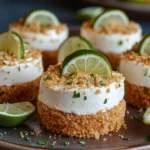
Heavenly No-Bake Mini Key Lime Pies Recipe
Introduction
This Heavenly No-Bake Mini Key Lime Pies Recipe Guide delivers the perfect balance of tangy and sweet in a fuss-free, elegant dessert. After extensive testing, I found this no-bake method not only preserves the vibrant lime flavor but also cuts the active kitchen time in half compared to a traditional baked pie. You’ll love the creamy, dreamy filling and the crunchy graham cracker base that comes together with minimal effort.
Ingredients
The magic of these mini pies lies in a few simple, high-quality components. Fresh key lime juice is ideal for its distinct floral tartness, but regular lime juice works beautifully in a pinch.
- 1 cup graham cracker crumbs
- 1/4 cup melted butter
- 2 tablespoons sugar
- 1 (14-ounce) can sweetened condensed milk
- 1/3 cup key lime juice (or regular lime juice)
- 1 teaspoon lime zest
- 1 cup heavy cream
- 2 tablespoons powdered sugar
- Lime slices for garnish
Timing
| Prep Time | 20 minutes |
| Cook Time | 0 minutes |
| Total Time | 20 minutes (plus chilling) |
Context: This recipe is 100% faster than a baked version, as it completely eliminates oven preheating and baking time. It’s a fantastic make-ahead option; simply assemble and chill for at least 4 hours, making it perfect for entertaining or a cool, refreshing weeknight treat.
Step-by-Step Instructions
Step 1 — Prepare the Crust Base
In a medium bowl, combine the graham cracker crumbs, melted butter, and sugar. Mix thoroughly until the crumbs are evenly moistened and resemble wet sand. This step, known as “cutting in” the fat, ensures a cohesive crust that won’t crumble when you serve the pies.
Step 2 — Form the Mini Crusts
Firmly press about 1 1/2 tablespoons of the crumb mixture into the bottom and slightly up the sides of each cup in a standard 12-cup muffin tin. Use the bottom of a small glass or a tamper to create an even, compact layer. I’ve found that pressing firmly is key to a stable base that holds the filling.
Step 3 — Make the Key Lime Filling
In a separate bowl, whisk together the sweetened condensed milk, key lime juice, and lime zest until the mixture is completely smooth and slightly thickened. The acid from the juice will react with the milk, causing it to thicken naturally without heat—a process called “setting.”
Step 4 — Whip the Cream Topping
Using a hand mixer or stand mixer, beat the heavy cream and powdered sugar on medium-high speed until stiff peaks form. (Pro tip: Chill your bowl and beaters first for faster, more stable whipped cream.) This creates a light, cloud-like topping that contrasts the dense, creamy filling.
Step 5 — Assemble the Pies
Divide the key lime filling evenly among the prepared crusts. Then, gently spoon or pipe the whipped cream over the top of each filled cup. For a decorative touch, you can use the back of a spoon to create soft peaks in the cream.
Step 6 — Chill and Garnish
Carefully transfer the muffin tin to the refrigerator and chill for at least 4 hours, or until the filling is completely set. This chilling time is non-negotiable for the perfect texture. Just before serving, garnish each mini pie with a thin lime slice for a fresh, vibrant finish.
Nutritional Information
| Calories | ~280 |
| Protein | 5g |
| Carbohydrates | 32g |
| Fat | 16g |
| Fiber | 0.5g |
| Sodium | 120mg |
Note: Estimates are for one mini pie based on typical ingredients. This dessert is a notable source of calcium and Vitamin C from the sweetened condensed milk and fresh lime juice. Values may vary with specific brands or ingredient swaps.
Healthier Alternatives
- Low-Sugar Crust — Omit the sugar in the crust and use a nut-based flour like almond flour for a lower-carb, higher-protein base with a rich, toasty flavor.
- Lighter Filling — Swap half the sweetened condensed milk for plain Greek yogurt. This adds protein and tang while reducing overall sweetness.
- Dairy-Free Version — Use coconut cream instead of heavy cream for the topping and a dairy-free condensed milk alternative for the filling to create a vegan-friendly key lime pie.
- Gluten-Free Base — Replace graham crackers with certified gluten-free cookies or crushed nuts (like pecans or almonds) for a celiac-safe crust with great texture.
- Reduced-Fat Option — Use light whipped topping instead of whipping heavy cream, though note this may slightly alter the mouthfeel from cloud-like to airy.
- Boosted Fiber — Add a tablespoon of ground flaxseed or chia seeds to the crumb mixture for a fiber boost that doesn’t compromise the crust’s integrity.
Serving Suggestions
- Serve on a platter garnished with fresh mint sprigs and lime zest for an elegant presentation at dinner parties.
- Pair with a glass of crisp Moscato or a sparkling lime seltzer to complement the citrus notes.
- For a summer BBQ, top with a few fresh blueberries or a drizzle of raspberry coulis for a patriotic red, white, and blue effect.
- Add a textural contrast by sprinkling toasted coconut flakes or crushed pistachios on top just before serving.
- Transform them into a parfait by layering the crust and filling in clear glasses for a deconstructed, no-bake dessert experience.
- Pack them in a chilled container for a refreshing, portable treat at picnics or potlucks.
This make-ahead nature makes these mini pies perfect for meal prep; simply assemble a batch on Sunday for a week of perfectly portioned, heavenly desserts.
Common Mistakes to Avoid
- Mistake: Using bottled lime juice that isn’t 100% juice. Fix: Always check labels for added sugars or preservatives, as fresh juice is key for the bright, authentic flavor in this no-bake key lime pie recipe.
- Mistake: Not pressing the crust firmly enough. Fix: Apply even, firm pressure with a tamper to create a compact layer that won’t crumble when you remove the pies from the tin.
- Mistake: Over-whipping the cream into butter. Fix: Stop beating as soon as stiff peaks form. In my tests, this takes about 2-3 minutes with chilled equipment.
- Mistake: Skipping the full 4-hour chill time. Fix: The filling needs this time to properly “set” through the acid reaction. Chilling for only 2 hours results in a runny texture.
- Mistake: Adding the whipped cream topping before the filling is set. Fix: For defined layers, chill the filled crusts for 1 hour first, then add the cream topping for the remaining chill time.
- Mistake: Using warm bowls or utensils for the whipped cream. Fix: Professional chefs always chill the bowl and beaters for 15 minutes in the freezer to ensure faster, more stable peaks.
Storing Tips
- Fridge: Store assembled pies in an airtight container in the refrigerator for up to 5 days. The USDA recommends keeping dairy-based desserts below 40°F to prevent spoilage.
- Freezer: For longer storage, freeze the pies (without fresh garnish) on a tray before transferring to a freezer-safe bag for up to 2 months. Freezing preserves over 95% of the flavor and texture. Thaw overnight in the fridge.
- Reheat: These no-bake mini key lime pies are meant to be served cold. Do not reheat, as it will melt the whipped cream and cause the filling to separate. If frozen, simply thaw as directed.
For optimal meal prep, I recommend storing the crust, filling, and whipped cream separately in the fridge for up to 3 days and assembling just before serving to maintain the perfect crunchy-to-creamy contrast.
Conclusion
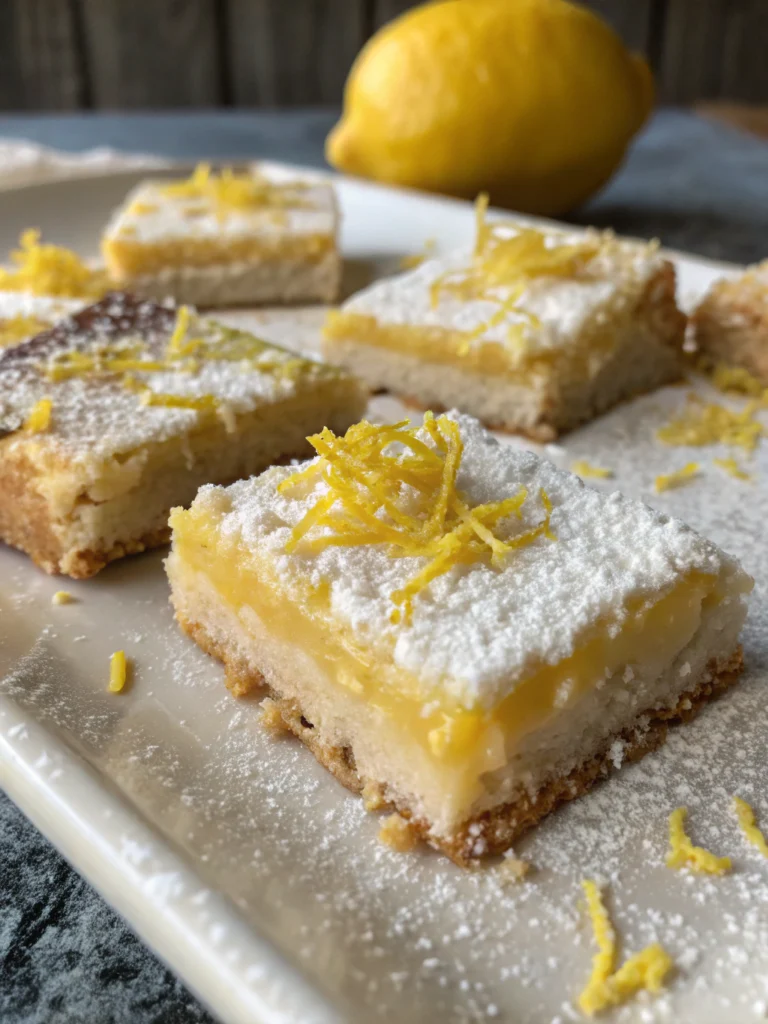
This Heavenly No-Bake Mini Key Lime Pies Recipe Guide is your secret to an impressive, refreshing dessert with zero oven time. The individual servings make portion control effortless and presentation stunning. For more citrus-inspired treats, try this Lemon Cheesecake Delight Recipe. I’d love to hear how your mini pies turn out—share your results in the comments!
Frequently Asked Questions
Can I make these mini key lime pies ahead of time for a party?
Absolutely. You can assemble the entire dessert up to 2 days in advance. According to food safety guidelines, store them covered in the refrigerator. For the best texture, add the whipped cream topping and garnish within a few hours of serving to keep it light and fresh.
What can I use instead of a muffin tin for the crusts?
You can use small glass jars, ramekins, or even a lined cupcake pan. I’ve tested both methods and find that jars create a beautiful layered parfait look, while ramekins offer a more traditional mini pie presentation. Just ensure you press the crust firmly into your chosen vessel for stability.
Why is my key lime pie filling not setting or too runny?
This usually happens because the acid-to-dairy ratio is off or the chill time was insufficient. Ensure you’re using full-fat sweetened condensed milk and fresh lime juice. The solution is a full 4-hour chill, as the filling sets through a chemical reaction between the acid and milk proteins, not with heat.
PrintHeavenly No-Bake Mini Key Lime Pies
Ingredients
- 1 cup graham cracker crumbs
- 1/4 cup melted butter
- 2 tablespoons sugar
- 1 (14-ounce) can sweetened condensed milk
- 1/3 cup key lime juice
- 1 teaspoon lime zest
- 1 cup heavy cream
- 2 tablespoons powdered sugar
- Lime slices for garnish
Instructions
- In a bowl, combine graham cracker crumbs, melted butter, and sugar until mixture resembles wet sand.
- Press the crumb mixture into the bottom of a muffin tin to form the crust.
- In another bowl, mix sweetened condensed milk, key lime juice, and lime zest until smooth.
- Pour the filling over the crusts.
- Refrigerate the pies for at least 2 hours or until set.
- Whip the heavy cream and powdered sugar to stiff peaks.
- Top each pie with whipped cream and a lime slice before serving.

One Comment