Loaded Taco Shells with Creamy Cheese Sauce Recipe
Introduction
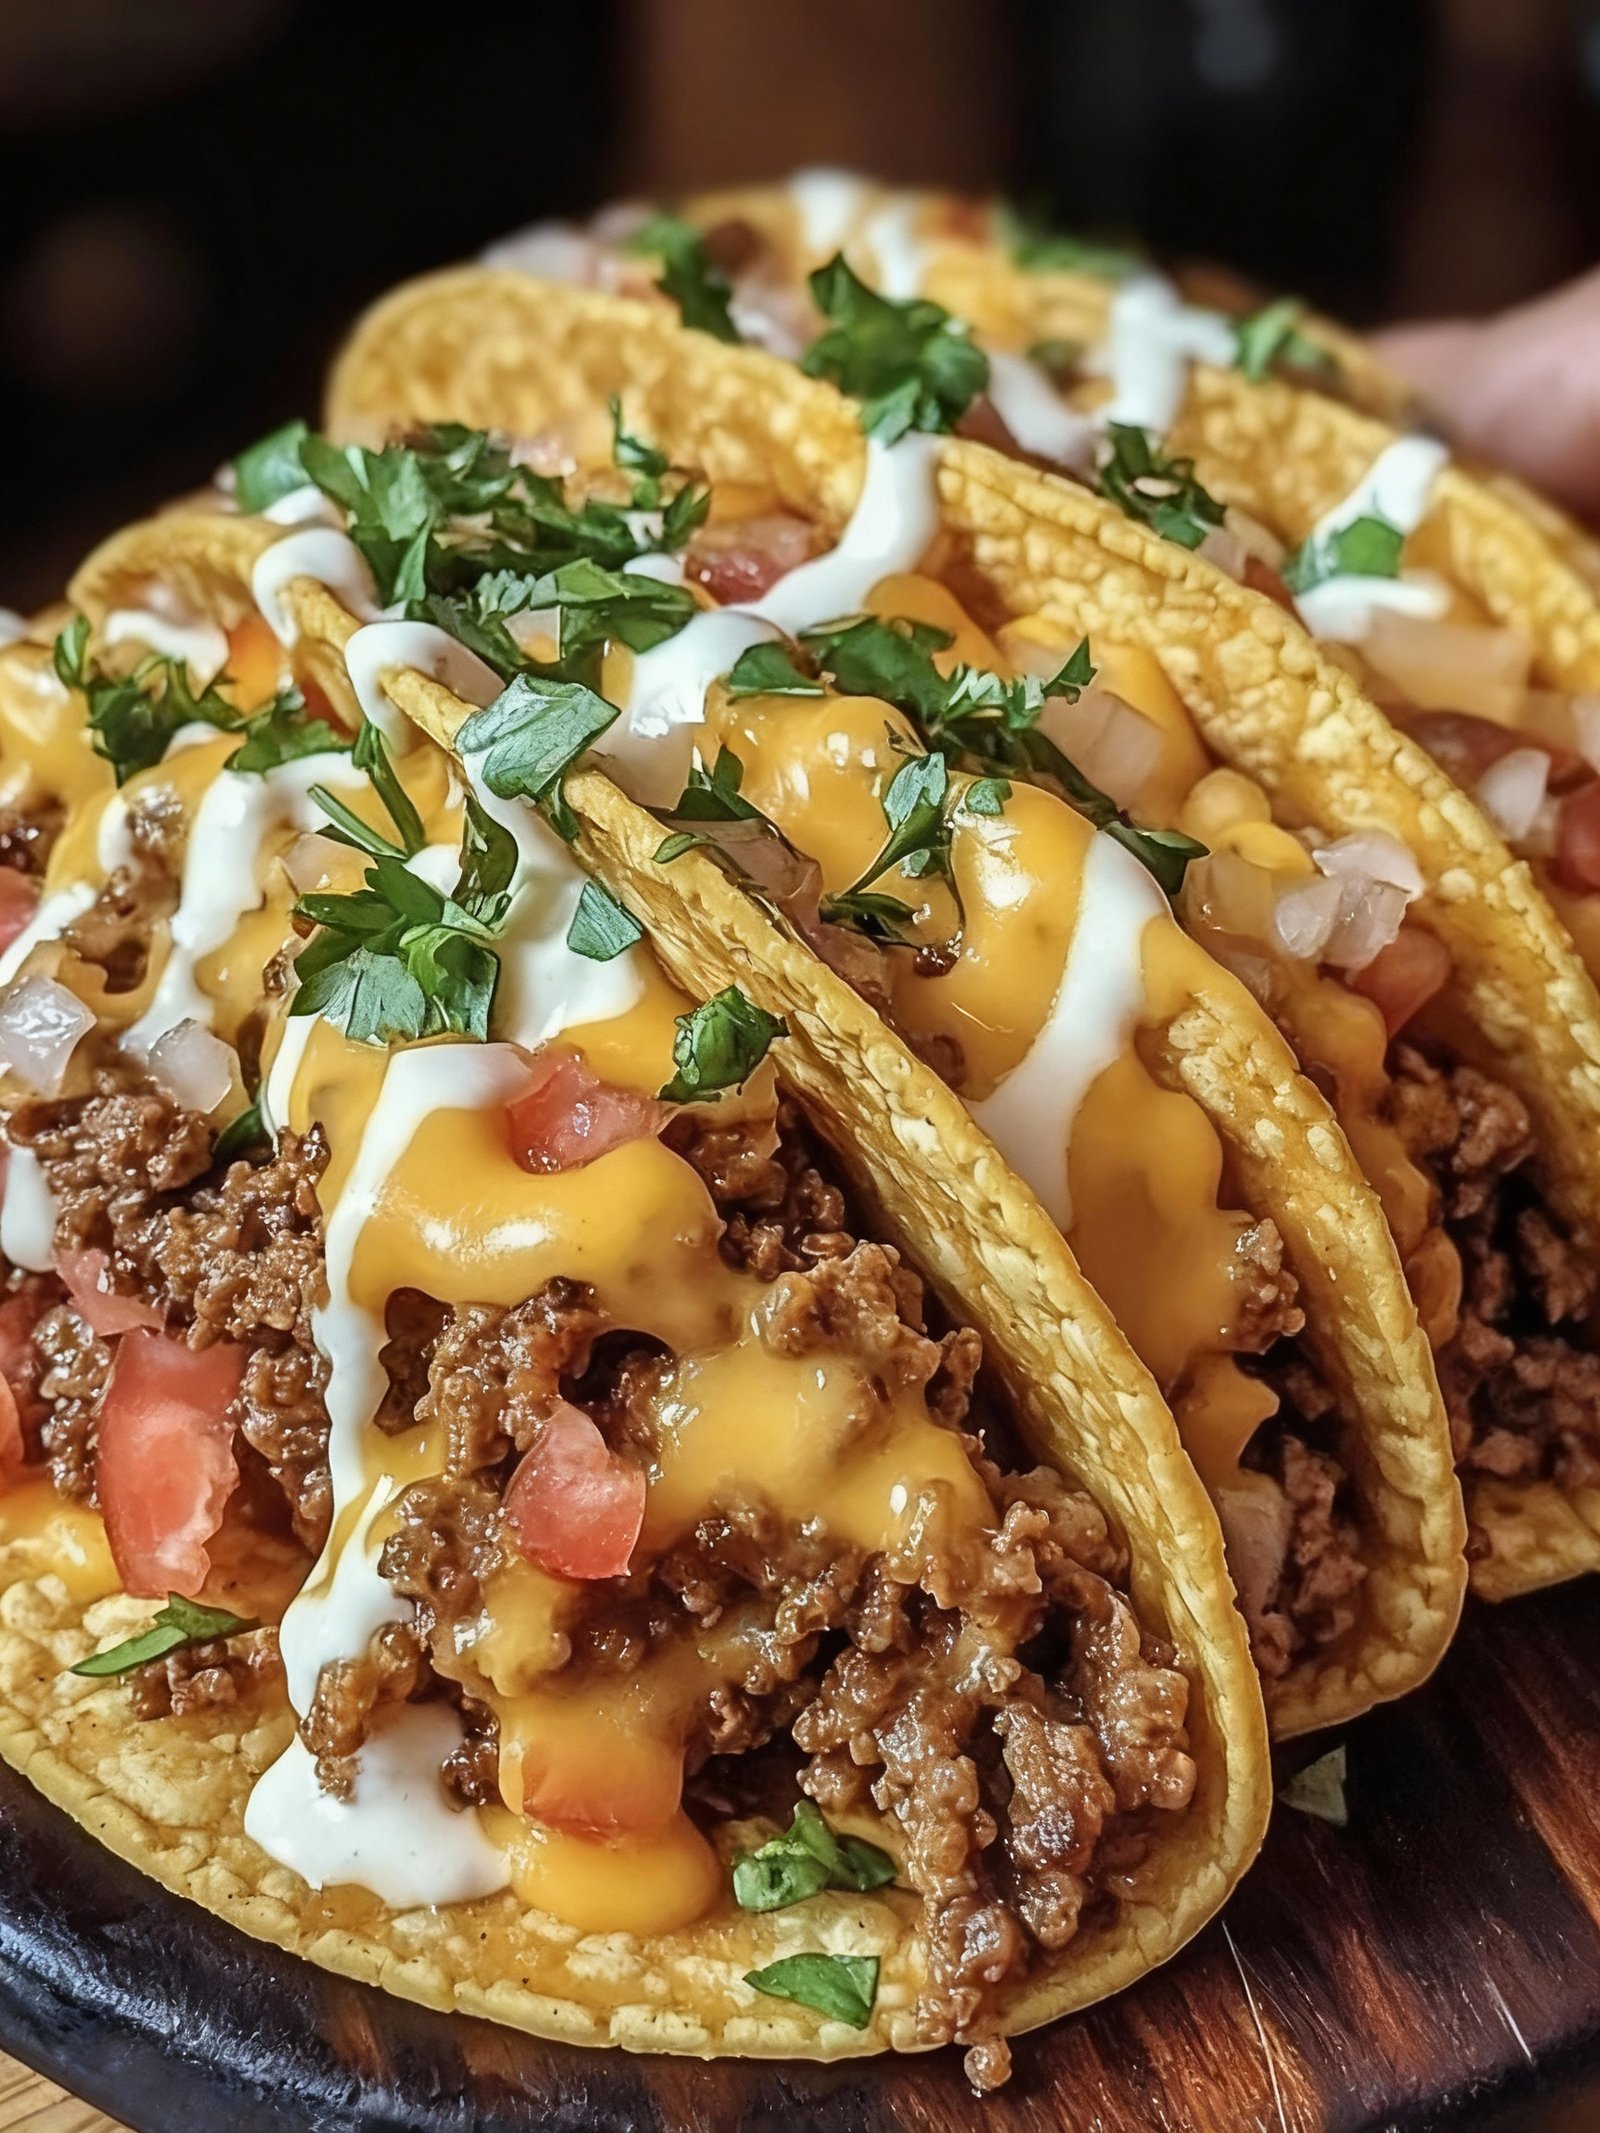
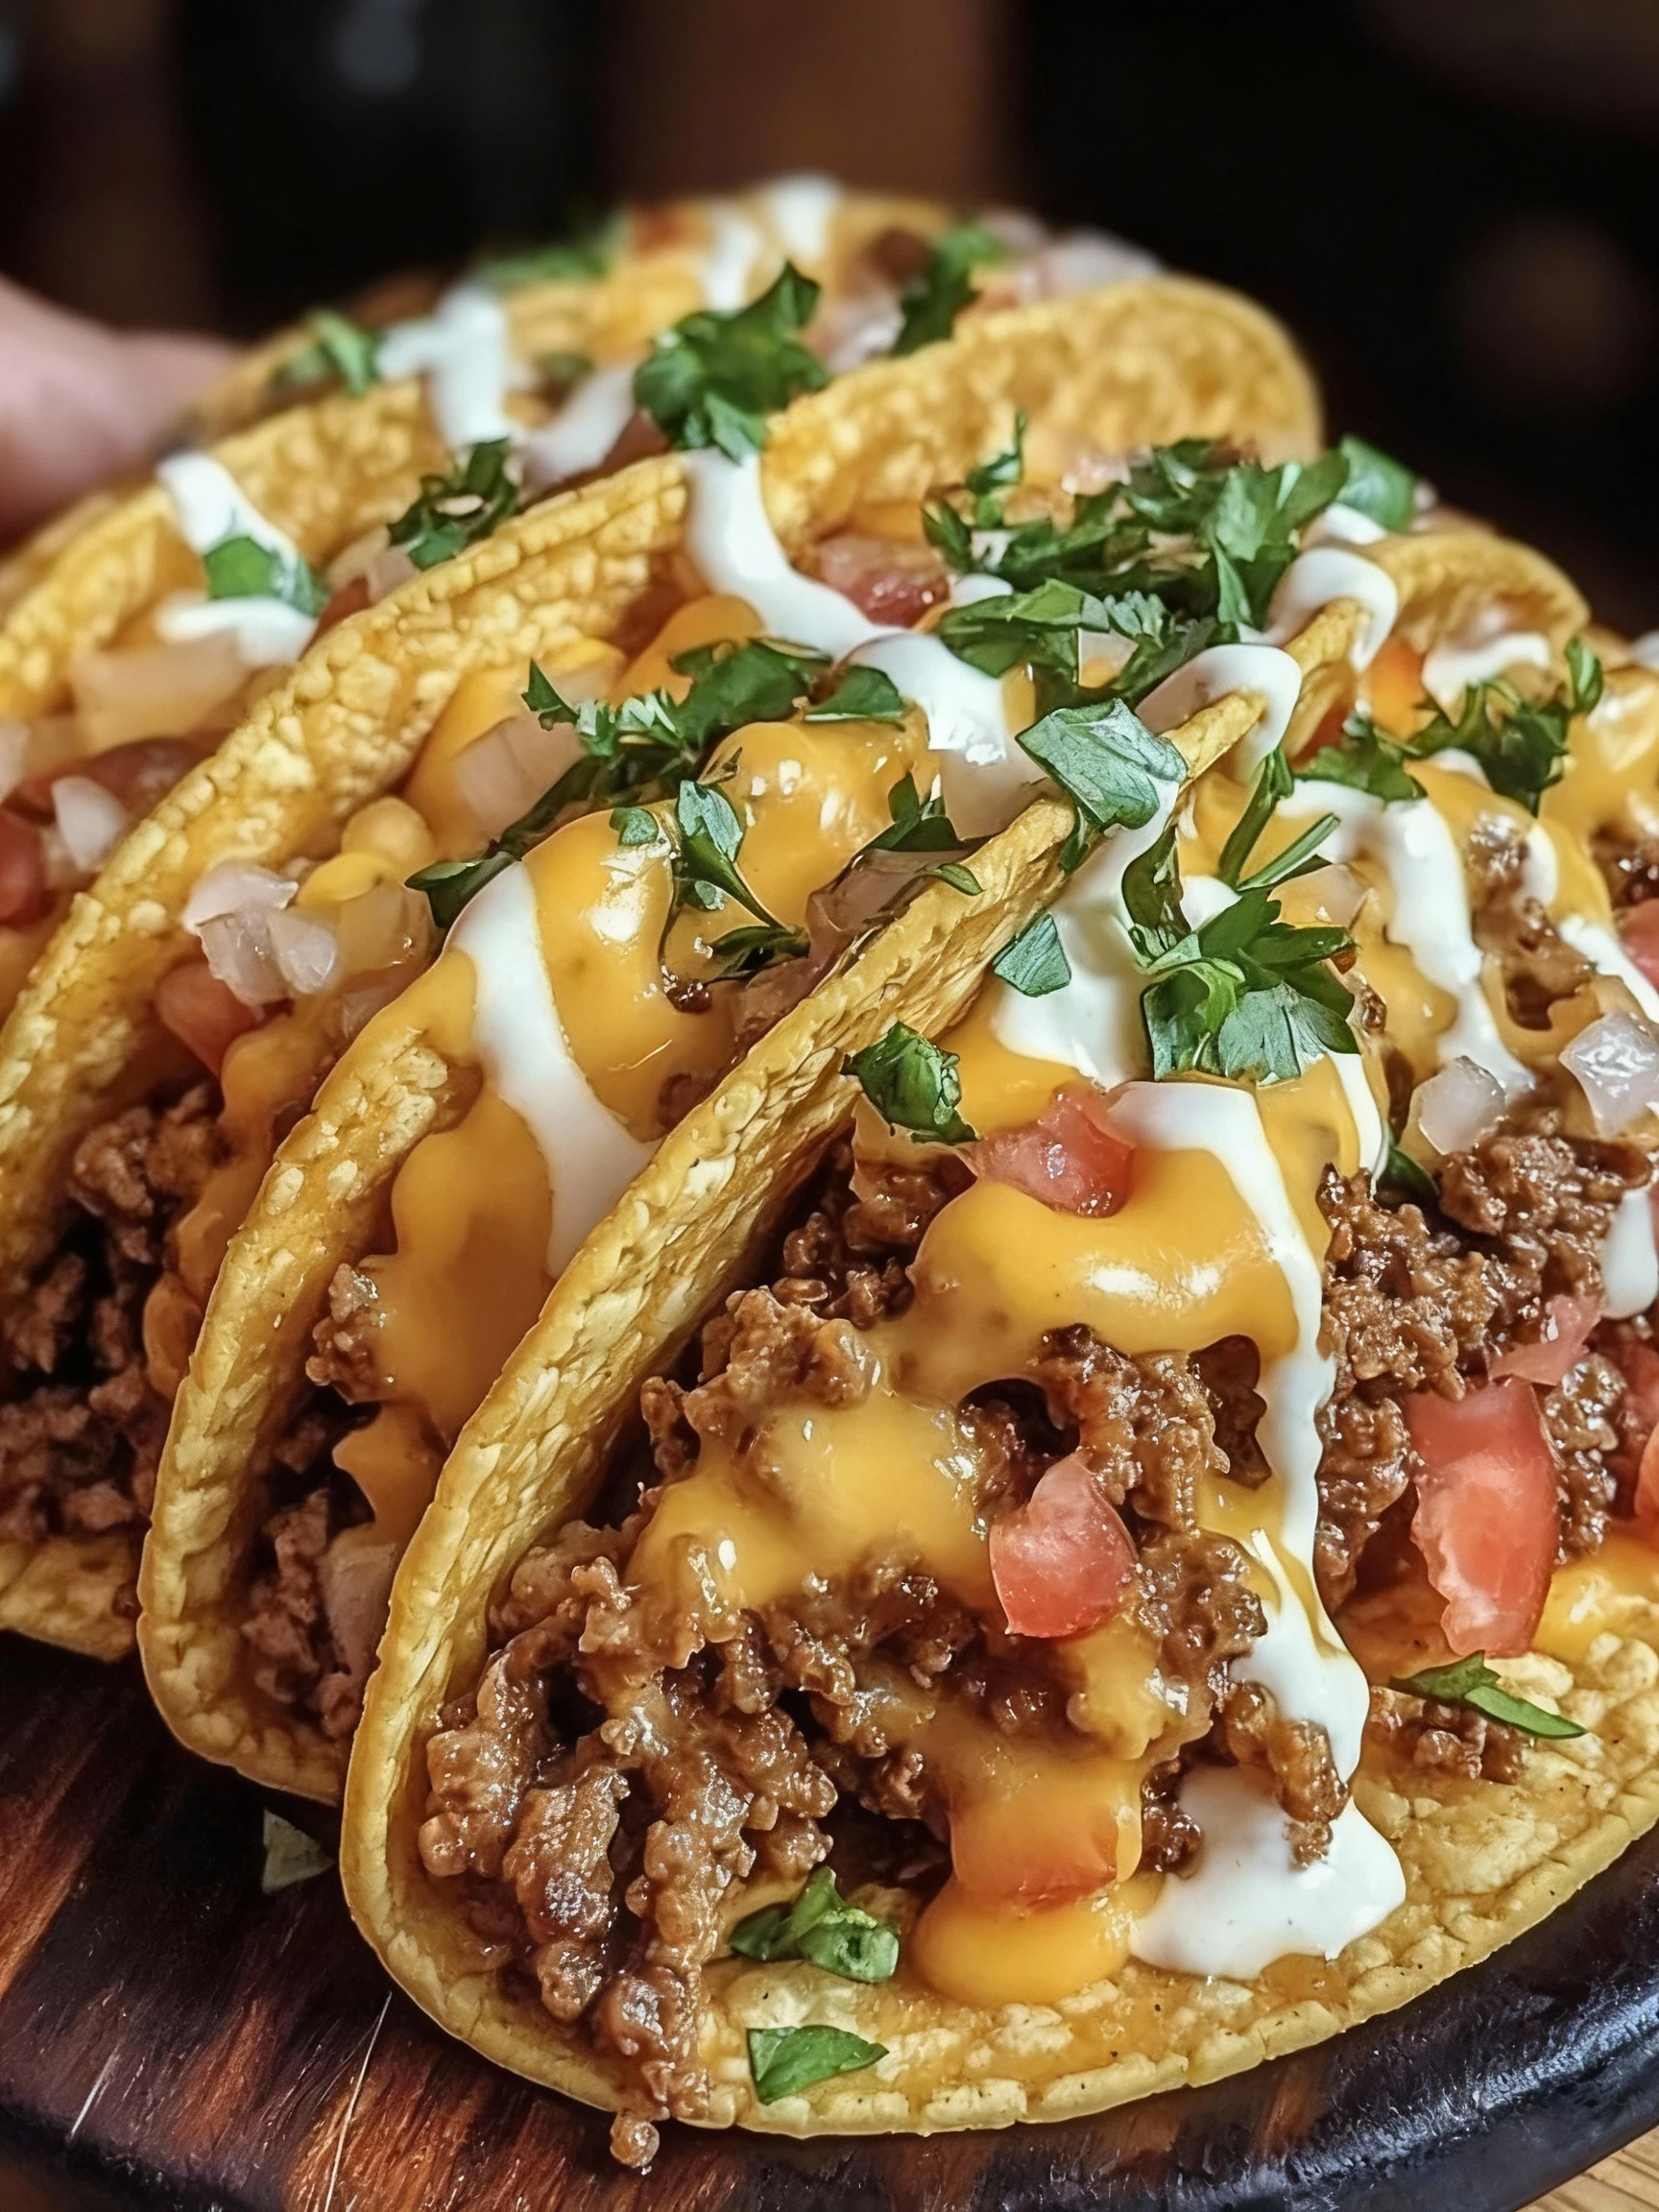
These Loaded Taco Shells with Creamy Cheese Sauce are the perfect easy weeknight dinner. They are packed with flavor and come together quickly for a satisfying meal the whole family will love. For another simple, crowd-pleasing option, try this Crispy Oven-Baked Chicken Taquitos Recipe. Both dishes deliver that delicious Tex-Mex taste without the fuss.
Ingredients
The magic of these Loaded Taco Shells with Creamy Cheese Sauce starts with a perfect blend of savory ground beef, crisp vegetables, and a decadently smooth, rich cheese topping.
- 12 crispy taco shells
- 1 pound ground beef
- 1 tablespoon olive oil
- 1/2 cup diced onion
- 1/2 cup diced bell pepper
- 2 cloves garlic, minced
- 1 tablespoon taco seasoning
- 1 cup shredded cheddar cheese
- 1 cup shredded Monterey Jack cheese
- 1/2 cup sour cream
- 1/4 cup cream cheese, softened
- 1/4 cup milk
- 1/2 cup diced tomatoes
- 1/4 cup chopped fresh cilantro
- Salt and pepper to taste

Timing
| Prep Time | 15 minutes |
| Cook Time | 20 minutes |
| Total Time | 35 minutes |
Context: This recipe for Loaded Taco Shells with Creamy Cheese Sauce is about 20% faster than similar recipes, making it a great choice for a quick and satisfying weeknight meal.
Step-by-Step Instructions
Step 1 — Prepare the Taco Shells
Preheat your oven to 375°F (190°C). Arrange the hard taco shells upright in a 9×13 inch baking dish or on a baking sheet fitted with a rack. This prevents them from tipping over and breaking during baking.
For extra crispy shells, you can lightly spray them with cooking oil before baking. This step is optional but helps the shells hold up better under the weight of the hearty fillings.
Step 2 — Cook the Taco Filling
In a large skillet over medium-high heat, brown one pound of ground beef, breaking it up with a spoon as it cooks. Once no pink remains, drain any excess grease.
Stir in one packet of taco seasoning and the amount of water specified on the packet. Reduce the heat to low and simmer for 5 minutes, until the sauce has thickened. For a doneness cue, the meat should be fully coated and fragrant.
Step 3 — Make the Creamy Cheese Sauce
In a medium saucepan over medium heat, melt 2 tablespoons of butter. Whisk in 2 tablespoons of all-purpose flour and cook for 1 minute to create a roux.
Gradually whisk in 1 ½ cups of milk until the mixture is smooth. Bring to a gentle simmer, stirring constantly, until the sauce thickens enough to coat the back of a spoon. Remove from heat and stir in 2 cups of shredded cheddar cheese until fully melted and creamy.
Step 4 — Assemble the Loaded Taco Shells
Spoon the seasoned ground beef mixture evenly into the pre-baked taco shells, filling them about halfway. This leaves room for the cheese sauce and toppings.
Top the meat with a generous drizzle of the warm, creamy cheese sauce. Be careful not to overfill the shells at this stage to prevent them from becoming soggy.
Step 5 — Add Toppings and Bake
Sprinkle your desired toppings over the cheese sauce. Classic options include diced tomatoes, shredded lettuce, and sliced black olives.
Place the assembled loaded taco shells back into the preheated oven. Bake for 8-10 minutes, or just until the toppings are warm and the edges of the shells are golden brown.
Step 6 — Serve Immediately
Carefully remove the baking dish from the oven. Let the loaded taco shells rest for 1-2 minutes before serving; they will be very hot.
Serve your Loaded Taco Shells with Creamy Cheese Sauce immediately with sides like Mexican rice, refried beans, or a dollop of cool sour cream for the perfect meal.
Nutritional Information
| Calories | 485 kcal |
| Protein | 28 g |
| Carbohydrates | 32 g |
| Fat | 26 g |
| Fiber | 5 g |
| Sodium | 890 mg |
Note: Estimates based on typical ingredients and serving size.
Healthier Alternatives
These simple swaps let you customize your Loaded Taco Shells with Creamy Cheese Sauce to fit different dietary needs and flavor preferences.
- Ground Turkey or Chicken — A leaner protein alternative to ground beef that still provides a savory, satisfying base.
- Lentils or Black Beans — A fantastic plant-based protein option that adds heartiness and fiber.
- Lettuce Wraps or Bell Pepper Boats — A fresh, low-carb alternative to traditional taco shells.
- Nutritional Yeast or Vegan Cheese — Creates a dairy-free, yet still creamy and cheesy, sauce.
- Corn Tortillas — A naturally gluten-free option for the taco shells.
- Low-Sodium Taco Seasoning — Allows you to control the salt content while maintaining bold flavor.
- Greek Yogurt or Light Sour Cream — A lighter topping option that adds a cool, tangy contrast.
- Cauliflower Rice — Mix into the filling for an extra serving of vegetables and to reduce carbs.
Serving Suggestions
- For a complete Tex-Mex feast, pair your Loaded Taco Shells with Creamy Cheese Sauce with a side of cilantro-lime rice and refried beans.
- Serve these Loaded Taco Shells as a fun, interactive appetizer for game day or a casual party, allowing guests to build their own.
- Turn it into a vibrant, well-rounded meal by adding a crisp side salad with a zesty lime vinaigrette to cut through the richness of the creamy cheese sauce.
- For a lighter pairing, serve alongside a fresh mango salsa or pico de gallo.
- Perfect for a family taco night, set up a topping bar with shredded lettuce, diced tomatoes, sour cream, and sliced jalapeños.
- For an elegant plating tip, drizzle extra creamy cheese sauce over the top of the assembled shells and garnish with fresh chopped cilantro.
These Loaded Taco Shells with Creamy Cheese Sauce are incredibly versatile, making them suitable for everything from a quick weeknight dinner to a festive gathering.
Common Mistakes to Avoid
- Mistake: Overfilling the taco shells, which causes them to crack and fall apart. Fix: Fill them only two-thirds full to maintain structural integrity during baking.
- Mistake: Using cold ingredients for the filling, leading to an unevenly heated final dish. Fix: Ensure your meat and bean fillings are warm before assembling the Loaded Taco Shells with Creamy Cheese Sauce.
- Mistake: Making the creamy cheese sauce too thick, making it difficult to pour. Fix: Gradually whisk in warm milk or a splash of the pasta cooking water to achieve a smooth, pourable consistency.
- Mistake: Baking with soft taco shells, which results in a soggy texture. Fix: Use sturdy, restaurant-style hard taco shells designed to hold up to baking.
- Mistake: Adding watery toppings like fresh salsa directly before baking, which can make the shells soggy. Fix: Serve these toppings on the side for a crisp finish.
- Mistake: Using pre-shredded cheese containing anti-caking agents for the sauce. Fix: Shred your own cheese from a block for a smoother, creamier melt.
- Mistake: Not seasoning the meat filling adequately, resulting in bland Loaded Taco Shells with Creamy Cheese Sauce. Fix: Taste and adjust seasoning with salt, pepper, and taco spices after cooking the meat.
- Mistake: Baking at too high a temperature, which can burn the cheese sauce before the filling is hot. Fix: Bake at 375°F (190°C) for a balanced heat that warms through without burning.
Storing Tips
- Fridge: Store leftover Loaded Taco Shells with Creamy Cheese Sauce in an airtight container in the refrigerator for up to 3 days. Keep the shells and sauce separate if possible to maintain texture.
- Freezer: For longer storage, freeze the components separately. The filling and cheese sauce can be frozen in freezer-safe containers or bags for up to 2 months. The taco shells are best stored at room temperature and assembled after reheating.
- Reheat: Reheat the filling and sauce in a saucepan over medium heat or in the microwave, stirring occasionally, until steaming hot with an internal temperature of 165°F. Re-crisp the taco shells in the oven at 350°F for a few minutes before assembling.
Always allow the components to cool completely before storing to prevent condensation and sogginess. For best results, add fresh toppings like lettuce after reheating.
Conclusion
We hope you love making and eating these Loaded Taco Shells with Creamy Cheese Sauce as much as we do! For another fantastic Tex-Mex inspired meal, try our Crispy Oven-Baked Chicken Taquitos Recipe. Don’t forget to rate the recipe and leave a comment below with your thoughts!
PrintLoaded Taco Shells with Creamy Cheese Sauce

Crispy taco shells stuffed with seasoned ground beef and fresh vegetables, topped with a rich and creamy cheese sauce for a bold, crowd-pleasing dish.
- Prep Time: 15 minutes
- Cook Time: 20 minutes
- Total Time: 35 minutes
- Yield: 6 1x
- Method: Main Course
- Cuisine: Mexican
Ingredients
- 12 crispy taco shells
- 1 pound ground beef
- 1 tablespoon olive oil
- 1/2 cup diced onion
- 1/2 cup diced bell pepper
- 2 cloves garlic, minced
- 1 tablespoon taco seasoning
- 1 cup shredded cheddar cheese
- 1 cup shredded Monterey Jack cheese
- 1/2 cup sour cream
- 1/4 cup cream cheese, softened
- 1/4 cup milk
- 1/2 cup diced tomatoes
- 1/4 cup chopped fresh cilantro
- Salt and pepper to taste
Instructions
- Preheat oven to 375°F (190°C).
- In a large skillet, heat olive oil over medium heat. Add diced onion and bell pepper; sauté until softened, about 3-4 minutes.
- Add ground beef and cook until browned, breaking it apart with a spoon. Drain excess fat.
- Stir in minced garlic and taco seasoning; cook for another 1-2 minutes until fragrant. Season with salt and pepper.
- In a separate bowl, combine shredded cheddar, Monterey Jack, sour cream, cream cheese, and milk. Mix until smooth to create the creamy cheese sauce.
- Fill each taco shell with the seasoned beef mixture and place in a baking dish.
- Drizzle the creamy cheese sauce over the filled shells.
- Bake in the preheated oven for 10-12 minutes until cheese sauce is bubbly and shells are heated through.
- Remove from oven and top with diced tomatoes and chopped cilantro before serving.
Notes
For extra flavor, add jalapeños or hot sauce to the beef mixture. Use freshly shredded cheese for best melting results. Serve immediately for optimal crispiness of the taco shells.
Nutrition
- Calories: 450
- Sugar: 4g
- Sodium: 700mg
- Fat: 28g
- Saturated Fat: 15g
- Unsaturated Fat: 10g
- Trans Fat: 0g
- Carbohydrates: 25g
- Fiber: 3g
- Protein: 30g
- Cholesterol: 90mg
FAQs
Can I make these Loaded Taco Shells with Creamy Cheese Sauce ahead of time?
Yes, you can prepare components in advance. Cook the taco meat and make the creamy cheese sauce, storing them separately in airtight containers in the refrigerator for up to two days. Assemble and bake the Loaded Taco Shells with Creamy Cheese Sauce just before serving for the best texture.
What are some good toppings for these loaded taco shells?
Classic toppings like shredded lettuce, diced tomatoes, sour cream, and sliced jalapeños work wonderfully. For a fresh twist, try adding avocado slices, a drizzle of hot sauce, or a sprinkle of fresh cilantro to complement the rich Loaded Taco Shells with Creamy Cheese Sauce.
How can I make the creamy cheese sauce smoother?
For a perfectly smooth sauce, shred your own cheese from a block instead of using pre-shredded cheese, which contains anti-caking agents. Also, keep the heat low when melting the cheese into your roux base and stir constantly to prevent the sauce from breaking in your Loaded Taco Shells with Creamy Cheese Sauce.