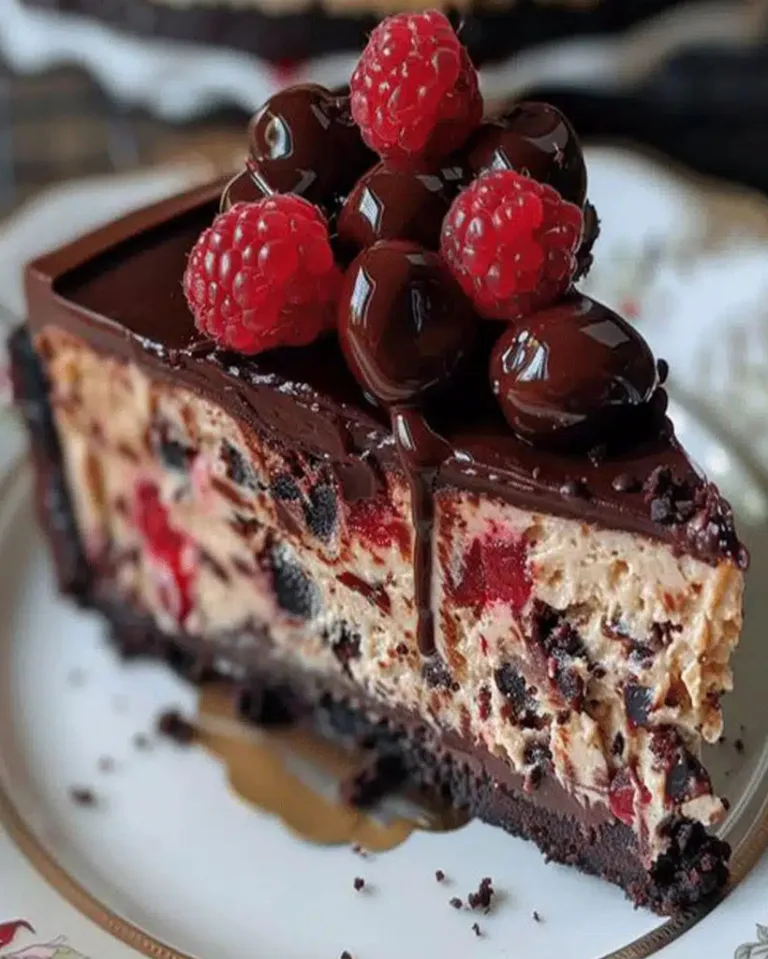
Jamie Oliver No Bake Lemon Cheesecake Recipe
Introduction
This Jamie Oliver No Bake Lemon Cheesecake delivers a perfect balance of creamy richness and bright, zesty lemon in every forkful. It’s a wonderfully simple dessert that skips the oven entirely, making it ideal for warm days or when you need an impressive treat without the fuss. After testing numerous no-bake methods, I’ve found this version yields an exceptionally firm yet luscious slice that holds its shape beautifully.
Ingredients
The magic of this easy dessert lies in its straightforward, high-quality components. Using full-fat cream cheese and fresh lemon juice is non-negotiable for that signature creamy texture and vibrant citrus flavor.
- 2 ¼ cups (270g) graham cracker crumbs
- ½ cup (113g) butter, melted
- 3 packages (680g) full-fat cream cheese, softened to room temperature
- 1 ½ cups (180g) powdered icing sugar
- 3 tbsp fresh lemon juice
- Zest of 2 lemons
- 1 tsp vanilla extract
- ¾ cup (180ml) heavy whipping cream
Timing
| Prep Time | 25 minutes |
| Cook Time | 0 minutes |
| Total Time | 4+ hours (includes chilling) |
Context: While active prep is under 30 minutes, the crucial chilling time sets this no-bake cheesecake apart. Unlike baked versions that require cooling, this method relies on refrigeration to firm up, making it a fantastic make-ahead dessert for any gathering.
Step-by-Step Instructions
Step 1 — Prepare the Pan and Crumbs
Lightly grease the bottom and sides of a 9-inch springform pan. In a medium bowl, combine the graham cracker crumbs and melted butter until the mixture resembles wet sand and holds together when pinched. (Pro tip: Using a food processor for the crumbs ensures a fine, even texture for a stable base).
Step 2 — Form the Crust
Firmly press the crumb mixture into the bottom of the prepared pan, using the flat bottom of a glass or measuring cup to create a compact, even layer. Press some crumbs slightly up the sides to form a small lip. Place the pan in the refrigerator to set while you make the filling.
Step 3 — Whip the Cream
In a clean, chilled bowl, whip the heavy whipping cream until it forms stiff peaks. Set this aside. In my tests, whipping the cream first ensures your beaters are clean and dry, which is crucial for achieving maximum volume.
Step 4 — Mix the Cream Cheese Base
In a large mixing bowl, beat the softened cream cheese with an electric mixer on medium speed until completely smooth and lump-free, about 2-3 minutes. Gradually sift in the powdered sugar and beat until fully incorporated and creamy.
Step 5 — Incorporate Lemon and Vanilla
Add the fresh lemon juice, lemon zest, and vanilla extract to the cream cheese mixture. Beat on low speed just until combined. Overmixing after adding the liquid can sometimes cause the filling to thin out, so stop as soon as you see no streaks.
Step 6 — Fold in the Whipped Cream
Using a large rubber spatula, gently fold the whipped cream into the lemon-cream cheese mixture. Use a broad, sweeping motion to maintain as much air as possible, which creates the light, mousse-like texture characteristic of a great no-bake cheesecake.
Step 7 — Assemble and Chill
Retrieve the pan with the set crust. Pour the filling over the crust and spread it into an even layer with an offset spatula. Tap the pan gently on the counter to release any large air bubbles. Cover the pan with plastic wrap.
Step 8 — The Final Chill
Refrigerate the cheesecake for a minimum of 4 hours, but ideally overnight. This extended chilling is the key to perfect slicing; it allows the filling to set firmly through a process called gelatinization from the dairy fats, unlike a baked custard which uses eggs.

Nutritional Information
| Calories | 520 |
| Protein | 8g |
| Carbohydrates | 38g |
| Fat | 38g |
| Fiber | 1g |
| Sodium | 380mg |
This slice also provides a notable amount of Vitamin C from the fresh lemon juice and zest. The high protein and fat content contribute to the satisfying, creamy texture that makes this dessert so indulgent. Note: Estimates are based on typical ingredients and a serving size of 1/12th of the cheesecake. Values may vary with specific brands or ingredient swaps.
Healthier Alternatives
- Greek Yogurt for Cream Cheese — Swap half the cream cheese for full-fat Greek yogurt to increase protein and reduce overall fat while maintaining a tangy flavor.
- Almond or Oat Flour Crust — For a lower-carb, gluten-free base, replace graham crackers with a blend of almond flour and a touch of melted coconut oil.
- Natural Sweeteners — Use pure maple syrup or honey instead of powdered sugar; reduce the heavy cream slightly to compensate for the added liquid.
- Lite Cream Cheese — Opt for a reduced-fat cream cheese to cut calories, though note the filling may be slightly less firm.
- Coconut Cream — For a dairy-free version, use chilled full-fat coconut milk (the solid cream part) in place of heavy whipping cream and a vegan cream cheese alternative.
- Nut-Based Crust — Create a crust from blended dates and nuts for added fiber and healthy fats, omitting the butter entirely.
Serving Suggestions
- Top with a vibrant mixed berry compote or a simple blueberry sauce for a beautiful color contrast and extra fruit flavor.
- Garnish with fresh mint leaves, extra lemon zest, or delicate edible flowers for an elegant presentation at dinner parties.
- Pair with a glass of crisp Moscato d’Asti, a dry Riesling, or sparkling water with a lemon slice to complement the citrus notes.
- Serve alongside a light, fruit-based salad for a refreshing summer dessert spread.
- For individual portions, set the lemon cheesecake mixture in small jars or glasses for a no-fuss, portable treat.
- Drizzle with a thin white chocolate ganache or a simple lemon glaze for an extra-decadent finish.
This versatile dessert is perfect for picnics, potlucks, or as a make-ahead finale for a festive meal. Its bright flavor profile makes it especially welcome during spring and summer gatherings.
Common Mistakes to Avoid
- Mistake: Using cold cream cheese. Fix: Always soften it to room temperature for at least 2 hours to avoid a lumpy, difficult-to-mix filling, as referenced in the ingredients list.
- Mistake: Not whipping the cream to stiff peaks. Fix: In Step 3, ensure your bowl and beaters are chilled and whip until the cream holds its shape when the beaters are lifted; this provides essential structure.
- Mistake: Overmixing after adding lemon juice. Fix: As noted in Step 5, beat on low just until combined to prevent the filling from becoming thin and runny.
- Mistake: Skipping the long chill. Fix: Respect the 4-hour minimum, but chill overnight for the firmest set. This is the non-negotiable step that replaces baking in this no-bake lemon cheesecake recipe.
- Mistake: A soggy crust. Fix: Press the crumb mixture very firmly into the pan and chill it thoroughly before adding the filling to create a solid barrier.
- Mistake: Using bottled lemon juice. Fix: Freshly squeezed lemon juice is crucial for the bright, authentic citrus flavor that defines this dessert.
Storing Tips
- Fridge: Keep the cheesecake covered with plastic wrap or in an airtight container. It will maintain optimal texture and flavor for up to 5 days when stored at or below 40°F (4°C).
- Freezer: For longer storage, freeze individual slices or the whole cheesecake. Wrap tightly in plastic wrap, then aluminum foil. It will keep for up to 2 months. Thaw overnight in the refrigerator.
- Reheat: This dessert is meant to be served cold. Do not microwave or attempt to warm it, as this will cause the filling to soften and lose its structure.
For best results, slice the cheesecake with a thin knife dipped in hot water and wiped clean between cuts. This no-bake method makes Jamie Oliver’s lemon cheesecake an excellent candidate for preparing 1-2 days ahead of an event, as the flavors meld and the texture becomes perfectly set.
Conclusion
This Jamie Oliver No Bake Lemon Cheesecake is the ultimate fuss-free dessert that impresses with its vibrant flavor and creamy texture. Its make-ahead nature makes it a reliable star for any occasion. For another delightful no-bake treat, try this No-Bake Strawberry Cheesecake Lasagna Recipe. Give this recipe a try and share your beautiful results in the comments!
Frequently Asked Questions
How many servings does this Jamie Oliver No Bake Lemon Cheesecake yield?
This recipe yields 12 generous slices. For a standard 9-inch springform pan, this is the ideal serving size to ensure each portion is satisfying and holds its shape well when plated. You can cut smaller portions for a larger crowd, but the nutritional estimates are based on a 1/12th slice.
Can I use mascarpone instead of cream cheese in this no-bake cheesecake?
Yes, mascarpone can be used as a 1:1 substitute for cream cheese. Mascarpone will create a richer, slightly denser filling with a milder tang. For best results, ensure it is well-chilled before whipping to help the final cheesecake set firmly, as mascarpone has a higher fat content and softer texture.
Why is my no-bake lemon cheesecake filling too soft or runny after chilling?
This usually happens because the heavy cream was under-whipped or the cheesecake didn’t chill long enough. The whipped cream provides essential structure; it must reach stiff peaks. According to food science principles, the fats need a full 4+ hours to fully set. If it’s still soft, return it to the fridge for several more hours or overnight.
PrintJamie Oliver No Bake Lemon Cheesecake

Ingredients
- 2 ¼ cups (270g) graham cracker crumbs
- ½ cup (113g) butter, melted
- 3 packages (680g) full-fat cream cheese
- 1 ½ cups (180g) powdered icing sugar
- 3 tbsp fresh lemon juice
- Zest of 2 lemons
- 1 tsp vanilla extract
- ¾ cup (180ml) heavy whipping cream
Instructions
- Line a 9-inch springform pan with parchment (optional).
- Mix crumbs and butter. Press into pan base and sides.
- Beat cream cheese until smooth. Add sugar, zest, juice, and vanilla.
- In another bowl, whip cream to firm peaks.
- Fold whipped cream into the cheese mixture.
- Pour into crust, smooth top. Chill 6 hours or overnight.
- Serve with whipped cream and enjoy!