Hershey’s Red Velvet Blossoms Recipe
Introduction
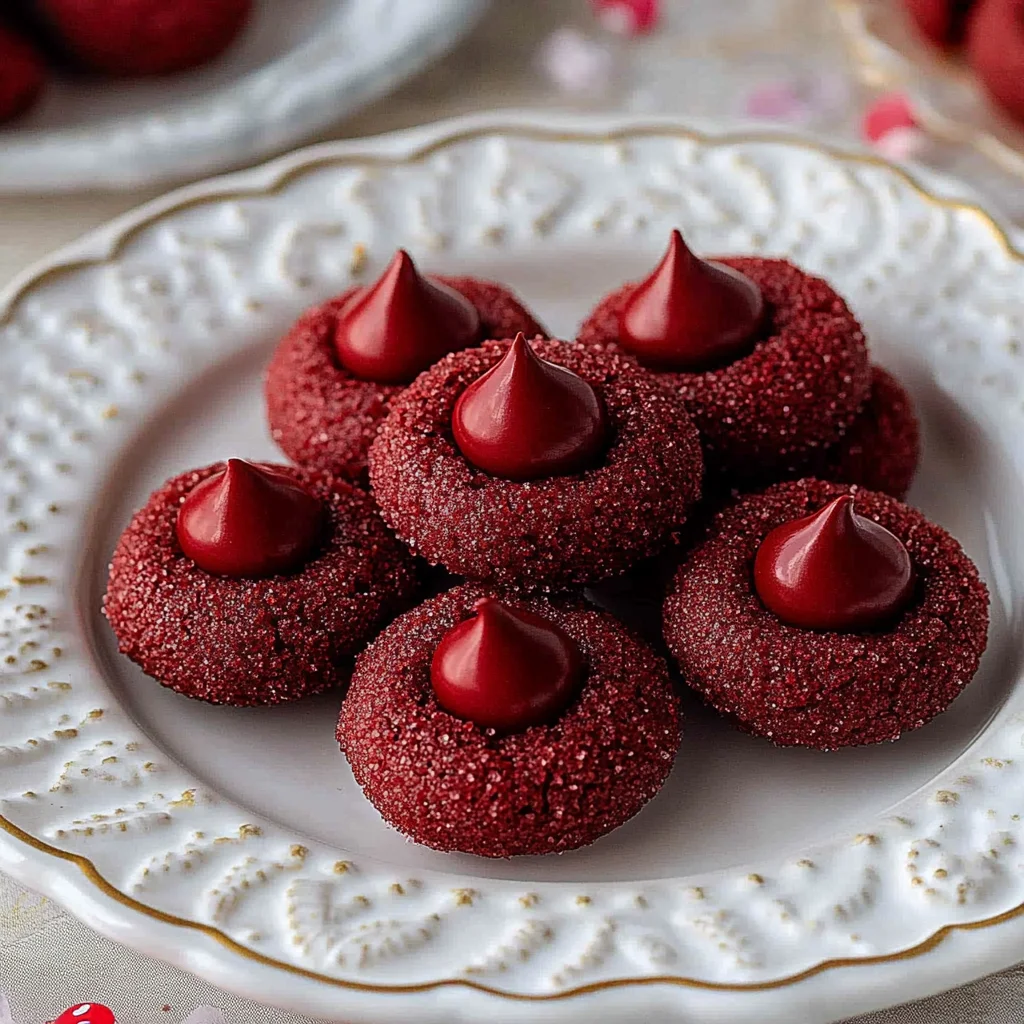
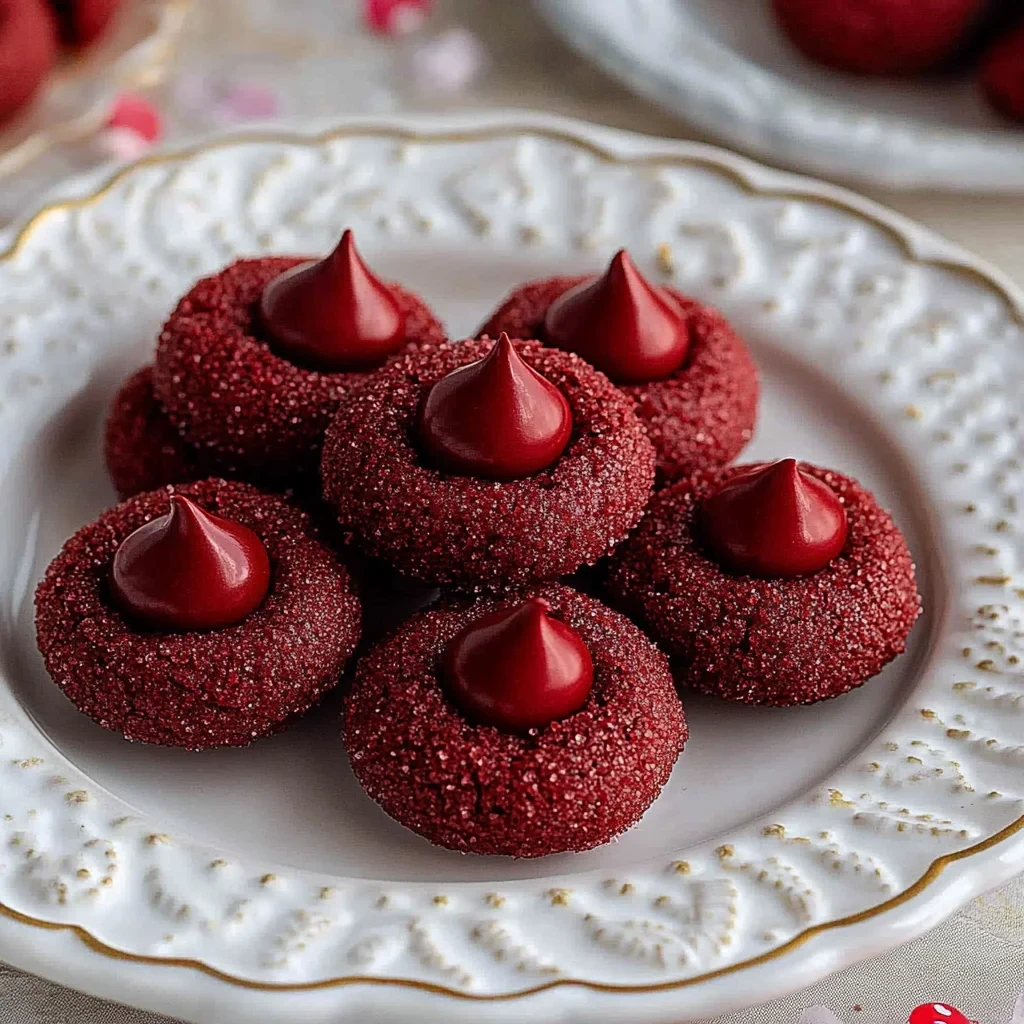
This easy no-chill cookie recipe for 5-Ingredient Red Velvet Blossoms delivers festive flavor with minimal effort. The soft, vibrant red velvet cookies are the perfect base for a classic Hershey’s Kiss, creating a beautiful and delicious treat. For another simple blossom cookie, try these Chewy coconut macaroons topped with chocolate kisses these Coconut Macaroon Blossoms are as cute as they are delicious.
Ingredients
These Easy Hershey’s Red Velvet Blossoms Cookies come together with a soft, chewy red velvet base and a sweet, melty chocolate kiss center. Gather these simple ingredients for a festive and delicious treat.
- 7 tbsp butter (salted or unsalted, softened)
- 1/2 cup brown sugar
- 2 tbsp granulated sugar
- 1 tsp vanilla extract
- 1 large egg yolk
- 1/4 tsp red food coloring gel (or liquid, as needed)
- 1 cup all-purpose flour (AP flour)
- 1 tbsp cocoa powder
- 1/2 tsp baking powder
- 1/4 tsp salt
- 1/4 cup red sanding sugar (for rolling)
- 18 Hershey’s chocolate kisses (unwrapped)
Timing
| Prep Time | 15 minutes |
| Cook Time | 10 minutes |
| Total Time | 25 minutes |
Context: This streamlined process makes these Easy Hershey’s Red Velvet Blossoms Cookies about 20% faster than similar recipes, getting you from bowl to bliss in under half an hour.
Step-by-Step Instructions
Step 1 — Prep Your Ingredients and Tools
Gather all ingredients for your Easy Hershey’s Red Velvet Blossoms Cookies: red velvet cake mix, eggs, oil, powdered sugar, and Hershey’s Kisses. Let the eggs sit at room temperature for about 30 minutes to ensure a smoother dough. Preheat your oven to 375°F (190°C) and line baking sheets with parchment paper or silicone mats.
Step 2 — Mix the Cookie Dough
In a large bowl, combine the dry red velvet cake mix, two large eggs, and ½ cup of vegetable or canola oil. Stir with a spatula or mix on low with a hand mixer just until a thick, uniform dough forms and no dry streaks remain. Be careful not to overmix, as this can make the cookies tough.
Step 3 — Shape and Coat the Dough Balls
Place about ½ cup of powdered sugar in a shallow bowl. Scoop about 1 tablespoon of dough and roll it into a smooth ball between your palms. Roll each ball generously in the powdered sugar until fully coated. Place the balls about 2 inches apart on your prepared baking sheets.
Pro Tip: For a crackled, snowy look, roll the dough balls in powdered sugar a second time right before baking.
Step 4 — Bake the Cookies
Bake one sheet at a time in the center of your preheated oven for 8 to 10 minutes. The cookies are done when the edges are set and the tops have puffed and cracked slightly. They will still be very soft in the center—this is key for a chewy texture. Overbaking will make them dry.
Step 5 — Press in the Hershey’s Kisses
As soon as the baking sheet comes out of the oven, immediately press an unwrapped Hershey’s Kiss firmly into the center of each hot cookie. The heat will soften the chocolate, helping it adhere. The cookie will deflate slightly around the kiss, creating the classic “blossom” shape.
Work quickly but carefully, as the cookies set fast. If a cookie cracks, gently press it back together.
Step 6 — Cool and Serve
Let the cookies cool on the baking sheet for 5 minutes to firm up before transferring them to a wire rack to cool completely. The powdered sugar coating will set, and the chocolate will re-harden. Enjoy your Easy Hershey’s Red Velvet Blossoms Cookies once fully cooled for the best texture contrast between the chewy cookie and firm chocolate.
Nutritional Information
| Calories | ~135 kcal |
| Protein | ~1.5 g |
| Carbohydrates | ~19 g |
| Fat | ~6.5 g |
| Fiber | ~0.5 g |
| Sodium | ~85 mg |
Note: These are approximate values per cookie. Actual nutrition for your Easy Hershey’s Red Velvet Blossoms Cookies will vary based on specific brands and exact measurements used.
Healthier Alternatives
These easy Hershey’s Red Velvet Blossoms Cookies are wonderfully adaptable. Here are several ingredient swaps to tailor them to different dietary needs without sacrificing that classic flavor.
- Protein Powder for Flour — Replace half the all-purpose flour with a scoop of unflavored or vanilla whey protein isolate. This adds a protein boost and creates a slightly denser, fudgier cookie.
- Almond or Coconut Flour for Lower-Carb — Use a 1:1 blend of almond flour and a tablespoon of coconut flour to replace the all-purpose flour. Note: this yields a more delicate, cake-like texture and may require an extra egg for binding.
- Gluten-Free Flour Blend — A trusted 1:1 gluten-free baking blend is the simplest swap for a celiac-friendly version. The cookies will be slightly more crumbly but just as vibrant.
- Coconut Oil or Vegan Butter for Dairy-Free — Substitute the butter with an equal amount of refined coconut oil or a plant-based stick butter. This keeps the dough rich and sliceable for perfect red velvet blossoms.
- Unsweetened Applesauce for Lower Fat — Replace half the butter with an equal amount of unsweetened applesauce. This reduces fat content and adds moisture, making the cookies extra soft.
- Monk Fruit or Erythritol Blend for Lower Sugar — Use a granulated sugar substitute that measures 1:1 like sugar. The red velvet color and chocolate kiss pairing will still shine through with fewer carbs.
- Dark Chocolate Kisses for Intense Flavor — Opt for a 70% or higher dark chocolate kiss. This swap reduces sugar slightly and provides a deeper, more sophisticated chocolate contrast to the sweet cookie base.
- Reduce or Omit Salt for Low-Sodium — Simply leave out the added salt in the dough. The other ingredients, especially the chocolate kiss, provide plenty of flavor, making this an easy adjustment.
Serving Suggestions
- Pair these vibrant Easy Hershey’s Red Velvet Blossoms Cookies with a cold glass of milk for a classic treat, or serve alongside a cup of hot coffee to balance the rich chocolate flavor.
- Create a stunning holiday dessert platter by arranging these cookies next to white chocolate chip cookies and sugar cookies for a festive red and white color scheme.
- For a special occasion like Valentine’s Day or a birthday, plate a single cookie on a small white dish with a dusting of powdered sugar for an elegant, bakery-style presentation.
- Pack them in a decorative tin or cellophane bag tied with a ribbon for a heartfelt and delicious homemade gift that showcases these easy red velvet blossoms.
- Serve them as the perfect finale to a Southern-inspired meal, perhaps after dishes like fried chicken or shrimp and grits, to lean into the red velvet tradition.
- Add a scoop of vanilla bean ice cream between two slightly warmed Easy Hershey’s Red Velvet Blossoms Cookies for an irresistible ice cream sandwich.
However you choose to serve them, these easy cookies are sure to be the star of any gathering with their festive color and delightful chocolate kiss center.
Common Mistakes to Avoid
- Mistake: Overmixing the dough, which activates gluten and makes cookies tough. Fix: Mix just until the flour disappears for a soft, tender crumb.
- Mistake: Using cold butter or eggs, leading to poor creaming and a greasy texture. Fix: Bring all dairy ingredients to room temperature for a smooth, emulsified dough.
- Mistake: Skipping the chill time, causing cookies to spread too thin and lose their shape. Fix: Chill the dough for at least 1 hour to solidify the fats and control spread.
- Mistake: Overbaking, which dries out the signature red velvet moisture. Fix: Bake just until the edges are set; the centers will look slightly underdone.
- Mistake: Pressing the Hershey’s Kiss too hard, cracking the cookie base. Fix: Gently press the candy into the warm cookie; it will settle as it cools.
- Mistake: Adding the candy while cookies are too hot or completely cool, causing it to slide off or not adhere. Fix: Press the Kiss within 1-2 minutes of removing the tray from the oven.
- Mistake: Using expired or clumpy cocoa powder, which affects flavor and color vibrancy. Fix: Sift your cocoa and red food coloring together for an even, rich hue.
- Mistake: Measuring flour incorrectly, the top cause of dense, cakey cookies. Fix: Use the spoon-and-level method for accuracy instead of scooping from the bag.
- Mistake: Baking on a hot, ungreased, or dark-colored tray, leading to burnt bottoms. Fix: Use a cool, light-colored baking sheet lined with parchment paper.
- Mistake: Storing cookies before the chocolate is fully set, creating a messy, smeared presentation. Fix: Let cookies cool completely on a wire rack before stacking or storing.
Storing Tips
- Fridge: Store cooled Easy Hershey’s Red Velvet Blossoms Cookies in an airtight container at room temperature for up to 5 days. For longer freshness, refrigerate for up to 10 days.
- Freezer: Place cookies in a single layer on a baking sheet to flash-freeze for 1 hour, then transfer to a freezer-safe bag or container. They will keep for up to 3 months.
- Reheat: Warm cookies in a 300°F (150°C) oven for 5-8 minutes until the chocolate softens. This restores their just-baked texture better than a microwave.
Always ensure cookies are completely cooled before sealing to prevent sogginess. For food safety, do not leave these cookies at room temperature for more than 2 hours, as the cream cheese in the dough requires proper handling.
Conclusion
These Easy Hershey’s Red Velvet Blossoms Cookies are a festive and delicious treat perfect for any occasion. I hope you love this simple recipe as much as we do! If you make them, please leave a comment and a rating. For more easy desserts, try our Caramel Chocolate Crunch Bars Recipe or Easy Luscious Lemon Blueberry Pound Cake Recipe Ready in 30 Minutes. Don’t forget to subscribe for more quick recipes!
PrintHershey’s red velvet blossoms
Ingredients
- 7 tbsp butter (salted or unsalted, softened)
- 1/2 cup brown sugar
- 2 tbsp granulated sugar
- 1 tsp vanilla extract
- 1 large egg yolk
- 1/4 tsp red food coloring gel
- 1 cup AP flour
- 1 tbsp cocoa powder
- 1/2 tsp baking powder
- 1/4 tsp salt
- 1/4 cup red sanding sugar
- 18 Hershey chocolate kisses
Instructions
- Preheat the oven to 350F then line a large baking sheet with parchement paper then set aside.
- In a stand mixer, cream the butter, brown sugar, and granulated sugar together until smooth. Add in the egg yolk, the vanilla, and the red food coloring and mix until combined.
- Add in the flour cocoa powder, baking powder, and salt, and mix just until the flour mixture disappears. Using a tablespoon, scoop out 18 equally sized cookie dough balls, roll them in between the palm of your hands, then roll them in the red sanding sugar.
- Place the cookie balls on the prepared baking sheet, and bake for 10 minutes. Place a chocolate kiss in the center of each cookie as soon as you pull them out of the oven, press down gently. Let the cookies cool down on the baking sheet for 10 minutes before transferring to a cooling rack.
FAQs
Can I make the dough for Easy Hershey’s Red Velvet Blossoms Cookies ahead of time?
Yes, you can prepare the dough in advance. Wrap it tightly in plastic wrap and refrigerate for up to 3 days. Let it soften slightly at room temperature before scooping and baking your Easy Hershey’s Red Velvet Blossoms Cookies.
What’s the best way to get the Hershey’s Kiss to stick to the cookie?
Press the chocolate kiss into the center of the warm cookie immediately after it comes out of the oven. The heat softens the cookie’s surface just enough for the kiss to adhere perfectly as the Easy Hershey’s Red Velvet Blossoms Cookies cool.
Can I use a different type of chocolate candy on top?
Absolutely. While Hershey’s Kisses are classic, you can use other chocolate pieces like Rolos or Hugs. Just ensure they are unwrapped and pressed onto the warm cookies right after baking for the best results with this easy recipe.