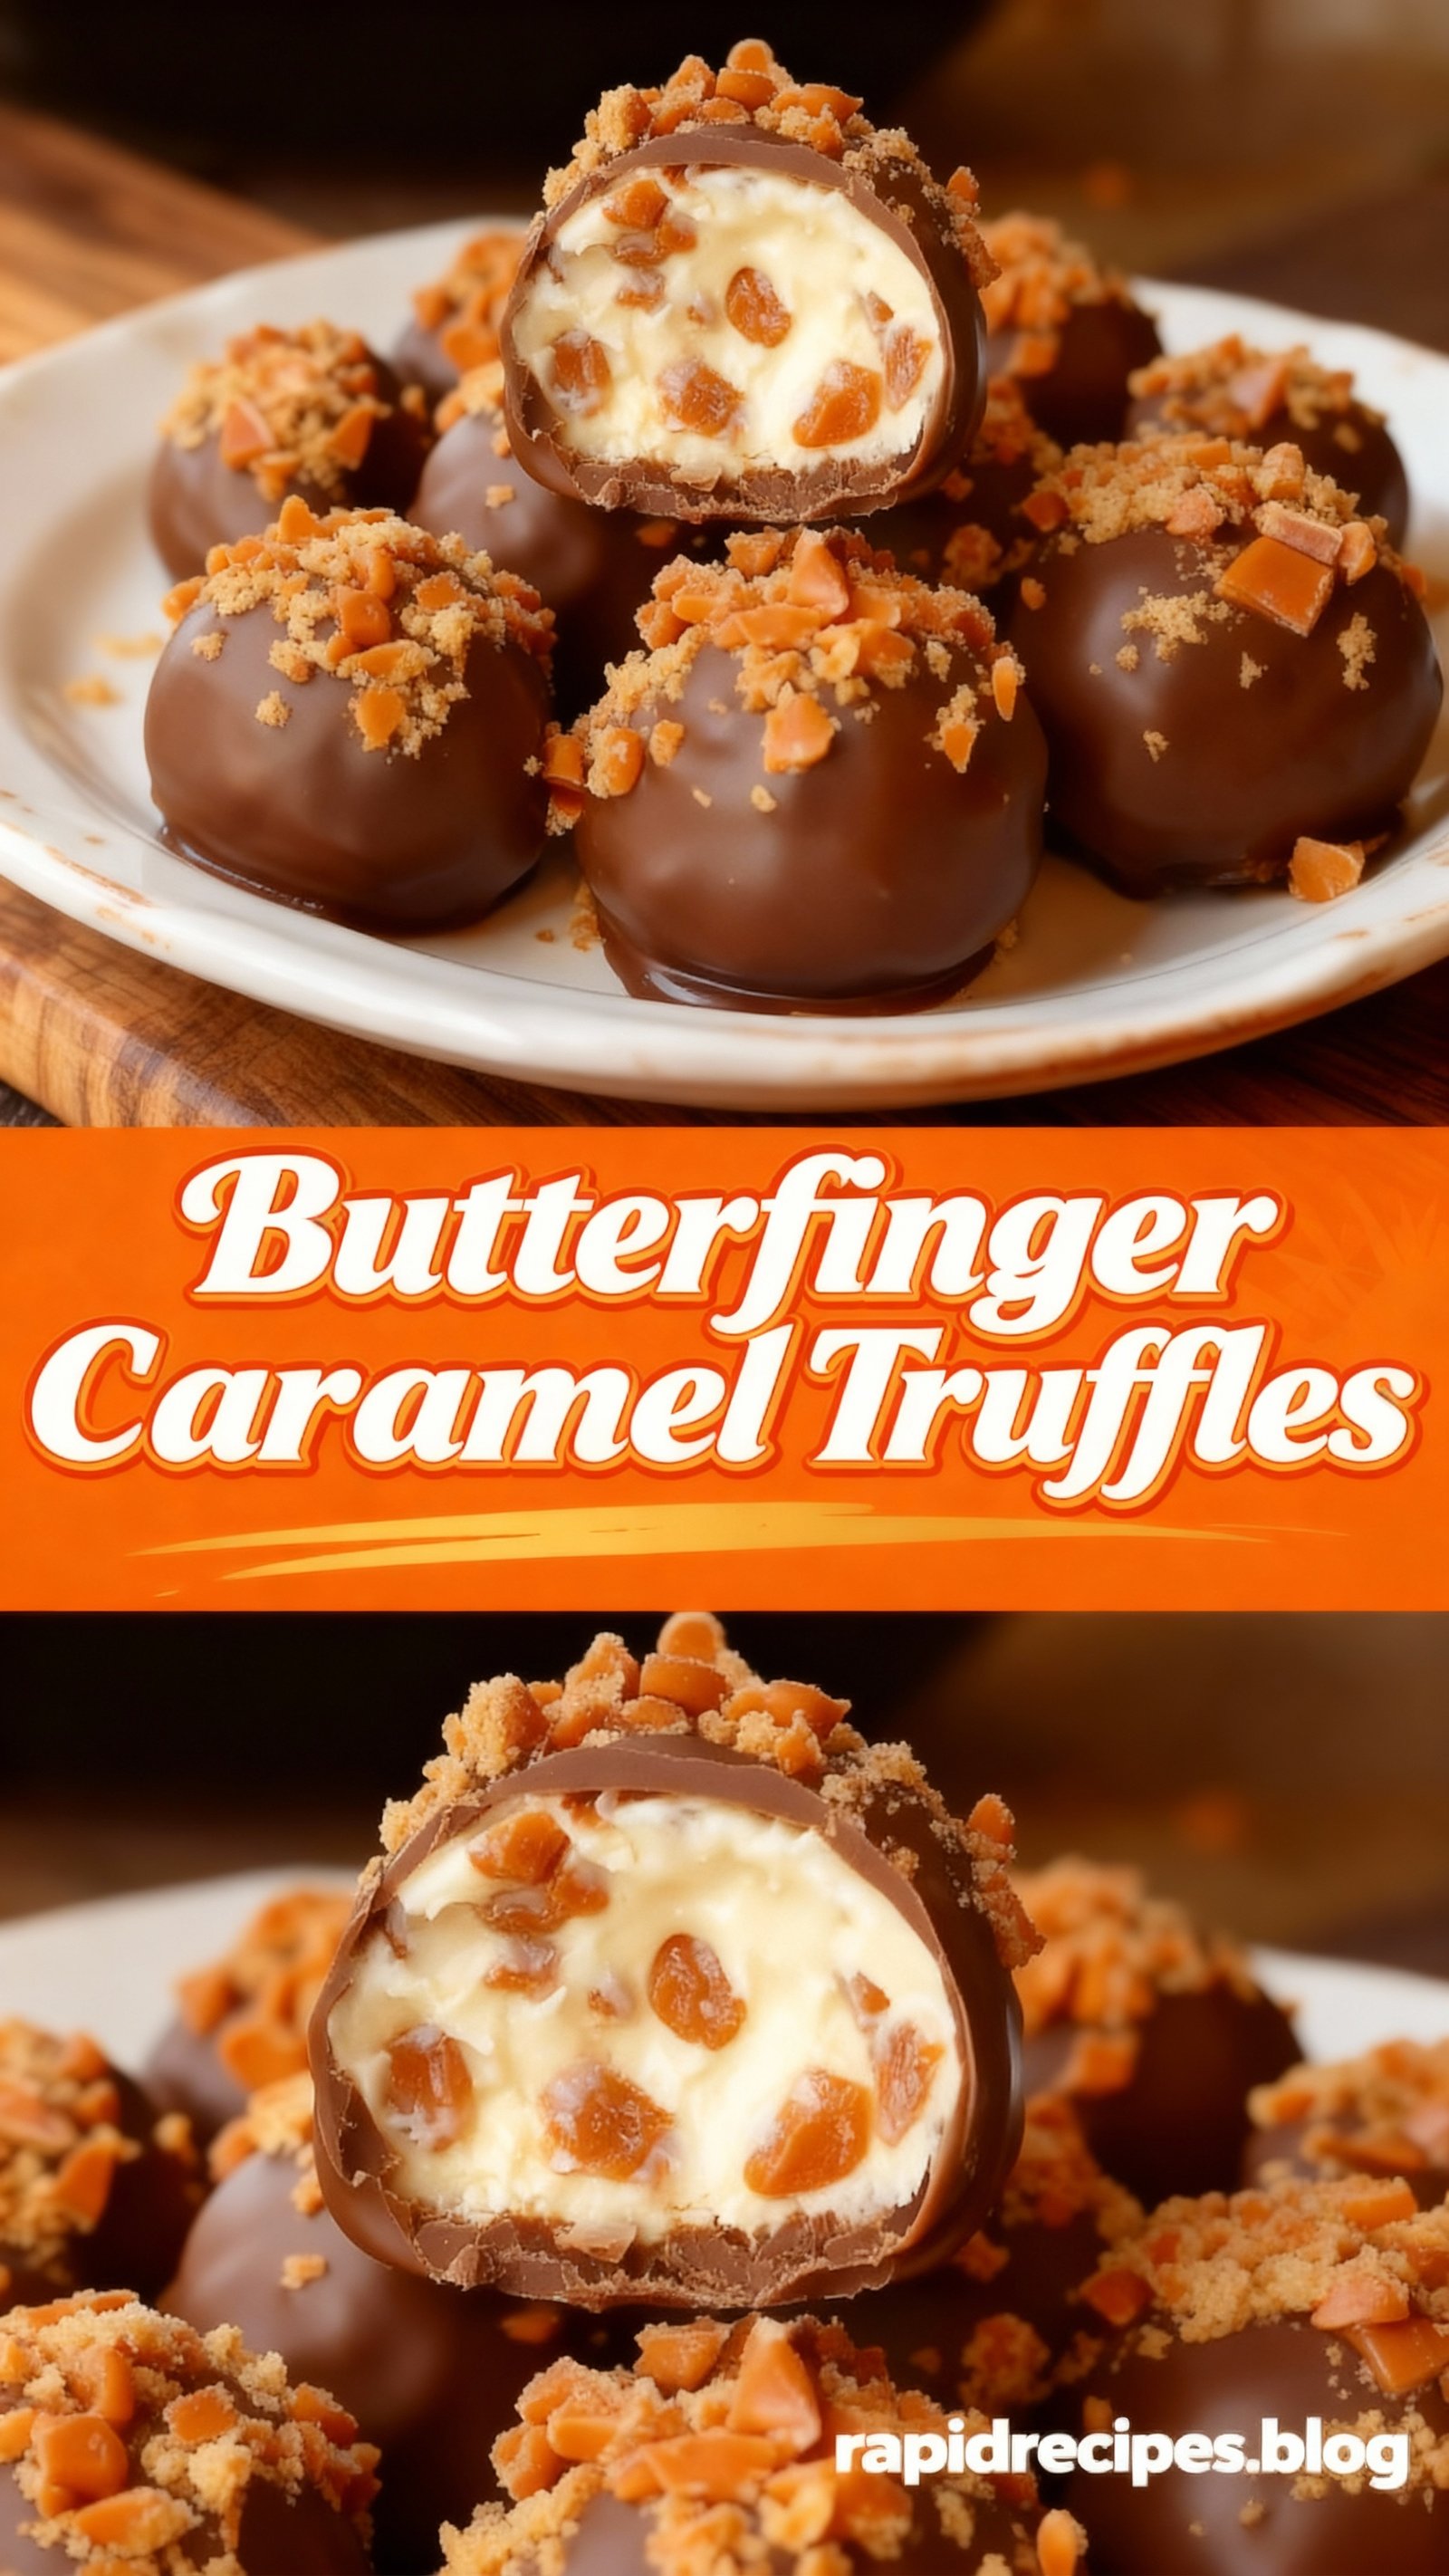
Butterfinger Chocolate Caramel Truffles Recipe
Introduction
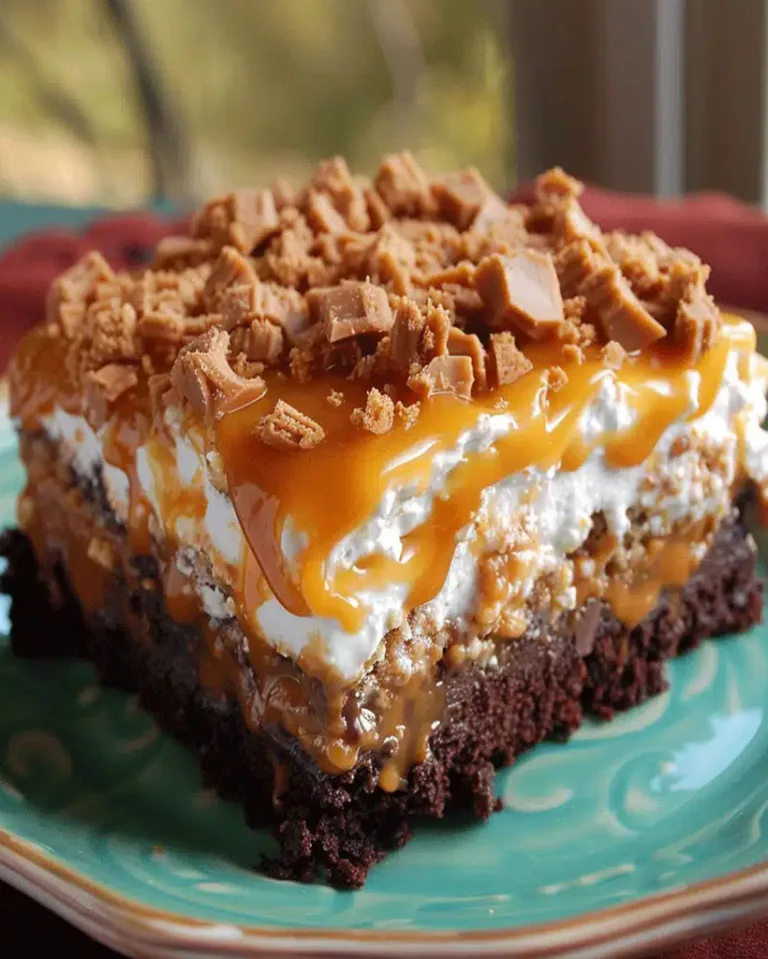
These Butterfinger Chocolate Caramel Truffles are a simple and delicious no-bake treat that combines the classic candy bar flavor with rich chocolate and caramel. Perfect for parties or a sweet snack, they require minimal effort for maximum reward. For more easy Butterfinger desserts, try the No Bake Caramel Crunch Butterfinger Truffles Recipe or the decadent Butterfinger Fudge Recipe.
Ingredients
These decadent Butterfinger Chocolate Caramel Truffles combine rich milk chocolate, gooey caramel, and the irresistible crunch of crushed Butterfinger candy bars for a truly indulgent treat.
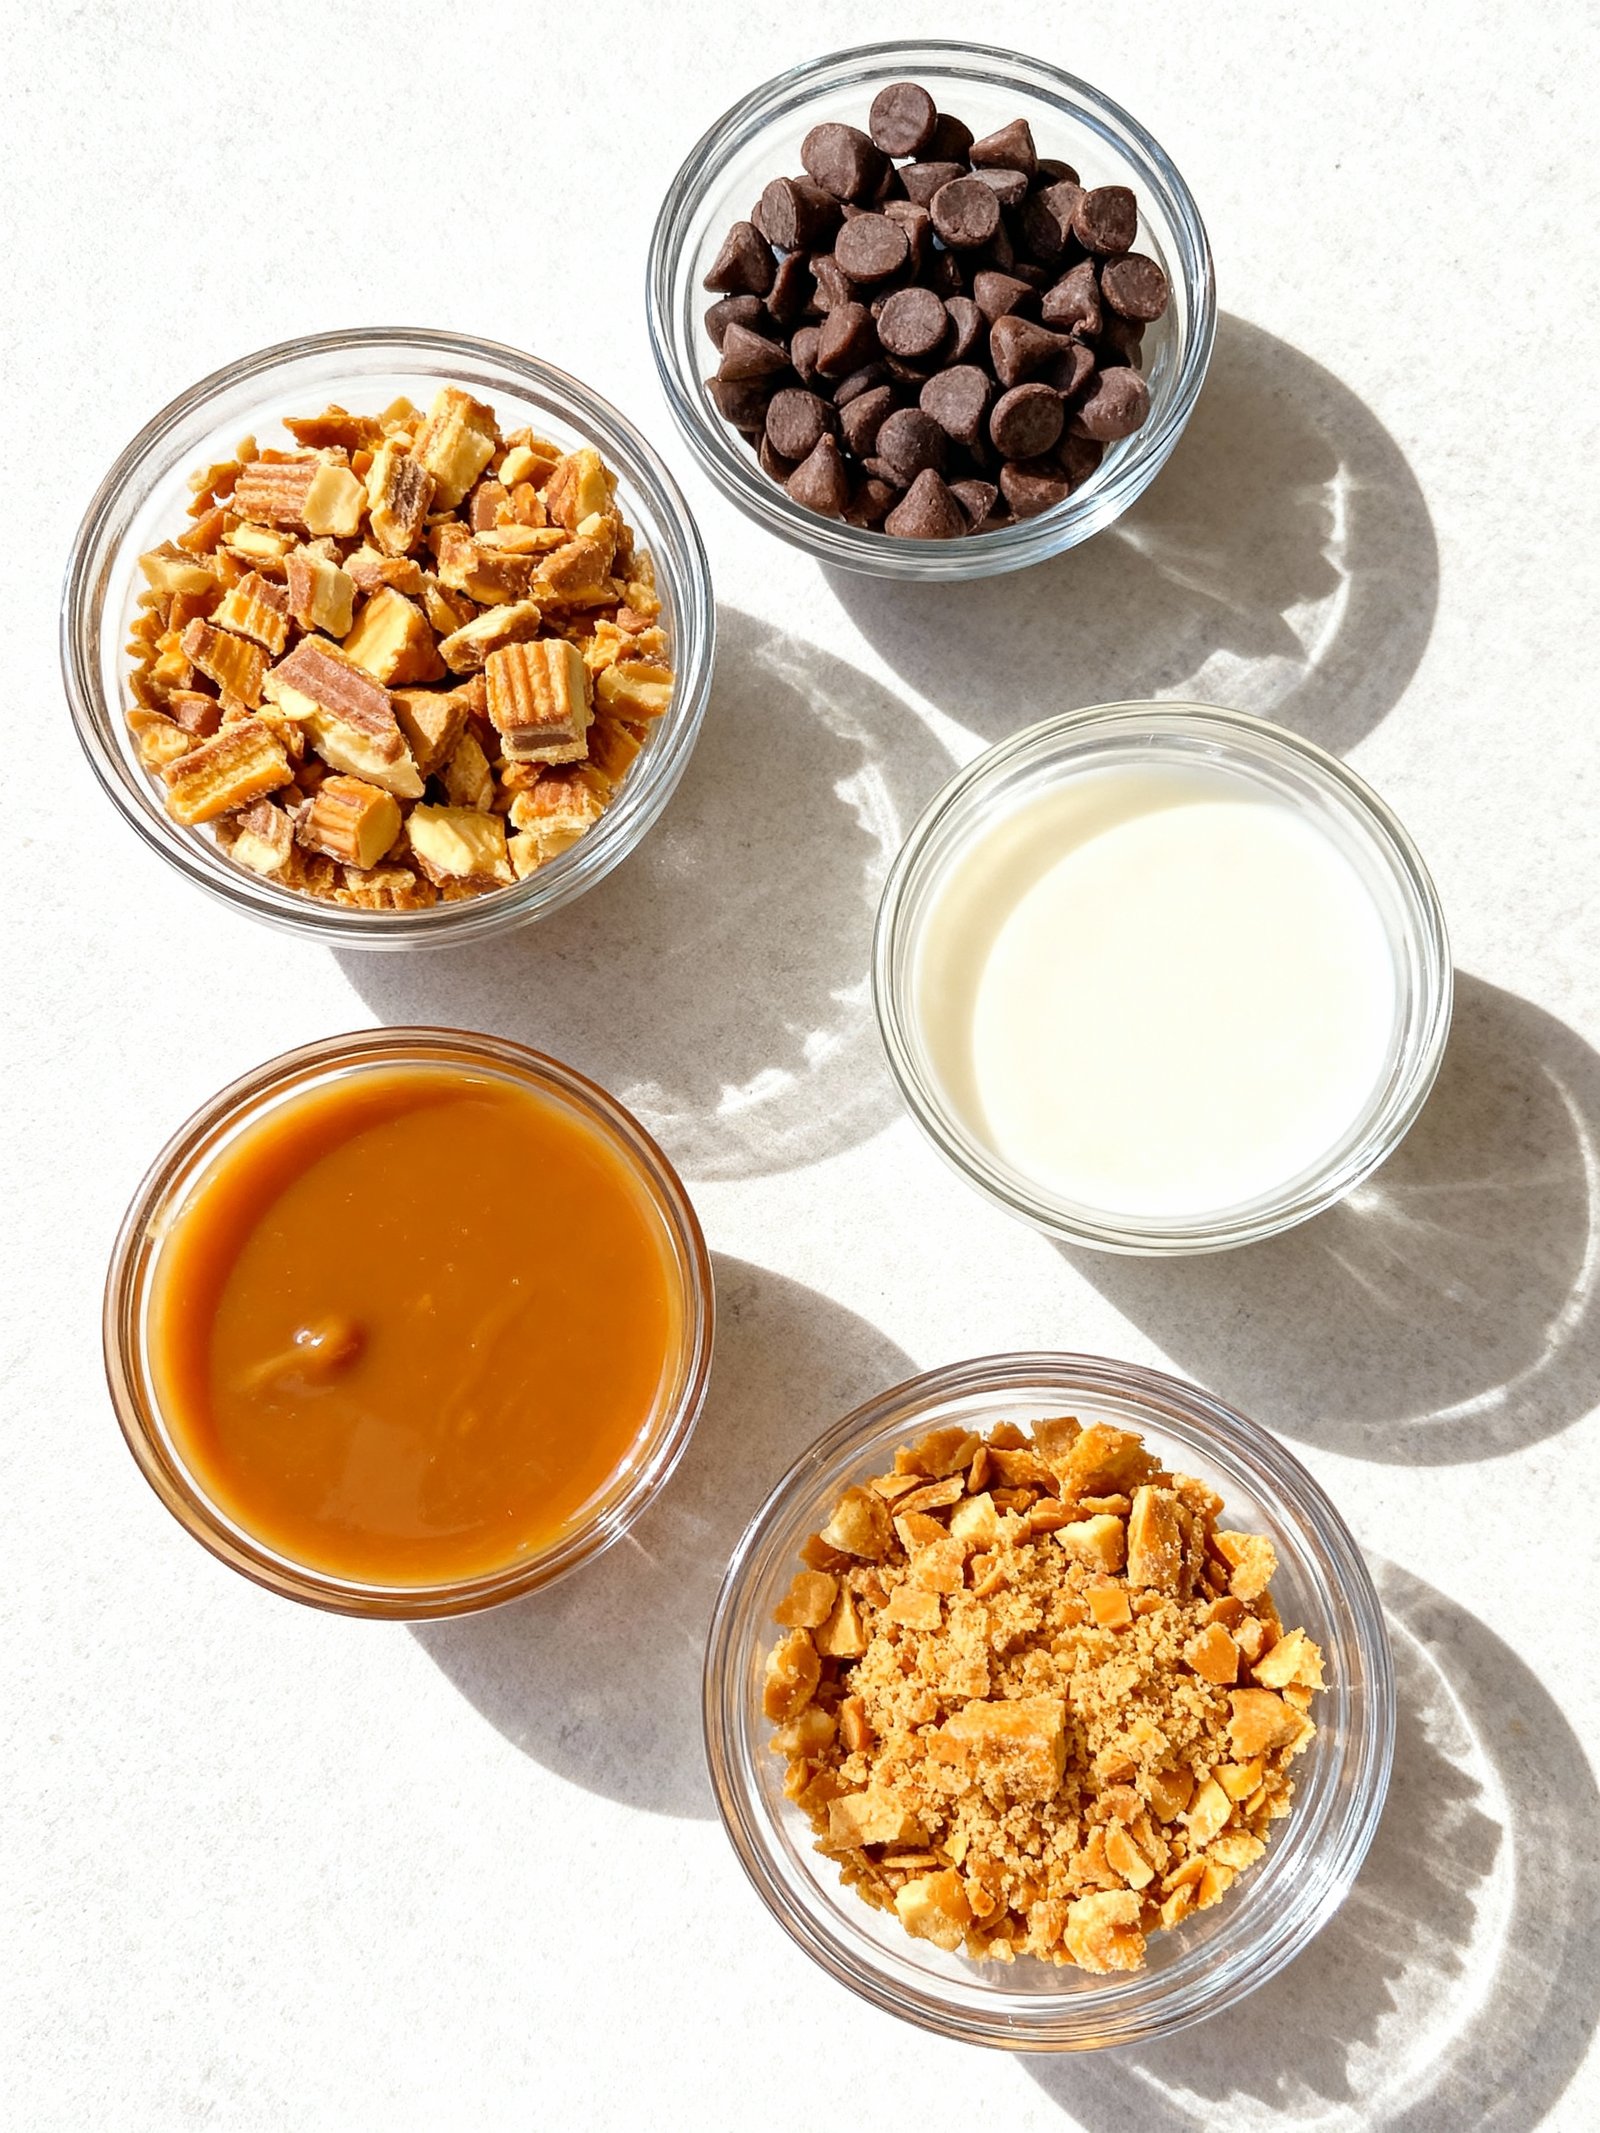
- 1 cup crushed Butterfinger candy bars
- 1/2 cup caramel sauce
- 2 cups milk chocolate chips
- 1/4 cup heavy cream
- 1/4 cup crushed Butterfinger candy bars (for coating)
Timing
| Prep Time | 25 minutes |
| Cook Time | 5 minutes |
| Total Time | 30 minutes |
Context: These Butterfinger Chocolate Caramel Truffles come together about 20% faster than similar recipes.
Step-by-Step Instructions
Step 1 — Prepare the Butterfinger Filling
Crush 8 full-size Butterfinger candy bars into fine crumbs using a food processor or by placing them in a sealed bag and crushing with a rolling pin. Transfer the crumbs to a medium mixing bowl.
Add 4 ounces of softened cream cheese and 1 tablespoon of caramel sauce to the bowl. Mix thoroughly until the ingredients are fully combined and the mixture holds together when pressed.
Step 2 — Shape the Truffle Centers
Using a small cookie scoop or a tablespoon, portion the Butterfinger mixture into roughly 1-inch balls. Roll each portion between your palms to form smooth, round truffle centers.
Place the shaped balls on a parchment-lined baking sheet and freeze for at least 20 minutes. This chilling step is essential—it prevents the centers from falling apart during the chocolate coating process.
Step 3 — Melt the Chocolate Coating
Chop 12 ounces of high-quality semi-sweet or dark chocolate into small, even pieces for smooth melting. Place ⅔ of the chocolate in a heatproof bowl set over a saucepan of gently simmering water, ensuring the bowl does not touch the water.
Stir frequently until the chocolate is completely melted and reaches 115–120°F (46–49°C) if using a candy thermometer. Remove from heat and stir in the remaining chopped chocolate until fully melted and the temperature drops to about 86–90°F (30–32°C).
Step 4 — Coat the Truffles in Chocolate
Remove the chilled Butterfinger centers from the freezer. Using a fork or dipping tool, submerge one truffle center at a time into the melted chocolate, ensuring it’s fully coated.
Gently tap the fork against the bowl’s edge to remove excess chocolate, then carefully transfer the coated truffle back to the parchment-lined sheet. Work quickly to keep the centers firm.
Step 5 — Add Caramel Drizzle and Garnish
While the chocolate is still wet, warm 2 tablespoons of caramel sauce slightly until it’s pourable. Using a spoon or piping bag, drizzle fine lines of caramel over each Butterfinger Chocolate Caramel Truffle.
For extra crunch and visual appeal, sprinkle a few reserved Butterfinger crumbs on top before the chocolate sets completely.
Step 6 — Set and Store the Truffles
Allow the truffles to set at room temperature until the chocolate is firm, or refrigerate for 15–20 minutes to speed up the process. The chocolate should be glossy and snap when fully set.
Store finished Butterfinger Chocolate Caramel Truffles in an airtight container in the refrigerator for up to 2 weeks. For best texture, let them sit at room temperature for 5–10 minutes before serving.
Nutritional Information
| Calories | 180 |
| Protein | 2g |
| Carbohydrates | 22g |
| Fat | 10g |
| Fiber | 1g |
| Sodium | 85mg |
Note: Estimates based on typical ingredients and serving size for Butterfinger Chocolate Caramel Truffles.
Healthier Alternatives
- Protein powder — Use vanilla or chocolate protein powder instead of some confectioners’ sugar for a protein boost and less refined sugar.
- Almond flour — Replace graham cracker crumbs with almond flour for a gluten-free, lower-carb option with a nutty flavor.
- Dark chocolate — Opt for high-percentage dark chocolate coating to reduce sugar and boost antioxidants.
- Coconut cream — Use full-fat coconut cream instead of cream cheese for a rich, dairy-free truffle base.
- Natural peanut butter — Swap Butterfinger candy for natural peanut butter mixed with a sugar-free sweetener to control sugar and sodium.
- Date caramel — Make a date-based caramel instead of store-bought for a whole-food, lower-sodium filling.
- Monk fruit sweetener — Replace granulated sugar with monk fruit to keep sweetness without the carbs.
- Sea salt flakes — Garnish with a light sprinkle of sea salt instead of regular salt for enhanced flavor with less sodium per serving.
Serving Suggestions
- Pair with strong coffee or milk for a classic dessert experience
- Serve alongside vanilla ice cream for a temperature contrast
- Arrange on a decorative platter for holiday parties and gatherings
- Package in decorative boxes for edible gifts and favors
- Create a dessert board with other chocolate treats and fresh fruit
- Serve as an after-dinner treat during movie nights
For elegant presentation, dust your Butterfinger Chocolate Caramel Truffles with cocoa powder or drizzle with melted chocolate before serving. These versatile treats work beautifully for both casual snacking and formal dessert courses.
Common Mistakes to Avoid
- Mistake: Using stale Butterfinger candy bars that have lost their crunch. Fix: Always use fresh bars and store them properly to maintain that signature crispy texture.
- Mistake: Overheating the chocolate coating, causing it to seize or become dull. Fix: Melt chocolate gently using a double boiler or in short microwave bursts, stirring frequently.
- Mistake: Making the truffle centers too soft, so they don’t hold their shape when dipped. Fix: Chill the formed truffle balls thoroughly in the refrigerator until firm.
- Mistake: Skipping the step of toasting the additional Butterfinger crumbs for rolling. Fix: Lightly toast the extra crumbs in a dry pan for a deeper, nuttier flavor and better crunch.
- Mistake: Rushing the caramel integration, leading to a greasy or separated filling. Fix: Ensure your caramel is at room temperature and fold it in gently but thoroughly.
- Mistake: Dipping truffles with warm hands, which melts the exterior. Fix: Use a fork or dipping tools to handle the chilled truffles during the coating process.
- Mistake: Not letting the chocolate coating set completely before storing. Fix: Allow the finished Butterfinger Chocolate Caramel Truffles to set at room temperature on a parchment-lined tray.
- Mistake: Storing the truffles in a warm area, causing them to sweat and lose texture. Fix: Keep them in a single layer in an airtight container in a cool, dry place.
Storing Tips
- Fridge: Store Butterfinger Chocolate Caramel Truffles in an airtight container in the refrigerator for up to 2 weeks.
- Freezer: Place truffles in a freezer-safe airtight container or bag for up to 3 months.
- Reheat: Let frozen truffles thaw in the refrigerator overnight. For a softer texture, bring to room temperature for 15-20 minutes before serving.
Always store these Butterfinger Chocolate Caramel Truffles below 40°F for food safety. For best quality, avoid temperature fluctuations and keep them tightly sealed to prevent moisture absorption.
Conclusion
I hope you love making these irresistible Butterfinger Chocolate Caramel Truffles as much as I do! If you’re craving more decadent treats, try my Best Butterfinger Caramel Crunch Cookies or Homemade Snickers Bars Recipe. Don’t forget to rate this recipe and leave a comment—I’d love to hear how yours turned out! Subscribe for more sweet inspirations.
PrintButterfinger Chocolate Caramel Truffles

Rich and indulgent truffles combining the crunchy texture of Butterfinger candy bars with smooth chocolate ganache and a hint of caramel.
- Prep Time: 15 minutes
- Cook Time: 5 minutes
- Total Time: 1 hour 50 minutes
- Yield: 24 truffles 1x
- Method: Dessert
- Cuisine: American
Ingredients
- 1 cup crushed Butterfinger candy bars
- 1/2 cup caramel sauce
- 2 cups milk chocolate chips
- 1/4 cup heavy cream
- 1/4 cup crushed Butterfinger candy bars (for coating)
Instructions
- In a microwave-safe bowl, combine the milk chocolate chips and heavy cream.
- Heat in 30-second intervals, stirring between each, until the chocolate is melted and smooth.
- Stir in the crushed Butterfinger candy bars and caramel sauce until fully combined.
- Refrigerate the mixture for about 1 hour or until firm enough to scoop.
- Using a small spoon or melon baller, scoop out the mixture and roll into balls.
- Roll each ball in the additional crushed Butterfinger candy bars to coat.
- Place the truffles on a parchment-lined tray and refrigerate for at least 30 minutes before serving.
Notes
For best results, use fresh Butterfinger bars and high-quality milk chocolate. Keep the truffles refrigerated until serving to maintain their shape and texture.
Nutrition
- Calories: 150
- Sugar: 18g
- Sodium: 50mg
- Fat: 8g
- Saturated Fat: 5g
- Unsaturated Fat: 3g
- Trans Fat: 0g
- Carbohydrates: 20g
- Fiber: 1g
- Protein: 2g
- Cholesterol: 15mg
FAQs
Can I use a different candy bar instead of Butterfinger?
Yes, you can substitute Butterfinger with other crunchy chocolate bars. However, the unique flavor and texture of Butterfinger are key to these Butterfinger Chocolate Caramel Truffles.
How should I store these truffles?
Store your Butterfinger Chocolate Caramel Truffles in an airtight container in the refrigerator. They will keep for up to one week and stay firm and delicious.
Can I make these truffles ahead of time?
Absolutely. You can prepare the Butterfinger Chocolate Caramel Truffles a few days in advance. This makes them a perfect make-ahead dessert for parties or gifts.