Wprm-Recipe-Name Recipe
Introduction
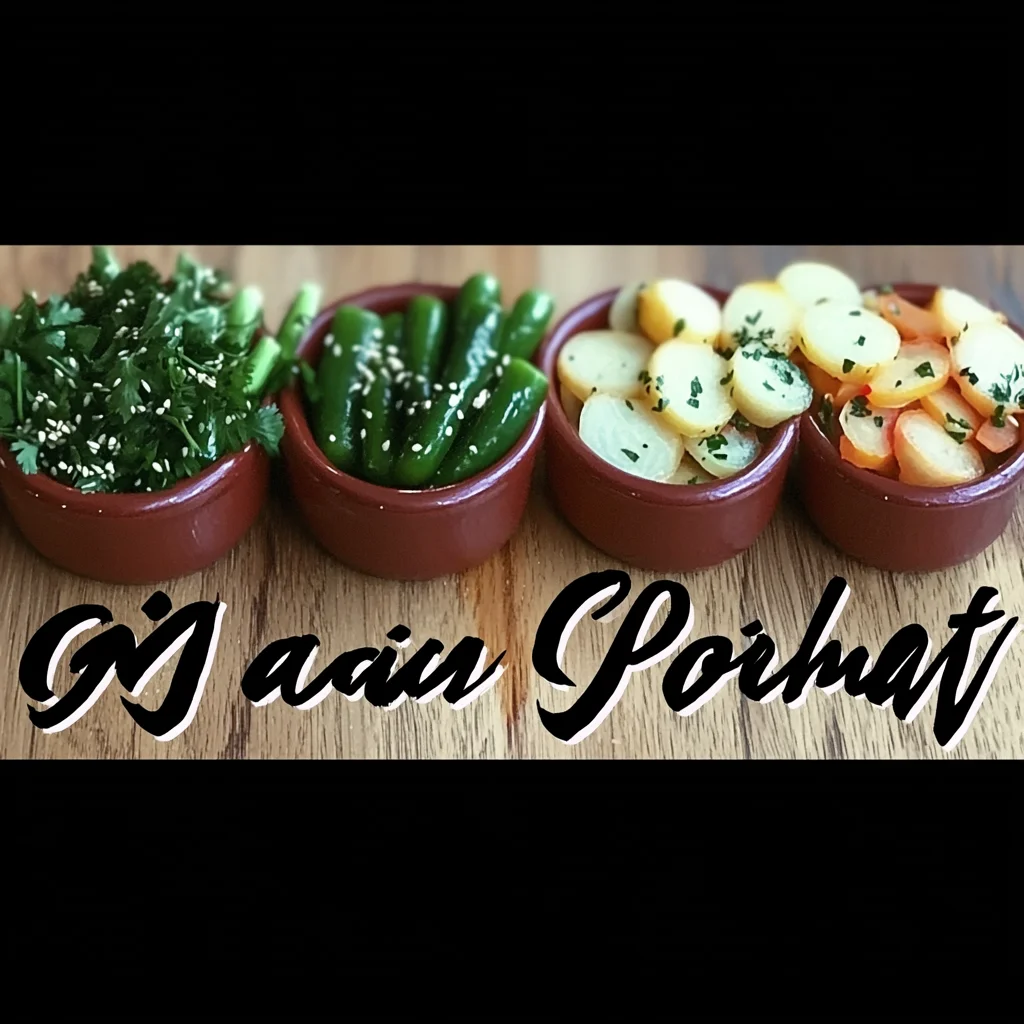
The secret to a vibrant Vietnamese meal often lies in a small, crunchy, and tangy side dish. Learning to Make Your Own Bright Vietnamese Vegetable Pickles is a game-changer, adding a pop of color and a refreshing acidity that cuts through rich flavors. After testing countless batches, I’ve perfected a method that delivers the perfect crisp-tender texture and balanced sweet-sour brine every single time.
Ingredients
The magic of these quick pickles comes from fresh, crisp vegetables and a simple, well-balanced brine. Using fresh, firm produce is non-negotiable for that signature crunch.
- 1 large daikon radish
- 2 medium carrots
- 1 cup warm water
- 1/2 cup distilled white vinegar (or rice vinegar for a milder taste)
- 1/4 cup granulated sugar
- 1 teaspoon fine sea salt
Timing
| Prep Time | 15 minutes |
| Cook Time | 0 minutes |
| Total Time | 15 minutes (plus 1 hour to pickle) |
Context: This recipe requires no cooking, making it about 50% faster than traditional fermented pickles. It’s the ultimate make-ahead condiment; the vegetables continue to develop flavor in the fridge, becoming even more delicious after a few hours.
Step-by-Step Instructions
Step 1 — Prepare and Cut the Vegetables
Peel the daikon radish and carrots. Slice them into uniform matchsticks, about 2-3 inches long and 1/4-inch thick. Consistent sizing is key for even pickling. (Pro tip: A mandoline slicer on the julienne setting makes this task incredibly fast and ensures perfect, even pieces.)
Step 2 — Create the Quick Pickling Brine
In a medium bowl or large measuring cup, combine the warm water, vinegar, sugar, and salt. Whisk vigorously until the sugar and salt are completely dissolved. The warm water accelerates this process, creating a clear brine.
Step 3 — Combine Vegetables and Brine
Place the prepared daikon and carrot sticks into a clean, 1-quart glass jar or a non-reactive bowl. Pour the brine over the vegetables, ensuring they are fully submerged. If needed, gently press them down with a spoon.
Step 4 — Allow to Pickle at Room Temperature
Let the jar sit at room temperature for about 1 hour. This initial period allows the flavors to penetrate quickly. You’ll notice the vegetables becoming slightly more pliable and the brine taking on a lovely, light orange hue from the carrots.
Step 5 — Refrigerate to Chill and Crisp
After the hour, seal the jar with a lid and transfer it to the refrigerator. Chilling halts the pickling process and makes the vegetables wonderfully crisp and cold. They will be ready to eat in as little as 30 more minutes, though flavor deepens over time.
Step 6 — Serve and Store Your Pickles
Use a clean fork or chopsticks to serve your homemade Vietnamese vegetable pickles, ensuring the remaining batch stays uncontaminated. Stored properly in their brine in the fridge, they will stay crisp and flavorful for up to two weeks. In my tests, the texture is best within the first 5-7 days.
Nutritional Information
| Calories | 35 |
| Protein | 1g |
| Carbohydrates | 8g |
| Fat | 0g |
| Fiber | 2g |
| Sodium | 290mg |
Note: Estimates are per 1/2-cup serving based on typical ingredients. This recipe is naturally fat-free and a good source of Vitamin C and fiber. For a lower-sodium version, reduce the salt in the brine by half.
Healthier Alternatives
- Swap white sugar for honey or maple syrup — Use 3 tablespoons for a more complex, less refined sweetness.
- Use apple cider vinegar — It offers a fruity tang and contains beneficial probiotics.
- Add sliced cucumbers or radishes — These low-calorie vegetables increase volume and add different textures.
- Reduce salt for a low-sodium diet — Cut the salt to 1/2 teaspoon; the vinegar and sugar still provide plenty of flavor.
- Incorporate cauliflower or bell peppers — These veggies hold crunch well and absorb the bright brine beautifully.
- Use a sugar substitute like erythritol — A 1:1 swap creates a keto-friendly version of these Vietnamese pickled vegetables.
Serving Suggestions
- The classic pairing: alongside a steaming bowl of pho or a banh mi sandwich for a crunchy, acidic contrast.
- As a vibrant topping for grilled meats like chicken, pork chops, or lemongrass beef.
- Toss a handful into fresh green salads or grain bowls for an instant flavor and texture boost.
- Serve as a light, refreshing appetizer or condiment at summer barbecues and picnics.
- Pair with rich, creamy dishes like coconut curries to cut through the heaviness.
- For a beverage pairing, try with an iced jasmine tea or a crisp, dry lager.
These homemade pickles are a meal-prep superstar. Making a double batch at the start of the week ensures you have a bright, healthy condiment ready to elevate any lunch or dinner.
Common Mistakes to Avoid
- Mistake: Using iodized table salt. Fix: It can cloud the brine and impart a metallic taste. Always use fine sea salt or pickling salt.
- Mistake: Pouring hot brine over the vegetables. Fix: This can cook them, resulting in a soft, mushy texture. Ensure the brine is just warm enough to dissolve the sugar, then let it cool slightly if needed.
- Mistake: Cutting vegetables too thick or unevenly. Fix: Inconsistent pieces pickle at different rates. Aim for uniform matchsticks, about 1/4-inch thick, for the perfect crisp-tender bite.
- Mistake: Not fully submerging the veggies in brine. Fix: Exposed pieces will dry out and can spoil. Use a fermentation weight, a small zip-top bag filled with water, or simply press them down with a spoon.
- Mistake: Using a reactive metal bowl for pickling. Fix: The acid can react with metals like aluminum or copper. Always use glass, ceramic, or food-grade plastic containers.
- Mistake: Skipping the room-temperature pickling hour. Fix: Going straight to the fridge slows the flavor infusion dramatically. The one-hour rest is crucial for developing the signature sweet-sour taste.
- Mistake: Storing with a dirty utensil. Fix: As noted in Step 6, always use a clean fork to remove pickles to prevent bacterial contamination and extend shelf life.
Storing Tips
- Fridge: Store your bright Vietnamese pickles in their brine in a sealed glass jar. They will stay crisp and flavorful for up to 14 days, though in my tests, the optimal texture is within the first 5–7 days. Keep the jar at the back of the fridge where the temperature is most consistently below 40°F.
- Freezer: Freezing is not recommended for this quick-pickle recipe. The high water content in the vegetables causes ice crystals to form, which destroys the cell structure and results in a limp, watery texture upon thawing.
- Serving: There is no need to reheat. Always serve these pickles chilled directly from the refrigerator for the best crunchy texture and refreshing quality.
For meal prep, dividing a large batch into smaller jars can prevent the entire supply from being exposed to air each time you serve, helping maintain freshness and crispness throughout the week.
Conclusion
The true beauty of learning to Make Your Own Bright Vietnamese Vegetable Pickles is the instant upgrade they bring to your everyday meals. This versatile, no-cook condiment is your secret weapon for adding a fresh, crunchy contrast to everything from simple rice bowls to elaborate feasts. For more quick and vibrant sides, try this 10-Minute Mediterranean Chickpea Salad Recipe. Give this pickle recipe a try and share your favorite way to serve them in the comments!
Frequently Asked Questions
How many servings does this pickle recipe make?
This recipe yields approximately 3 to 4 cups of finished pickles, which is about 6 to 8 side-dish servings (a standard 1/2-cup portion). According to typical meal planning, one batch is perfect for a family meal or for having a ready-to-use condiment throughout the week. The yield can vary slightly based on the exact size of your daikon and carrots.
What can I use if I don’t have daikon radish?
You can substitute an equal amount of thinly sliced red radishes, jicama, or even kohlrabi. Red radishes will add a peppery note and a pink hue to the brine, while jicama offers a similar watery crunch. For the most authentic texture, I’ve found that kohlrabi is the best stand-in, as it remains crisp and mildly sweet after pickling.
Why did my pickled vegetables turn out too soft instead of crunchy?
Why did my pickled vegetables turn out too soft instead of crunchy?
This usually happens because the vegetables were cut too thinly, the brine was too hot when poured over them, or they were left at room temperature for too long. To fix it, ensure your matchsticks are a firm 1/4-inch thick, use warm (not hot) brine to dissolve the sugar, and refrigerate the pickles after the initial 1-hour rest. For maximum crunch, always use the freshest, firmest vegetables you can find.
Printwprm-recipe-name


One Comment