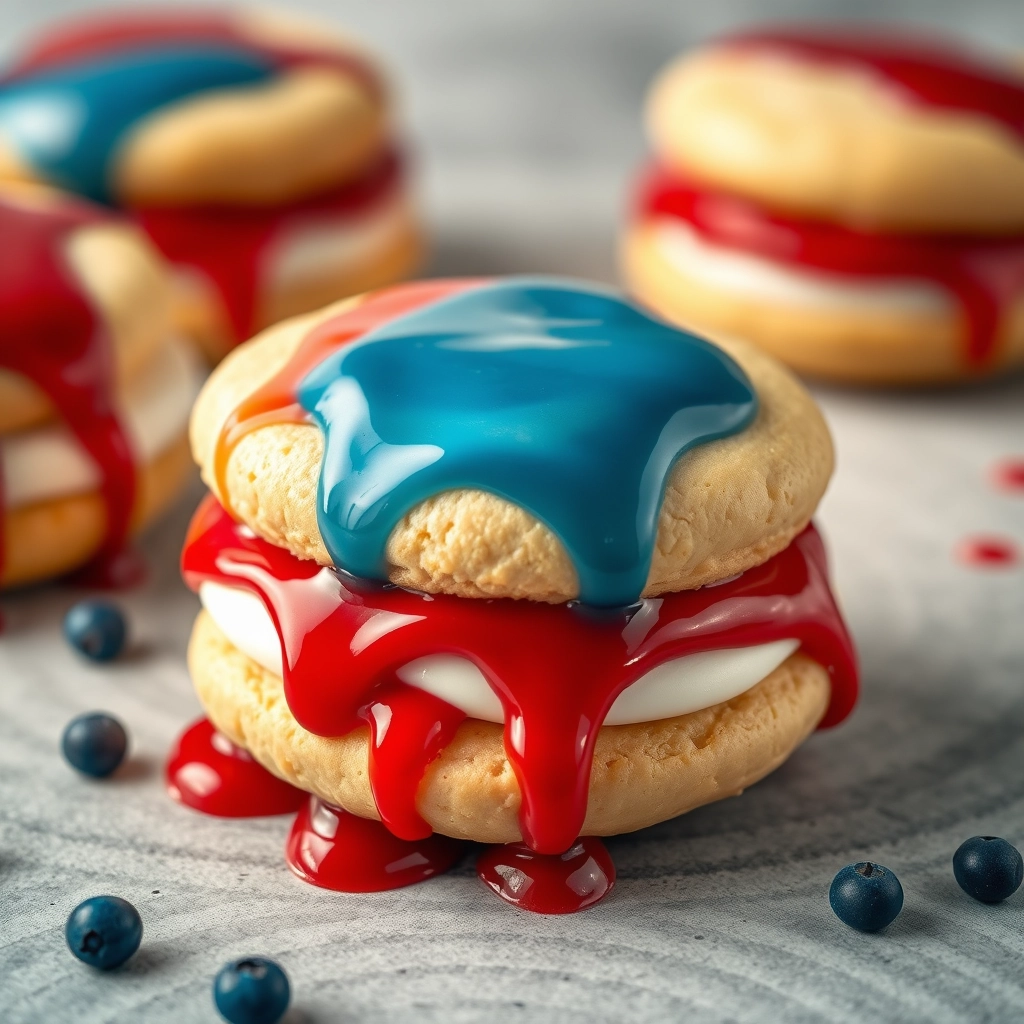
Best Patriotic Whoopie Pies – Easy Red White Blue Recipe
There’s something magical about baking treats that bring people together—especially when those treats are as festive and fun as these Patriotic Whoopie Pies. Picture this: a warm summer evening, the scent of vanilla and butter wafting through the kitchen, and a plate of red, white, and blue delights waiting to be shared with loved ones. Whether it’s for the Fourth of July, Memorial Day, or just because you’re feeling extra patriotic, these whoopie pies are guaranteed to steal the show. They’re soft, sweet, and bursting with color—just like the fireworks lighting up the night sky.
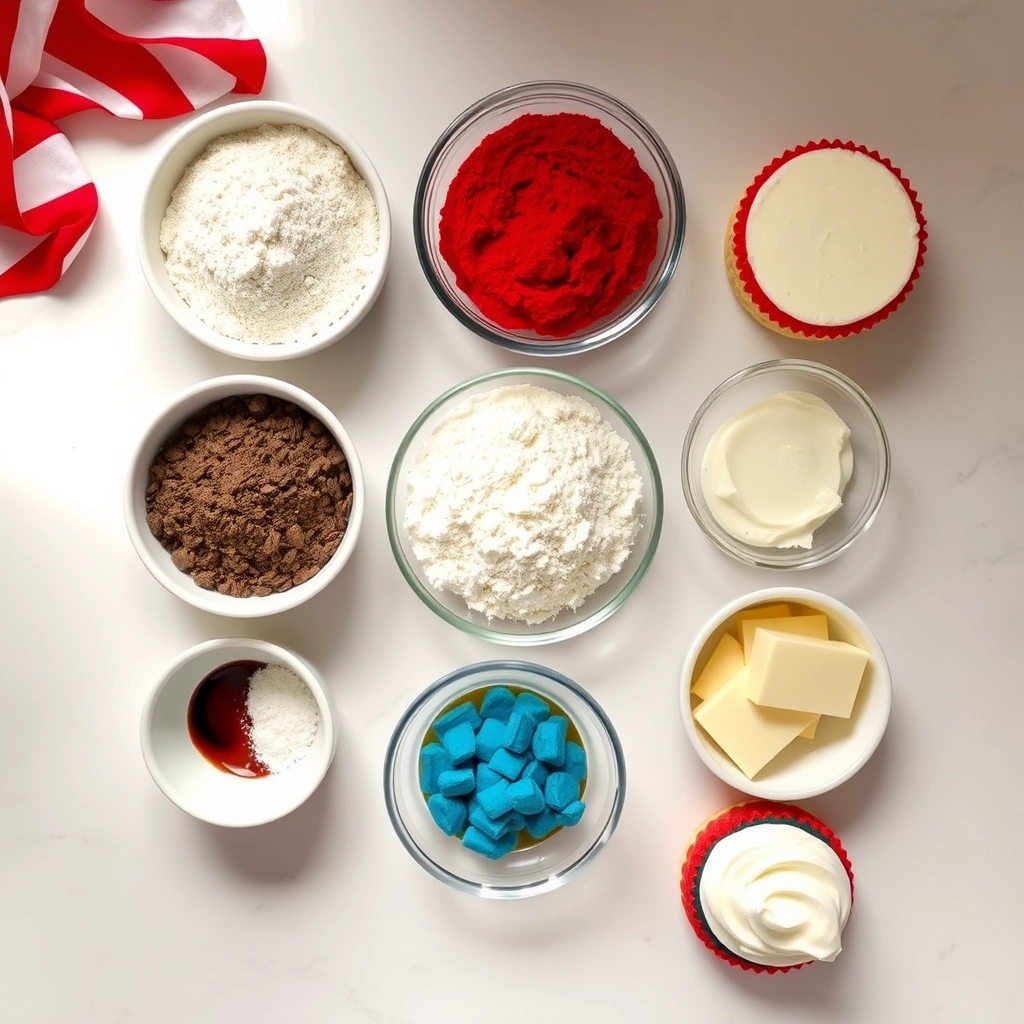
Ingredients You’ll Need
Before we dive into baking, let’s gather our ingredients. Trust me, every one of these plays a special role in creating the perfect whoopie pie!
- All-purpose flour: The backbone of our whoopie pies—light and fluffy, just like we want them.
- Unsalted butter, softened: For that rich, melt-in-your-mouth texture. If you only have salted butter, just reduce the added salt slightly.
- Granulated sugar: Sweetens the deal, making these little cakes irresistible.
- Eggs: They bind everything together and add moisture.
- Vanilla extract: A splash of vanilla makes everything better—don’t skip it!
- Buttermilk: Adds a slight tang and keeps the cakes tender. No buttermilk? Mix 1 cup milk with 1 tbsp lemon juice and let it sit for 5 minutes.
- Baking powder & baking soda: Our leavening agents for that perfect rise.
- Salt: Just a pinch to balance the sweetness.
- Red and blue gel food coloring: Gel works best for vibrant colors without thinning the batter.
- Marshmallow fluff & powdered sugar: The dreamy filling that holds these pies together.
Step-by-Step Instructions
Now, let’s get baking! Follow these steps, and you’ll have a batch of patriotic perfection in no time.
- Preheat & Prep: Start by preheating your oven to 375°F (190°C) and lining your baking sheets with parchment paper. Trust me, this prevents sticking and makes cleanup a breeze.
- Cream Butter & Sugar: In a large bowl, beat the softened butter and sugar together until light and fluffy—about 3 minutes. This step is key for that airy texture!
- Add Eggs & Vanilla: Crack in the eggs one at a time, mixing well after each, then stir in the vanilla. The batter should look smooth and slightly glossy.
- Dry Ingredients: In a separate bowl, whisk together the flour, baking powder, baking soda, and salt. Gradually add this to the wet ingredients, alternating with the buttermilk. Mix until just combined—overmixing leads to dense whoopie pies, and we don’t want that!
- Color the Batter: Divide the batter into two bowls. Stir red gel food coloring into one and blue into the other until you reach your desired shade. A little gel goes a long way!
- Scoop & Bake: Drop tablespoon-sized dollops of red and blue batter onto the prepared sheets, spacing them about 2 inches apart. Bake for 8–10 minutes, until the tops spring back when lightly touched. Let them cool completely before filling.
And there you have it—the first half of your journey to the most festive whoopie pies ever! Stay tuned for the filling, assembly, and all my best tips to make these treats shine.
Pro Tips, Variations, and Substitutions
Making these patriotic whoopie pies is a breeze, but a few extra tips can take them from good to great! Here’s how to customize and perfect your treats:
- Flavor Boost: Add a teaspoon of vanilla or almond extract to the batter for extra depth.
- Color Variations: If you don’t have gel food coloring, natural alternatives like beet powder (for red) and blue spirulina (for blue) work beautifully.
- Dairy-Free Option: Swap butter for coconut oil and use a plant-based milk in the filling.
- Gluten-Free: Substitute the all-purpose flour with a 1:1 gluten-free blend—just ensure it contains xanthan gum.
What to Serve With Your Whoopie Pies
These red, white, and blue delights are perfect on their own, but they shine even brighter with a little company! Pair them with:
- A cold glass of homemade lemonade or iced tea for a refreshing contrast.
- A scoop of vanilla bean ice cream sandwiched between two whoopie pies for an indulgent twist.
- A fruit platter with strawberries and blueberries to keep the patriotic theme going.
Storage and Reheating Tips
Whoopie pies taste best fresh, but if you have leftovers (lucky you!), here’s how to keep them delicious:
- Room Temperature: Store in an airtight container for up to 3 days.
- Refrigerator: If filled with perishable frosting, they’ll keep for 5 days—let them sit at room temp for 10 minutes before serving.
- Freezer: Wrap individually in plastic wrap and freeze for up to 2 months. Thaw at room temperature before enjoying.
- Reheating: Warm in the microwave for 5-10 seconds for a soft, just-baked texture.
Frequently Asked Questions
Can I make the batter ahead of time?
Absolutely! The batter can be refrigerated for up to 24 hours before baking. Just let it sit at room temperature for 15 minutes before scooping.
Why did my whoopie pies flatten?
Overmixing the batter or using expired baking powder can cause flat cookies. Mix just until combined, and check your leavening agents!
Can I use buttercream instead of marshmallow filling?
Of course! Classic vanilla buttercream works wonderfully—just add a splash of milk if it’s too thick.
How do I prevent sticky filling?
Dust the filled whoopie pies lightly with powdered sugar or refrigerate for 30 minutes before serving to set the filling.
A Sweet Final Thought
There’s something magical about baking treats that bring people together—especially when they’re as festive and fun as these patriotic whoopie pies. Whether you’re celebrating the Fourth of July, Memorial Day, or just the joy of summer, these little bites of red, white, and blue happiness are sure to spark smiles. Whip up a batch, share them with loved ones, and savor every sweet, fluffy bite. Happy baking!
PrintPatriotic Whoopie Pies
Soft, cake-like red and blue whoopie pies filled with creamy vanilla frosting, perfect for patriotic celebrations.
Ingredients
For the Crust:
- 1 1/2 cups all-purpose flour
- 1/2 cup unsweetened cocoa powder
- 1 tsp baking soda
- 1/2 tsp salt
- 1/2 cup unsalted butter, softened
- 1 cup granulated sugar
- 1 large egg
- 1 tsp vanilla extract
- 1 cup buttermilk
- Red and blue food coloring
- 1/2 cup unsalted butter, softened (for frosting)
- 2 cups powdered sugar
- 2 tbsp milk
- 1 tsp vanilla extract (for frosting)
Instructions
1. Prepare the Crust:
- Preheat oven to 375°F (190°C). Line baking sheets with parchment paper.
- In a bowl, whisk flour, cocoa powder, baking soda, and salt. Set aside.
- Cream butter and sugar until light. Beat in egg and vanilla. Alternately add dry ingredients and buttermilk, mixing until smooth.
- Divide batter into two bowls. Tint one red and one blue. Drop spoonfuls onto baking sheets, spacing 2 inches apart.
- Bake for 8-10 minutes until set. Cool completely.
- For frosting, beat butter until creamy. Gradually add powdered sugar, milk, and vanilla until fluffy.
- Spread frosting on flat side of half the cookies. Top with remaining cookies.
Notes
You can customize the seasonings to taste.