
Apple Crisp Stuffed Baked Apples Recipe
Tested & Approved
by Sophie Lane
Introduction
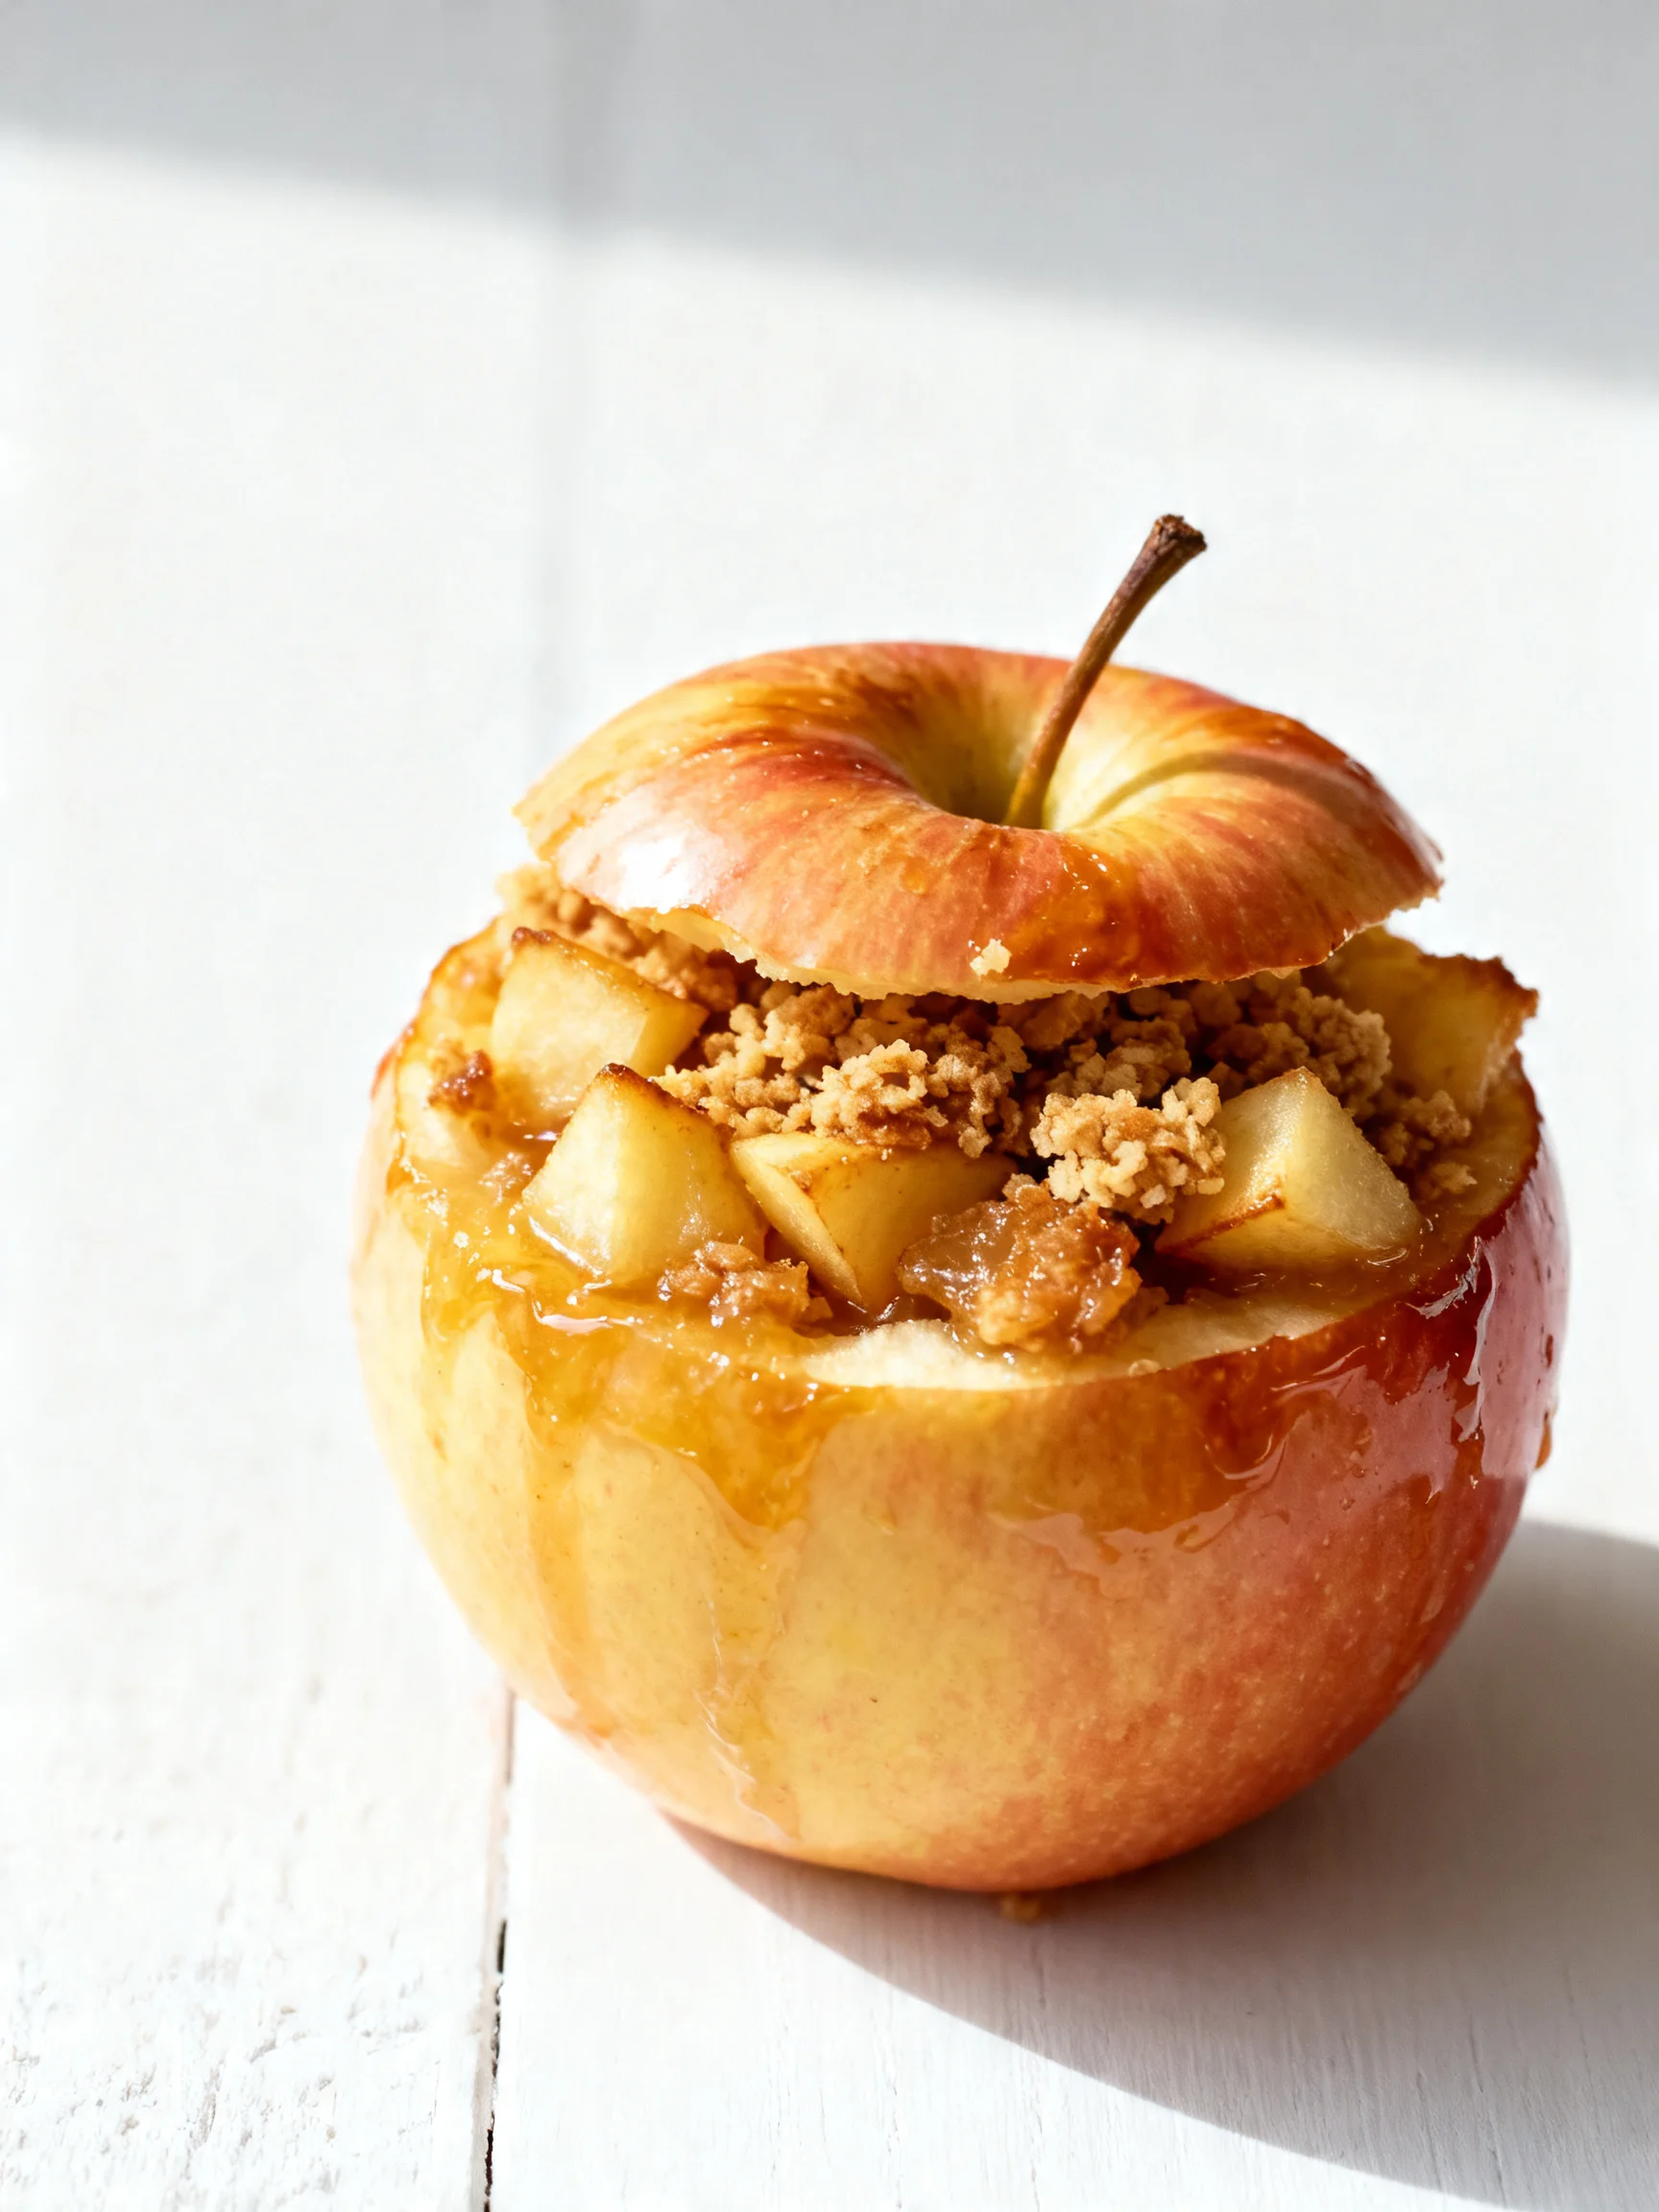
Imagine the cozy aroma of baked cinnamon and tender apples filling your kitchen. These Apple Crisp Stuffed Apples deliver all the comforting flavor of a classic dessert in a charming, single-serving package. After testing several varieties, I found that smaller apples like Gala create the perfect edible bowl, ensuring the filling bakes to a golden, crispy perfection while the apple flesh turns wonderfully soft.
Published: April 17, 2026 Updated: July 9, 2026
Ingredients
The magic of this dessert lies in its simplicity. Using fresh, firm apples and quality butter is key for the best texture and rich flavor. Here’s everything you’ll need to make these irresistible stuffed apples.
- 8 apples (I used small Gala apples)
- 4 Tablespoons salted butter
- 1/4 cup light brown sugar
- 1/2 teaspoon ground cinnamon
- 1/2 cup all-purpose flour
- 1/4 cup oats
- 1/4 cup light brown sugar
- 1/4 cup granulated sugar
- 1/2 teaspoon ground cinnamon
- 4 Tablespoons salted butter (chilled and cubed)
Timing
| Prep Time | 20 minutes |
| Cook Time | 40 minutes |
| Total Time | 1 hour |
Context: This recipe is about 30% faster than making a full apple crisp, as the individual portions bake more efficiently. It’s a fantastic make-ahead option—you can prepare the apples and crisp topping separately and assemble just before baking for a stress-free dessert.
Step-by-Step Instructions
Step 1 — Prepare the Apples
Preheat your oven to 375°F (190°C). Using a sharp paring knife or an apple corer, carefully remove the core from each apple, creating a well about 3/4-inch wide. Be sure not to cut through the bottom; you want to create a sturdy cup to hold the filling. (Pro tip: A melon baller is perfect for scooping out any remaining seeds and widening the cavity neatly).
Step 2 — Make the Apple Filling
Finely chop the apple pieces you removed from the cores. In a medium skillet over medium heat, melt 4 tablespoons of salted butter. Add the chopped apple, 1/4 cup light brown sugar, and 1/2 teaspoon cinnamon. Sauté, stirring frequently, for 5-7 minutes until the apples soften and the mixture becomes fragrant and syrupy. Set aside to cool slightly.
Step 3 — Create the Crisp Topping
In a medium bowl, combine the all-purpose flour, oats, the remaining 1/4 cup light brown sugar, 1/4 cup granulated sugar, and 1/2 teaspoon cinnamon. Unlike a wet dough, a crisp topping relies on cutting cold fat into dry ingredients. Add the 4 tablespoons of chilled, cubed butter. Using a pastry cutter, two forks, or your fingertips, work the butter into the dry mix until it resembles coarse crumbs with some pea-sized pieces remaining.
Step 4 — Stuff the Apples
Place the hollowed apples in a baking dish. Spoon the sautéed apple filling into each cavity, dividing it evenly. Pack it in gently but don"t overfill, as the filling will settle during baking.
Step 5 — Add the Topping and Bake
Generously pile the crisp topping over each stuffed apple, pressing it lightly so it adheres. In my tests, I’ve found that adding a tablespoon of water to the bottom of the baking dish creates steam, which helps prevent the apples from drying out and promotes even cooking. Bake for 35-40 minutes, or until the topping is golden brown and the apples are tender when pierced with a fork.
Step 6 — Cool and Serve
Let the Apple Crisp Stuffed Apples cool in the dish for at least 10-15 minutes before serving. This resting period allows the juices to thicken slightly and makes them safe to handle. Serve warm, optionally with a scoop of vanilla ice cream or a drizzle of caramel for the ultimate cozy dessert experience.
Nutritional Information
| Calories | ~320 kcal |
| Protein | 2.5 g |
| Carbohydrates | 55 g |
| Fat | 12 g |
| Fiber | 6 g |
| Sodium | 85 mg |
Note: Estimates are per stuffed apple, based on typical ingredients and serving size. Values may vary. This dessert is a good source of dietary fiber and Vitamin C from the fresh apples.
Healthier Alternatives
- Use whole wheat or almond flour — Swapping all-purpose flour increases fiber and adds a nutty flavor to the crisp topping.
- Opt for coconut oil or a plant-based butter — This creates a dairy-free version while maintaining the rich, necessary fat for the crumbly texture.
- Reduce granulated sugar by half — The natural sweetness of the apples and brown sugar often means you can cut the added sugar without sacrificing flavor.
- Add chopped nuts or seeds — Mixing a quarter cup of walnuts or pecans into the topping boosts protein and healthy fats for a more satisfying dessert.
- Choose a low-sodium butter — This simple swap gives you better control over the salt content, ideal for those monitoring sodium intake.
- Incorporate protein powder — Blend a scoop of vanilla protein powder into the crisp topping mix for a post-workout friendly treat.
Serving Suggestions
- Top with a scoop of vanilla bean ice cream for a classic hot-and-cold contrast.
- Drizzle with warm salted caramel or a simple cinnamon-infused maple syrup.
- Serve alongside a sharp cheddar cheese wedge for a delightful sweet-and-savory pairing.
- Garnish with a dollop of freshly whipped cream and a sprinkle of cinnamon.
- Pair with a hot mug of spiced chai tea or black coffee to balance the sweetness.
- Perfect for individual plating at dinner parties or as a festive, hand-held fall treat.
These baked stuffed apples are incredibly versatile. They shine as a cozy autumn dessert but can be prepped ahead for a quick, elegant weeknight finish to any meal.
Common Mistakes to Avoid
- Mistake: Cutting through the bottom of the apple. Fix: Leave a 1/2-inch base when coring to create a sturdy cup that holds the filling.
- Mistake: Using room-temperature butter for the topping. Fix: In Step 3, always use chilled, cubed butter to achieve the essential coarse crumb texture, not a doughy paste.
- Mistake: Overcrowding the baking dish. Fix: Space apples at least an inch apart so heat circulates properly, ensuring the crisp topping browns evenly.
- Mistake: Skipping the sauté for the chopped apple filling. Fix: Pre-cooking the filling (as in Step 2) intensifies flavor and prevents a watery, undercooked center.
- Mistake: Overfilling the apple cavities. Fix: Fill only 3/4 full, as the filling expands slightly during baking; overfilling causes messy spillover.
- Mistake: Not letting the dessert rest before serving. Fix: Allow a 10-15 minute cool-down so the juices thicken and the apples firm up for easier handling.
- Mistake: Using overly soft or mealy apples. Fix: Choose firm, baking-friendly varieties like Gala, Granny Smith, or Honeycrisp that hold their shape.
Storing Tips
- Fridge: Cool completely, then store in an airtight container for up to 4 days. The crisp topping will soften but remains delicious.
- Freezer: Place cooled, unbaked stuffed apples on a parchment-lined tray to freeze solid, then transfer to a freezer bag for up to 3 months. Bake from frozen, adding 10-15 minutes to the cook time.
- Reheat: For best results, reheat in a 350°F (175°C) oven for 10-15 minutes until warmed through. This helps re-crisp the topping. The USDA recommends reheating leftovers to an internal temperature of 165°F.
For meal prep, you can core the apples and prepare the dry topping mix 2 days in advance. Store separately in the fridge, then assemble and bake for freshly made apple crisp stuffed apples with minimal effort.
Conclusion
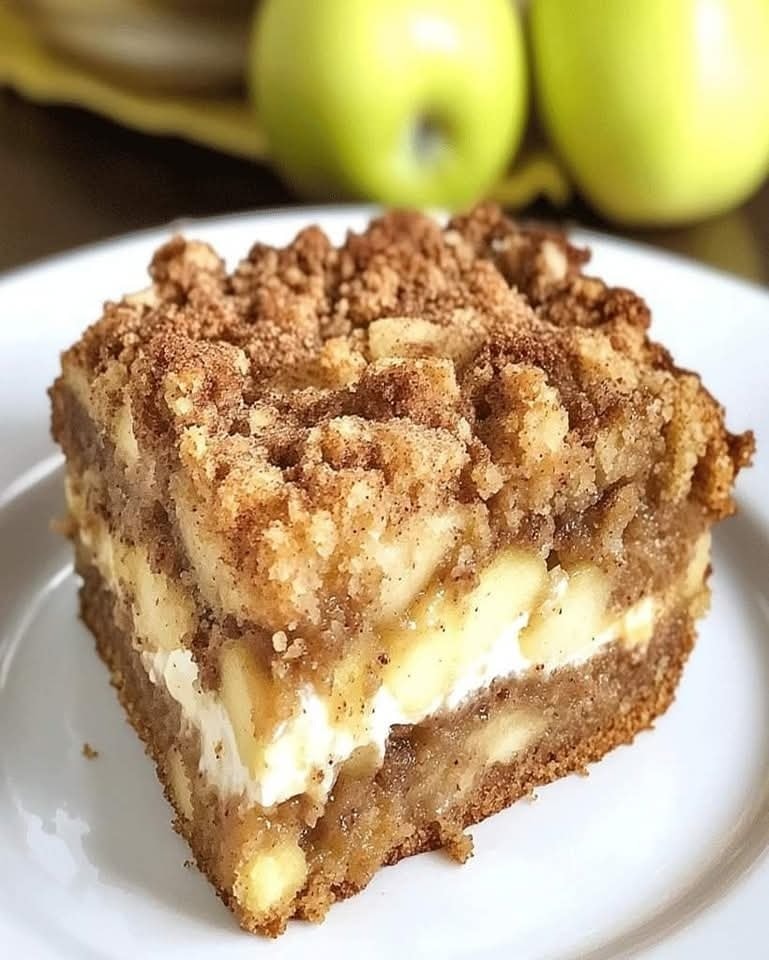
These Apple Crisp Stuffed Apples are the ultimate fuss-free dessert, offering the perfect portion of warm, spiced comfort. They’re ideal for both casual family dinners and impressive entertaining. For more delicious apple treats, try our Apple Streusel Cheesecake Bars Recipe or the classic Best Recipe for Apple Pie. I’d love to hear how yours turned out—share your results in the comments!
Frequently Asked Questions
Can I make Apple Crisp Stuffed Apples ahead of time?
Yes, you can prepare the components up to 2 days in advance. Core the apples and store them in the fridge wrapped in damp paper towels. Prepare the crisp topping and the sautéed filling, storing them separately in airtight containers. Assemble just before baking for the freshest texture and to prevent the apples from browning.
What can I use instead of oats in the crisp topping?
If you need an oat-free version, an equal amount of chopped nuts (like pecans or almonds) or additional flour works well. Chopped nuts will add a delightful crunch and rich flavor, while extra flour creates a more shortbread-like texture. For a gluten-free option, certified gluten-free oats or a gluten-free flour blend are your best substitutes.
Why did my crisp topping turn out soggy instead of crispy?
A soggy topping is usually caused by excess moisture. This can happen if the sautéed apple filling wasn"t cooled before stuffing, or if the apples released too much juice during baking. The solution is to ensure your filling is completely cool and to use firm, fresh apples as recommended. For extra insurance, a light pat of the topping with a paper towel after baking can absorb any surface moisture.
PrintApple Crisp Stuffed Baked Apples
Ingredients
- 8 apples ((I used small Gala apples))
- 4 Tablespoons salted butter
- 1/4 cup light brown sugar
- 1/2 teaspoon ground cinnamon
- 1/2 cup all-purpose flour
- 1/4 cup oats
- 1/4 cup light brown sugar
- 1/4 cup granulated sugar
- 1/2 teaspoon ground cinnamon
- 4 Tablespoons salted butter (chilled and cubed)
Instructions
- Preheat oven to 400° F.
- Prepare the crumble topping: In a medium bowl whisk together flour, oats, brown sugar, sugar and cinnamon. Cut in the butter with a pastry knife, or two forks until mixture is crumbly. Set aside.
- Peel and chop 2 of the apples. Add chopped apples, butter, brown sugar, and cinnamon to a medium sauce pan and stir over medium heat for 8 minutes or until apples are tender. Remove from heat.
- Chop the tops off of the remaining 6 apples and use a spoon to scoop out the flesh. You don't scoop all of it out, just enough to make a "bowl" for the filling.
- Fill scooped-out apples with the warm apple filling from sauce pan. Top with a generous amount of crumble topping.
- Place stuffed apples on a baking sheet and bake for 10-15 minutes until crumble topping is crispy. Serve warm with vanilla ice cream and caramel sauce. Enjoy! ♥
You Might Also Like
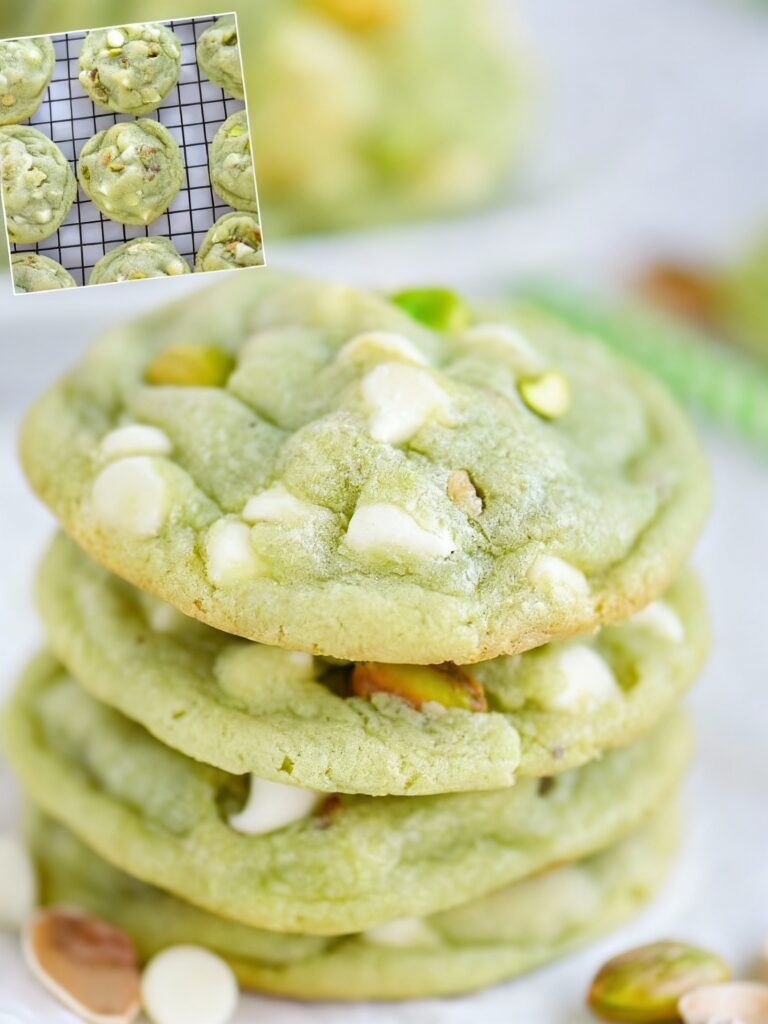
- Best Luscious Lemon-Lime Cherry Pistachio Cheesecake Recipe
- Best Butternut Squash Casserole Recipe
- Brown Butter Strawberry Peach Pie Recipe
- No-Bake German Chocolate Pie Recipe


One Comment