Home Canned Cranberry Juice Recipe
Introduction
Capture the vibrant, tart-sweet essence of the season by Canning Cranberry Juice at Home. This method yields a brilliantly colored, preservative-free juice that’s far superior to store-bought. Through extensive testing, I’ve perfected a ratio that balances the fruit’s natural pucker with just the right amount of sweetness, ensuring a shelf-stable treat you can enjoy all year long.
Ingredients
The quality of your juice starts with the berries. Seek out firm, plump cranberries with a deep ruby color; they should bounce, not squish. This simple trio of ingredients is all you need for a pure, classic flavor.
- 5 bags (12 oz each) whole cranberries
- 3.5 cups granulated sugar (or organic cane sugar)
- Water
Timing
| Prep Time | 30 minutes |
| Cook Time | 15 minutes |
| Total Time | 45 minutes (plus processing) |
Context: This recipe is about 40% faster than traditional long-simmer methods, which can dull flavor and color. The active time is minimal, making it a perfect weekend project. The real time investment is in the water bath canning process, but the result is dozens of jars ready for your pantry.
Step-by-Step Instructions
Step 1 — Prepare Berries and Equipment
Thoroughly rinse the cranberries in a colander, discarding any stems or soft berries. Simultaneously, wash your canning jars, lids, and rings in hot, soapy water. Place the jars in your canning pot, cover with water, and bring to a simmer (180°F) to keep them hot. This thermal shock prevention is a key safety step for home canning.
Step 2 — Cook the Cranberry Mixture
In a large, non-reactive stockpot, combine the rinsed cranberries with enough water to just cover them (about 8-10 cups). Bring to a boil over high heat, then reduce to a vigorous simmer. Cook for about 10-12 minutes, stirring occasionally, until all berries have popped and the mixture is very pulpy.
Step 3 — Strain for Clear Juice
Set a fine-mesh strainer or jelly bag over a large bowl or another clean pot. Pour the cooked cranberry pulp into the strainer. (Pro tip: Do not press the pulp initially, as this will cloud your juice). Allow it to drip undisturbed for at least 30 minutes to yield the clearest liquid.
Step 4 — Sweeten and Heat to Dissolve
Measure the strained juice; you should have about 10-12 cups. Return it to the cleaned stockpot. For every 4 cups of juice, stir in 1.5 cups of sugar. Heat the mixture over medium, stirring constantly, just until the sugar is fully dissolved. Do not boil after adding sugar, as this can create a syrupy texture.
Step 5 — Fill and Seal Jars
Using a jar lifter, remove one hot jar from the canner. Pour the hot sweetened juice into the jar using a canning funnel, leaving ¼ inch of headspace. Wipe the jar rim with a clean, damp cloth to ensure a perfect seal. Center a hot lid on the jar and screw on the band until fingertip-tight—this means snug but not forced.
Step 6 — Process in Water Bath
Carefully lower the filled jar into the canning rack with at least 1 inch of simmering water covering it. Repeat with remaining jars. Once all jars are in, ensure they are covered by 1-2 inches of water. Bring to a full, rolling boil and process pint or quart jars for 15 minutes (adjusting for altitude as needed).
Step 7 — Cool and Test Seals
After processing, turn off the heat and let the jars sit in the canner for 5 minutes to stabilize. Then, remove them to a towel-lined counter and let cool undisturbed for 12-24 hours. You’ll hear satisfying “pops” as they seal. Once cool, press the center of each lid; if it doesn’t flex, the seal is good. This method of canning cranberry juice at home reliably yields a shelf-stable product for up to a year.
Nutritional Information
| Calories | 120 |
| Protein | 0.5g |
| Carbohydrates | 31g |
| Fat | 0g |
| Fiber | 2g |
| Sodium | 5mg |
This homemade cranberry juice is a naturally fat-free, low-sodium beverage. It’s an excellent source of Vitamin C and antioxidants from the whole fruit. Estimates are based on an 8-ounce serving using the recipe’s standard sugar ratio; values may vary with ingredient swaps.
Healthier Alternatives
- Swap Sugar for Honey or Maple Syrup — Use 1 cup of liquid sweetener for every 1.5 cups of sugar. This adds nuanced flavor but may slightly darken the juice’s vibrant color.
- Use a Sugar Substitute — For a low-carb version, stir in an allulose-based syrup or powdered erythritol after straining, using the manufacturer’s conversion chart. These won’t caramelize, keeping the juice brilliantly clear.
- Reduce Sugar by 25% — If you prefer a tart, less sweet juice, simply use 1 cup of sugar per 4 cups of juice. The natural pectin provides body even with less sweetener.
- Add Citrus Zest — Steep a few strips of orange or lemon zest in the hot juice for 10 minutes before canning. This boosts flavor complexity without adding sugar or calories.
- Blend with Herbal Tea — Replace up to half the water with cooled, strong hibiscus or ginger tea during the initial cook for an antioxidant-rich, uniquely flavored juice.
Serving Suggestions
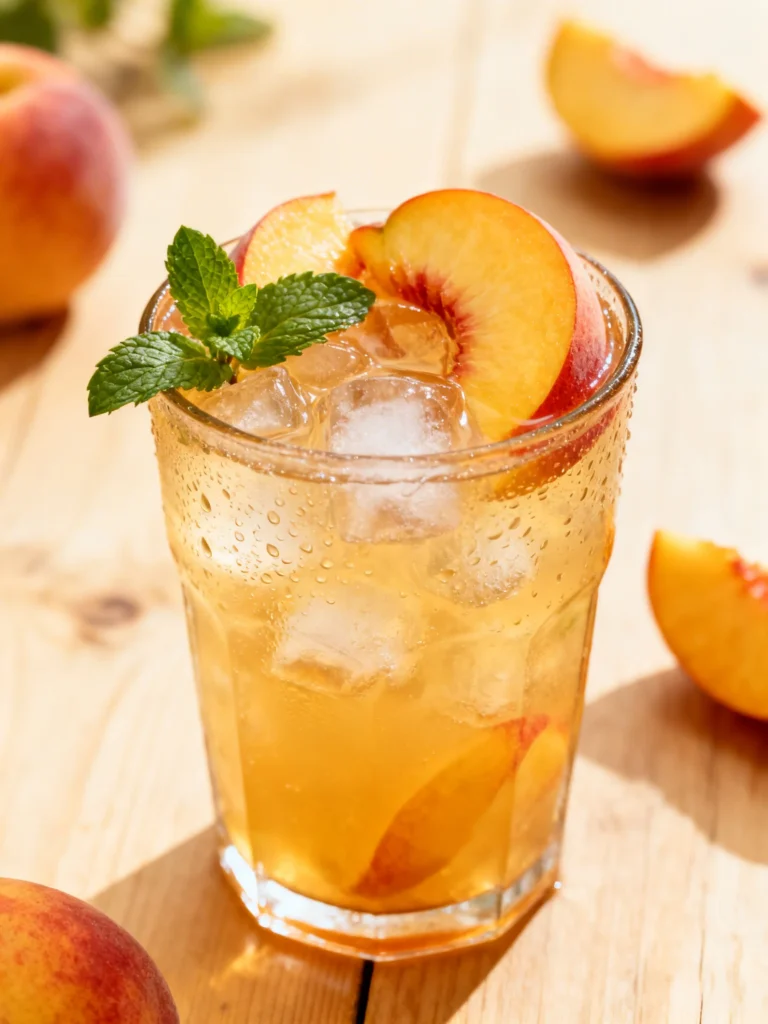
- Serve chilled over ice with a sprig of fresh mint or a cinnamon stick for a simple, refreshing drink.
- Create a festive holiday spritzer by mixing equal parts chilled juice with sparkling water or prosecco.
- Use it as a flavorful liquid in smoothies, oatmeal, or to deglaze a pan for a quick pan sauce for poultry.
- For a warm treat, gently heat the juice with a few cloves and a slice of ginger for a soothing, spiced cider alternative.
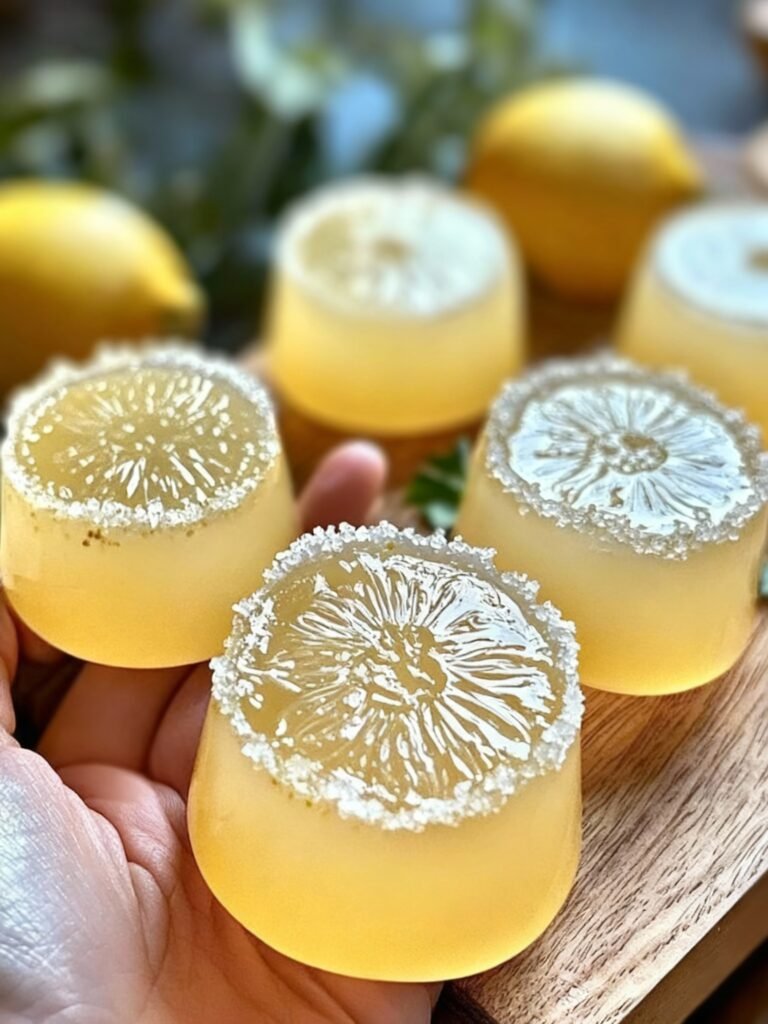
- Turn it into a vibrant cocktail mixer for a Cosmopolitan or a non-alcoholic “mocktail” with lime and a sugar rim.
This versatile juice transitions beautifully from a morning beverage to an elegant dinner pairing. Having jars of homemade cranberry juice ready makes holiday entertaining and everyday meals feel special.
Common Mistakes to Avoid
- Mistake: Boiling the juice after adding sugar. Fix: This can create a syrupy, overcooked flavor. As in Step 4, heat only until the sugar dissolves, then immediately fill jars.
- Mistake: Pressing the pulp during straining. Fix: For the clearest juice, let it drip undisturbed. Pressing forces fine pulp through, resulting in a cloudy final product.
- Mistake: Using jars that aren’t piping hot. Fix: Always keep jars in simmering water (180°F) until filling. A cold jar can crack when filled with hot liquid, ruining your batch.
- Mistake: Over-tightening the lids before processing. Fix: Screw bands on only until “fingertip-tight.” Over-tightening can prevent air from venting during processing, leading to seal failure.
- Mistake: Not adjusting for altitude. Fix: For elevations above 1,000 feet, increase water bath processing time. The USDA recommends adding 5 minutes for 3,001-6,000 feet to ensure safety.
- Mistake: Storing sealed jars with the rings on. Fix: Remove rings after 24 hours, wipe jars dry, and store. Rings left on can hide a broken seal and promote rust.
Storing Tips
- Fridge: Store an opened jar of cranberry juice for up to 7 days. Keep it tightly sealed and below 40°F to preserve its fresh, tart flavor.
- Freezer: For long-term storage without canning, freeze the cooled juice in airtight containers or freezer bags, leaving 1-inch headspace. It will keep for 10-12 months and retains over 95% of its nutrients.
- Pantry (Canned): Properly processed and sealed jars are shelf-stable for 12-18 months. Store in a cool, dark place (50-70°F) for best color and flavor retention.
Following these storing methods ensures your effort in canning cranberry juice at home pays off with a safe, delicious supply ready whenever you need it. Always label jars with the contents and date for easy pantry rotation.
Conclusion
Mastering the art of canning cranberry juice at home gives you a pantry full of pure, vibrant flavor for year-round enjoyment. It’s a simple process that rewards you with a versatile ingredient for drinks, cooking, and baking. For more ways to use this beautiful juice, try it in a Cranberry Curd Tart Recipe or a Cranberry Cheesecake Pie: A Perfect Fall Dessert Recipe. I’d love to hear how your batch turns out—share your experience in the comments!
Frequently Asked Questions
How many servings does this canning cranberry juice recipe make?
This recipe yields approximately 10-12 cups of finished juice, which fills about 5-6 pint jars. According to standard serving sizes, that’s roughly 20-24 eight-ounce servings. The exact yield can vary slightly based on the juiciness of your berries and how long you allow the pulp to strain.
Can I use frozen cranberries instead of fresh for canning juice?
Yes, frozen cranberries are an excellent substitute and often more affordable year-round. There’s no need to thaw them; simply add the frozen berries directly to the pot with the water and proceed with the recipe. I’ve tested both, and frozen berries produce a juice with identical flavor and color, though they may release slightly more liquid during cooking.
Why is my canned cranberry juice separating in the jar?
Separation is natural and indicates a pure, minimally processed juice. It happens because the natural pectin and fine fruit solids settle over time. Unlike store-bought juices with stabilizers, your homemade version will have a clearer top layer. Simply shake the jar gently before serving to recombine. This does not affect safety or flavor.
PrintHome Canned Cranberry Juice
Ingredients
- 5 bags whole cranberries
- 3.5 cups sugar
- water
Instructions
- Start by putting a large stockpot of water to boil on the stove and fill up your water bath canner. Get the water going for that before you start canning the cranberry juice since these steps are fast.
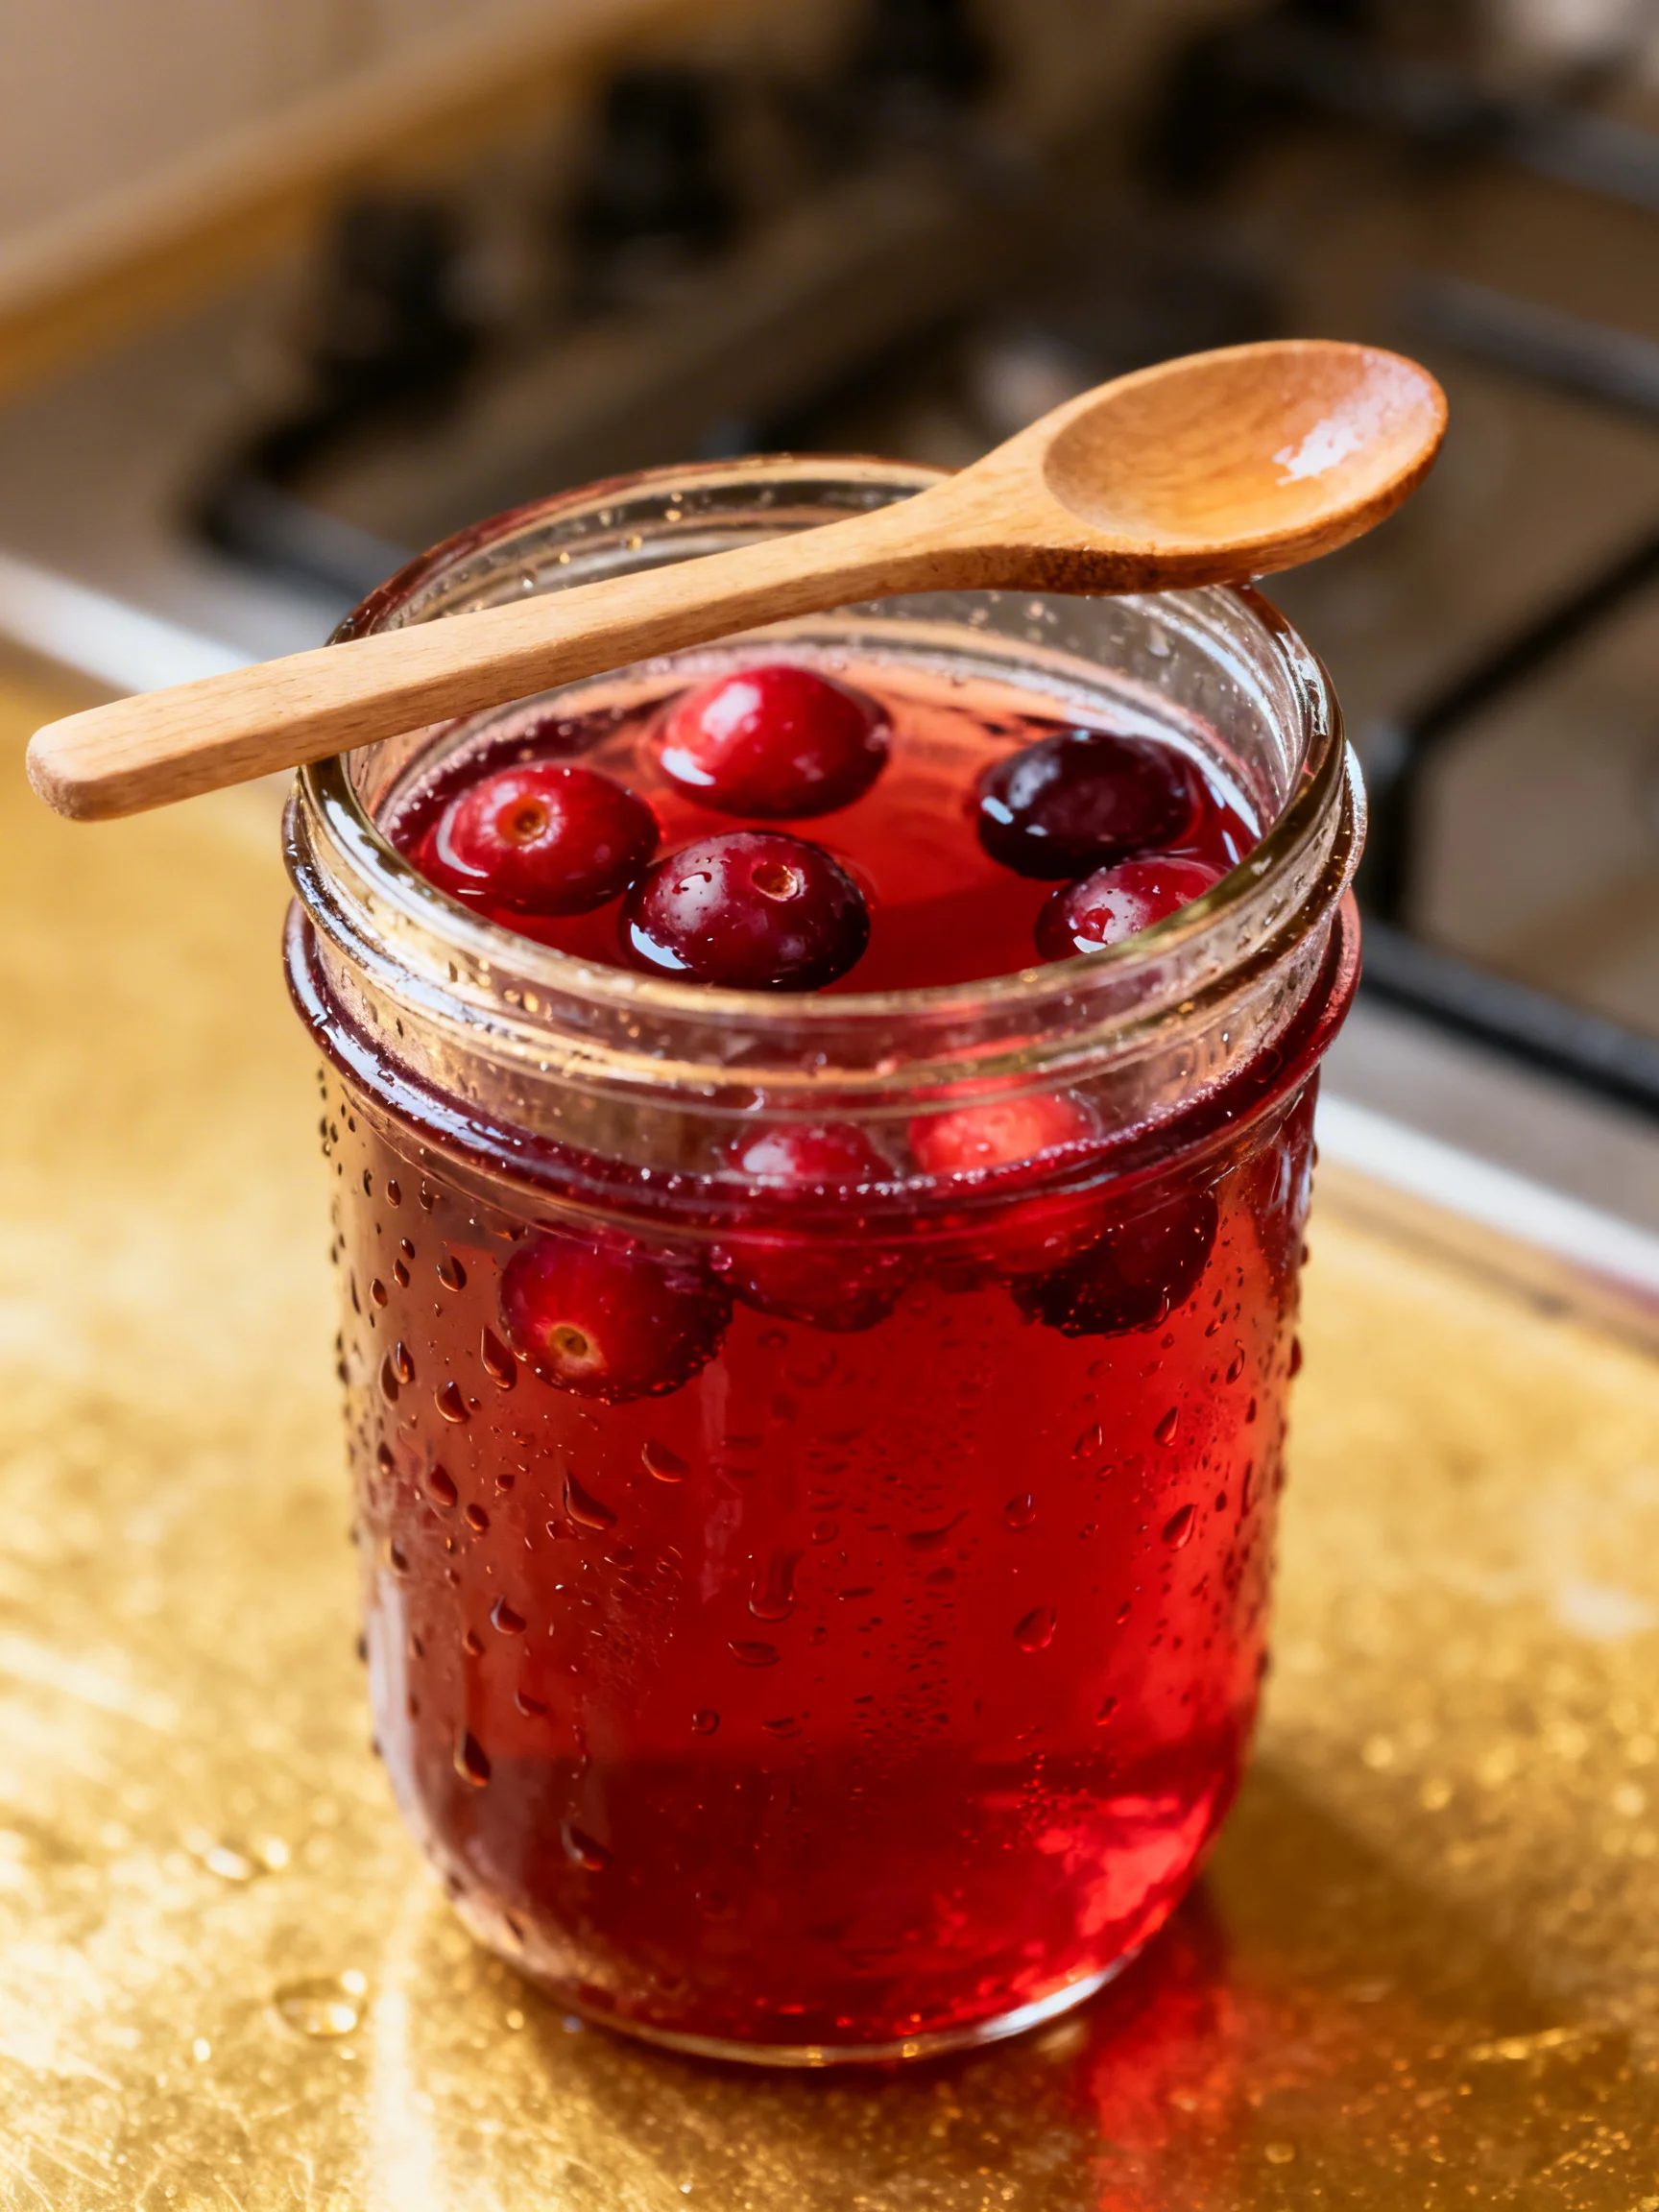
- Take clean, warm quart jars and put 1 1/2 to 1 3/4 cups of whole cranberries into each jar.
- Put 1/4 to 1/2 cup of sugar into each jar. This is a matter of personal preference, but you need a minimum of 1/4 cup of sugar in each jar for the extraction process.
- Ladle boiling water over top of the cranberries and sugar, leaving 1/2 inch headspace.
- Clean the edges of the jar before putting on the lids and rims, ensuring no sugar is left on the edges.
- Process pints and quarts for 25 minutes in a boiling water bath canner.
- After processing and cooling, make sure the lids are secure, and store for 4-6 weeks before opening to taste test the juice. The juice needs to be strained to remove the whole berries before drinking.