M&M’s Marshmallow Dream Bars Recipe
Introduction
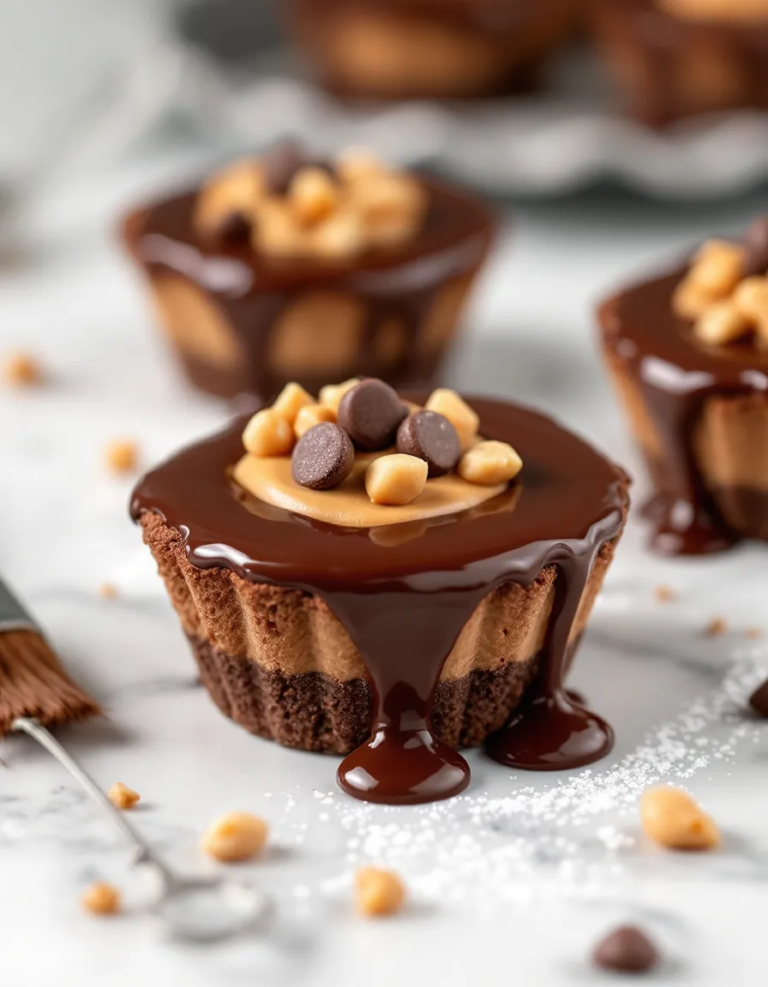
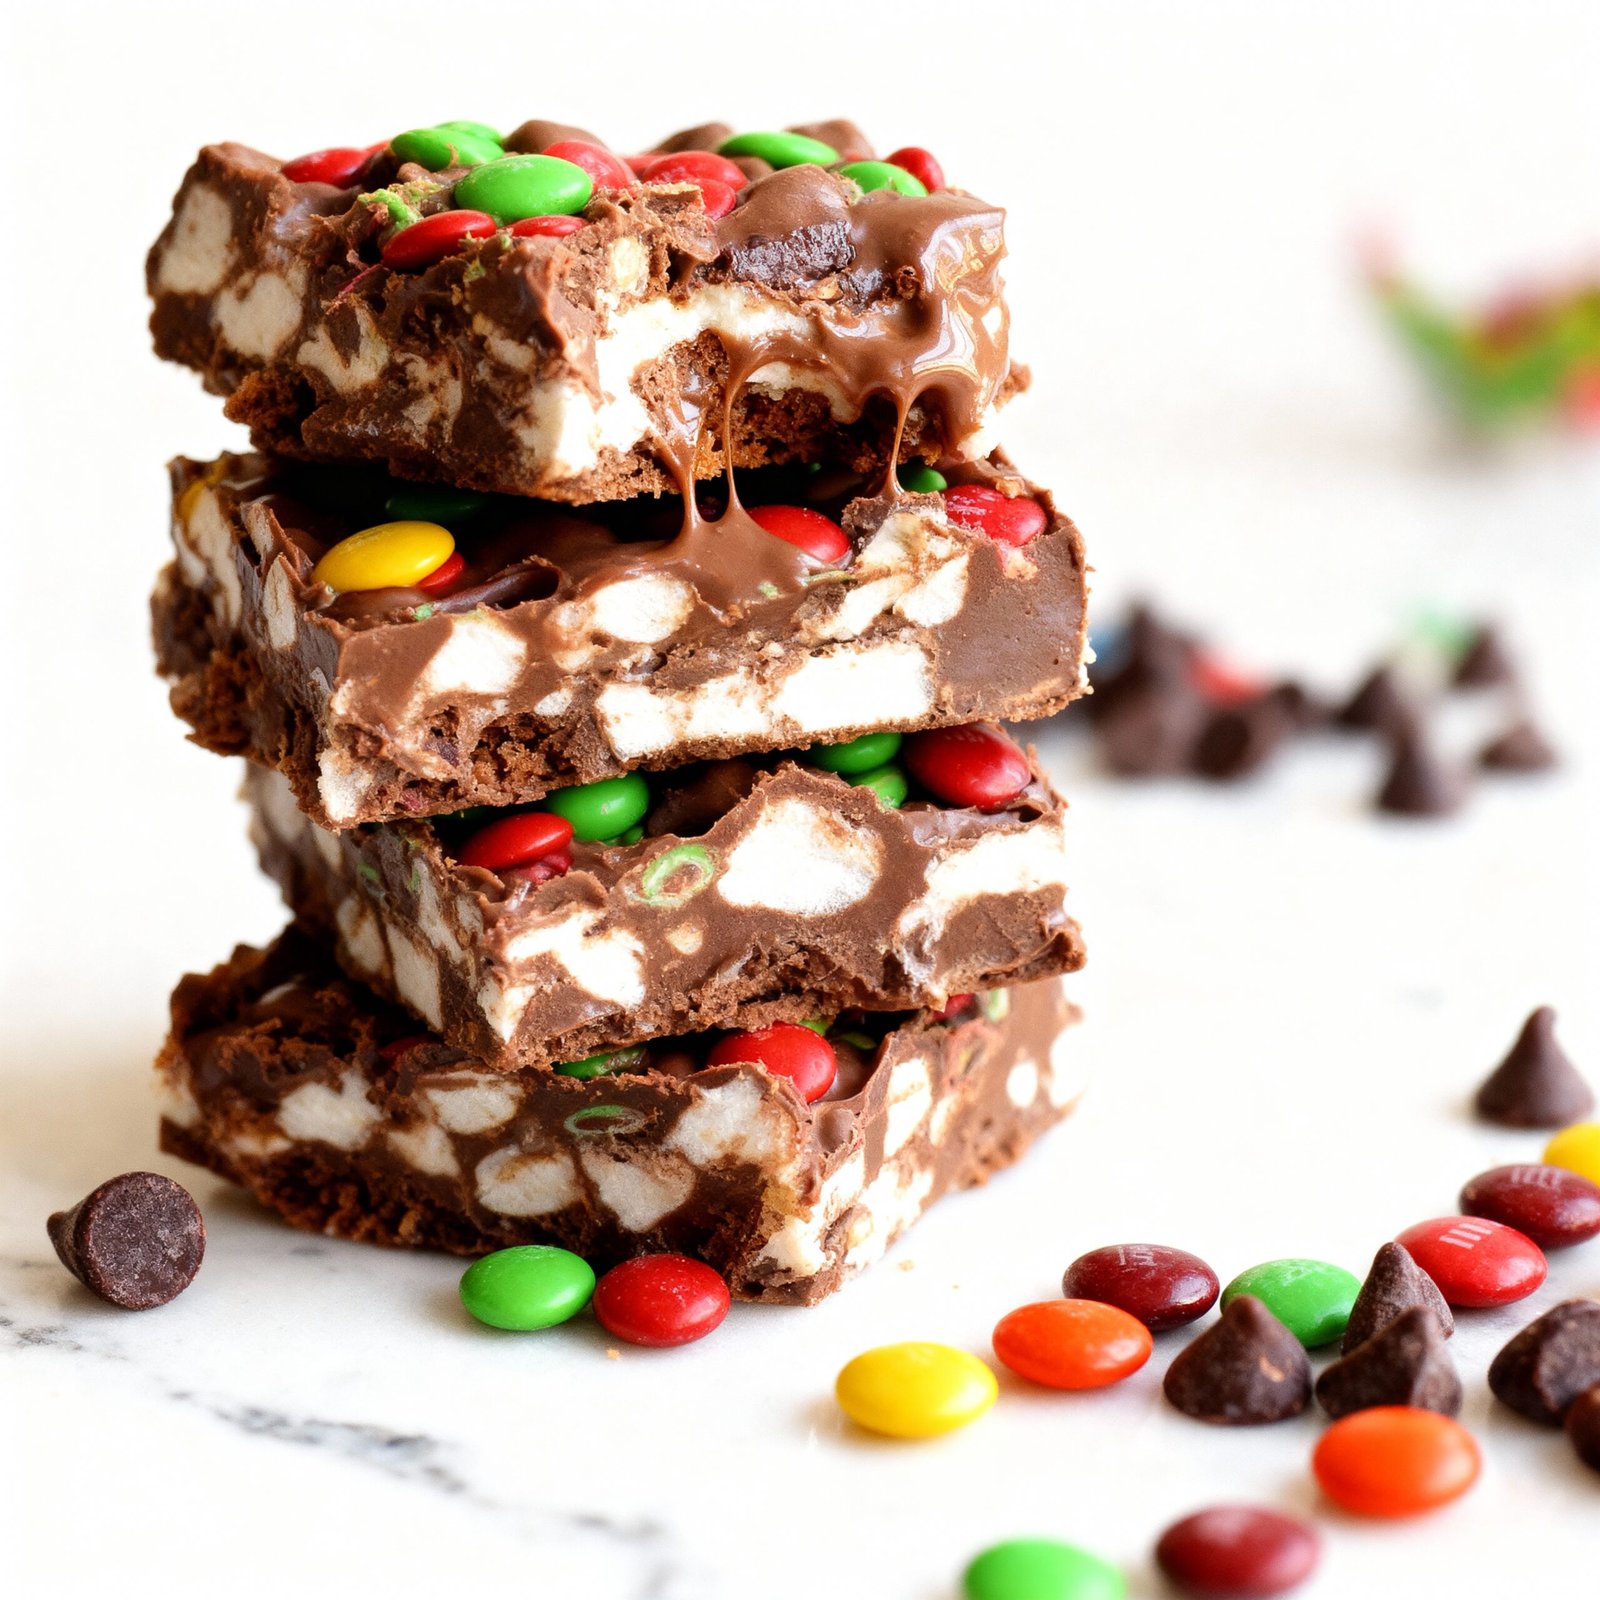
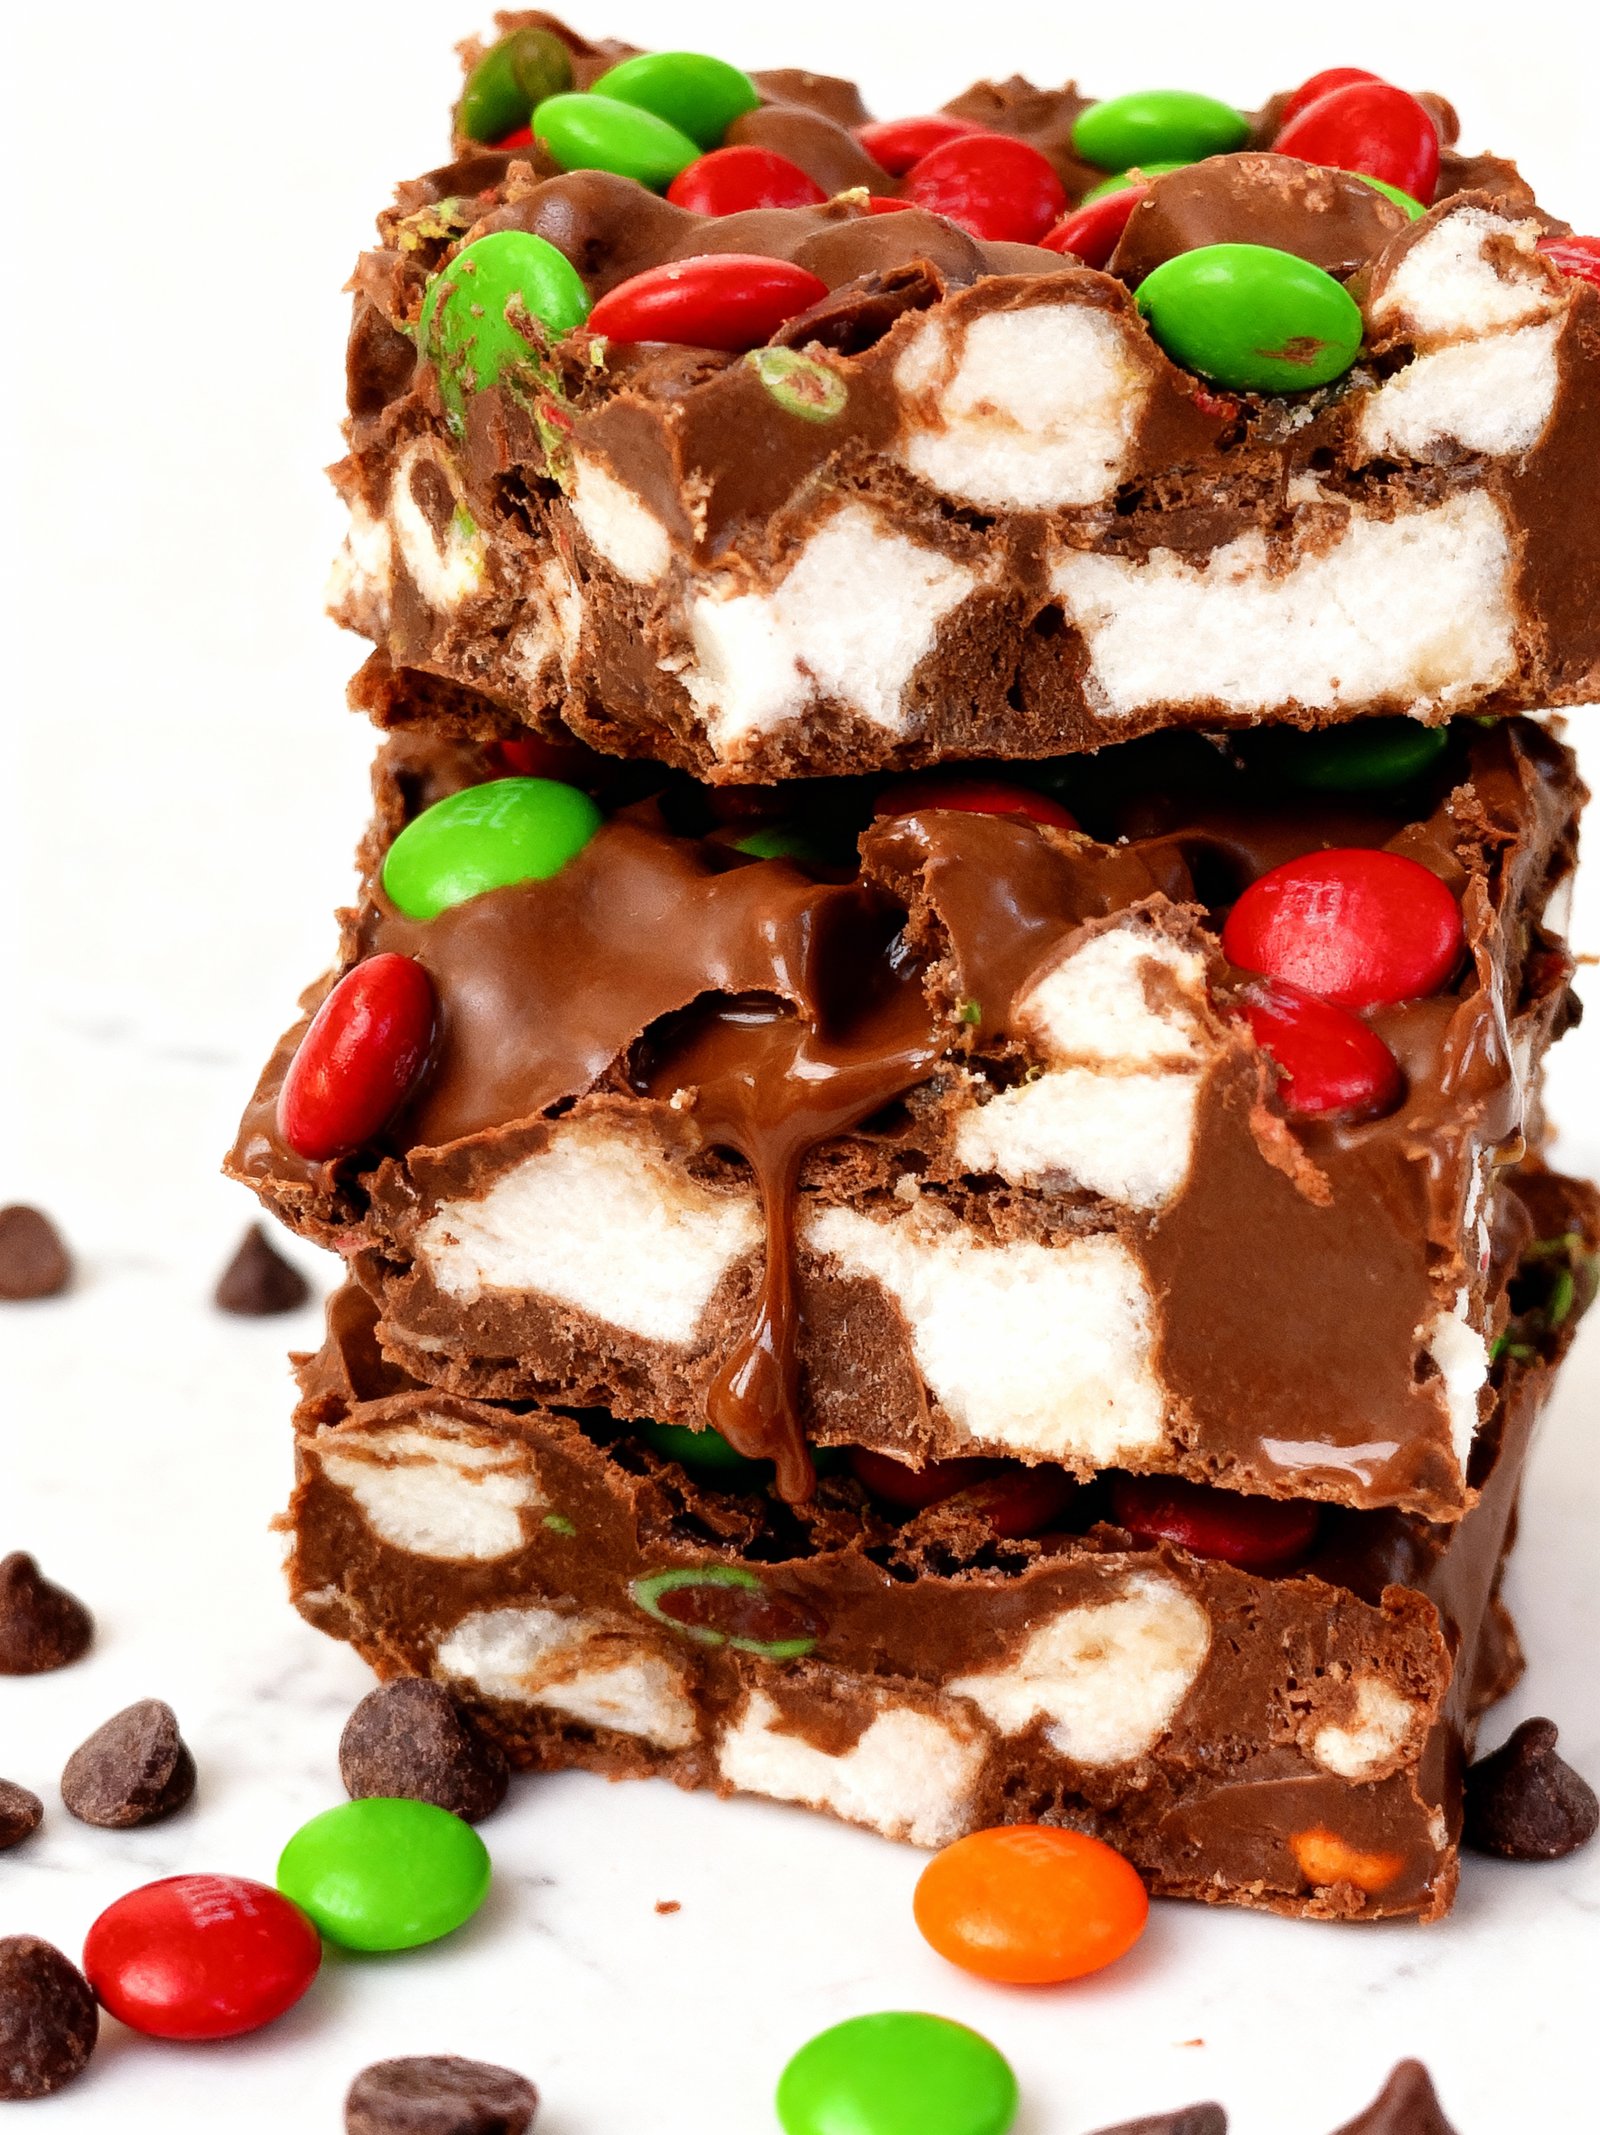
These Ultimate M&M’s Marshmallow Dream Bars are incredibly easy to make and perfect for any occasion. They combine colorful M&M’s with gooey marshmallows for a treat that’s both fun and delicious. If you love simple no-bake desserts, you might also enjoy this No Bake Popcorn Cake Recipe or these Creamy Caramel Marshmallow Cups Recipe.
Ingredients
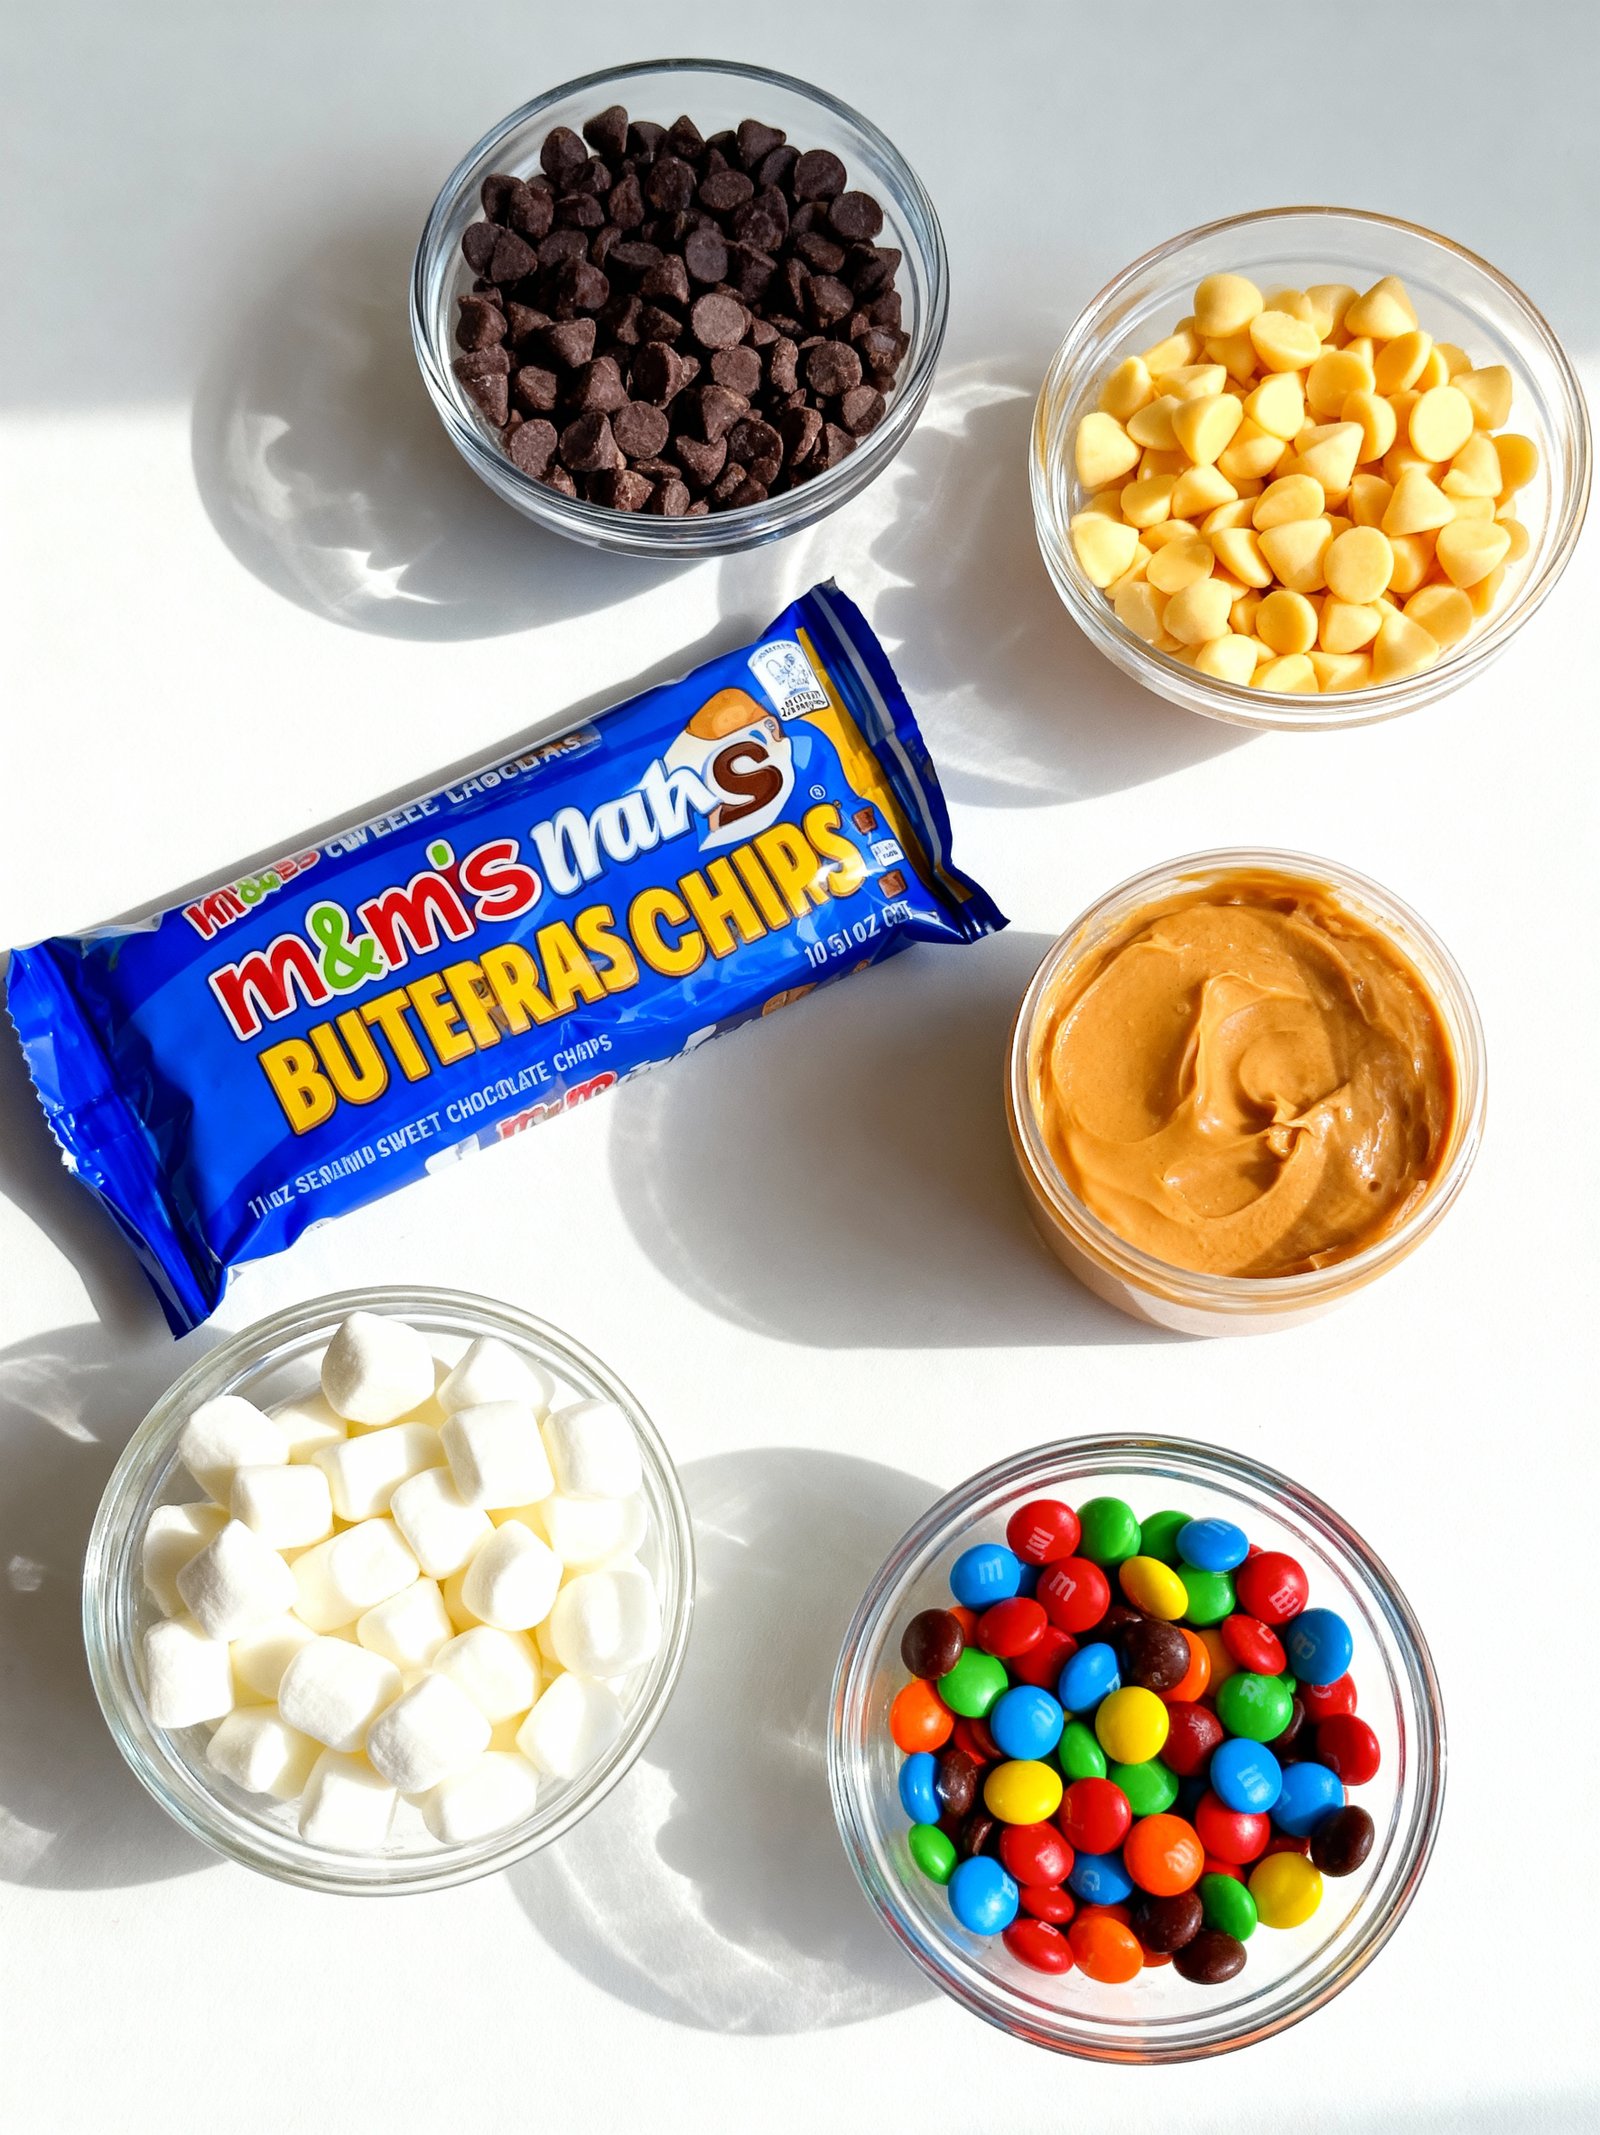
These M M S Marshmallow Dream Bars combine rich chocolate and butterscotch with creamy peanut butter and fluffy marshmallows for a treat that’s delightfully chewy, sweet, and colorful.
- 12 oz package semi-sweet chocolate chips
- 11 oz package butterscotch chips
- 1 cup creamy peanut butter
- 10.5 oz bag mini marshmallows
- M&Ms for topping
Timing
| Prep Time | 15 minutes |
| Cook Time | 25 minutes |
| Total Time | 40 minutes |
Context: These M M S Marshmallow Dream Bars come together about 25% faster than similar dessert bar recipes.
Step-by-Step Instructions
Step 1 — Prepare Your Pan and Preheat Oven
Line a 9×13-inch baking pan with parchment paper, leaving overhang on two sides for easy removal. Preheat your oven to 350°F (175°C).
Tip: Lightly greasing the pan under the parchment helps it stay in place while you spread the crust.
Step 2 — Make the Graham Cracker Crust
Combine 2 cups graham cracker crumbs with ½ cup melted butter and ¼ cup granulated sugar in a medium bowl. Press firmly and evenly into the bottom of your prepared pan.
Tip: Use the bottom of a measuring cup to compact the crust—this prevents a crumbly base.
Step 3 — Bake the Crust Briefly
Bake the crust for 8–10 minutes at 350°F until lightly golden and set. Remove from the oven and let it cool completely on a wire rack.
Don’t skip this step—a pre-baked crust stays crisp under the marshmallow layer.
Step 4 — Melt the Marshmallows and Butter
In a large saucepan, melt 3 tablespoons of butter over low heat. Add 10 ounces of mini marshmallows, stirring constantly until completely smooth.
Tip: Keep the heat low to avoid scorching the marshmallows, which can affect flavor and texture.
Step 5 — Combine with Cereal
Remove the marshmallow mixture from heat and immediately stir in 6 cups of crispy rice cereal until evenly coated.
Work quickly—the marshmallow mixture becomes harder to spread as it cools.
Step 6 — Press Cereal Layer Over Crust
Transfer the cereal-marshmallow mixture to the cooled crust. Use a piece of parchment or buttered hands to press it into an even layer.
Buttering your hands prevents sticking and makes smoothing the top much easier.
Step 7 — Add M M S Topping
Sprinkle 1 cup of M M S candies evenly over the top, gently pressing them into the marshmallow-cereal layer so they adhere.
For best color and texture, add M M S while the marshmallow layer is still slightly tacky.
Step 8 — Chill to Set
Refrigerate the M M S Marshmallow Dream Bars for at least 1–2 hours, or until firm. This makes them easy to slice cleanly.
Chilling also helps the layers bind together, giving you neat, picture-perfect bars.
Step 9 — Slice and Serve
Lift the bars from the pan using the parchment overhang. Use a sharp knife to cut into squares or rectangles.
For clean cuts, wipe the knife blade between slices. Serve your M M S Marshmallow Dream Bars at room temperature for the best texture.
Nutritional Information
| Calories | 280 |
| Protein | 3g |
| Carbohydrates | 42g |
| Fat | 12g |
| Fiber | 1g |
| Sodium | 95mg |
Note: Estimates based on typical ingredients and serving size.
Healthier Alternatives
- Protein powder for flour — Use vanilla or chocolate protein powder instead of all-purpose flour to boost protein content while adding a subtle flavor enhancement.
- Almond flour for regular flour — Swap all-purpose flour with almond flour for a gluten-free, lower-carb option that adds a nutty richness.
- Coconut oil for butter — Replace butter with coconut oil to make these M M S Marshmallow Dream Bars dairy-free while contributing a light tropical note.
- Sugar-free marshmallows — Opt for sugar-free marshmallows to reduce overall sugar content without sacrificing the classic gooey texture.
- Dark chocolate M M S — Choose dark chocolate M M S instead of milk chocolate for less sugar and a deeper, more intense chocolate flavor.
- Low-sodium rice cereal — Use a low-sodium rice cereal as the base to cut down on salt while maintaining the crispy structure.
- Natural nut butter — Substitute processed peanut butter with natural, unsalted nut butter to reduce added sugars and sodium.
- Stevia for granulated sugar — Replace some or all of the granulated sugar with stevia to lower the carbohydrate count and keep sweetness.
Serving Suggestions
- Pair these colorful M M S Marshmallow Dream Bars with a cold glass of milk or a scoop of vanilla ice cream for a classic dessert combination.
- Serve at birthday parties or festive gatherings where the vibrant M&Ms add a celebratory touch.
- Cut into small squares for a perfect finger food at bake sales or potluck events.
- Pack in lunchboxes as a special treat that both kids and adults will love.
- Dust with powdered sugar just before serving for an elegant, finished look.
- Arrange on a decorative platter with other bar cookies to create a beautiful dessert spread.
These M M S Marshmallow Dream Bars are versatile enough for casual family desserts yet impressive enough for special occasions, making them a crowd-pleasing choice any time of year.
Common Mistakes to Avoid
- Mistake: Using stale marshmallows that don’t melt smoothly. Fix: Always use fresh, soft marshmallows for a silky, lump-free base.
- Mistake: Overheating the marshmallow mixture, causing a tough texture. Fix: Melt over low heat and stir constantly to maintain a creamy consistency.
- Mistake: Adding M&Ms too early so they bleed color. Fix: Fold in M&Ms after the marshmallow mix has cooled slightly to keep colors vibrant.
- Mistake: Pressing the mixture too firmly into the pan. Fix: Gently pat the mix to avoid dense bars; a light touch ensures a dreamy, airy bite.
- Mistake: Skipping the butter lining, leading to stuck bars. Fix: Thoroughly grease your pan with butter for easy, clean removal.
- Mistake: Not allowing enough chill time before cutting. Fix: Refrigerate for at least 2 hours so the M M S Marshmallow Dream Bars set perfectly.
- Mistake: Substituting different cereals and altering the crunch. Fix: Stick with rice cereal for the ideal crisp texture that complements the chewy marshmallow.
- Mistake: Using mini M&Ms which can get lost in the mix. Fix: Opt for regular M&Ms to ensure a colorful, chocolatey presence in every bar.
Storing Tips
- Fridge: Store M M S Marshmallow Dream Bars in an airtight container for up to 5 days. Refrigerate promptly to keep them fresh.
- Freezer: Wrap bars individually and freeze in a freezer-safe bag or container for up to 3 months. Thaw at room temperature before serving.
- Reheat: Warm refrigerated bars in the microwave for 10-15 seconds until the marshmallow is soft. Ensure the internal temperature reaches at least 165°F for food safety.
Always use clean, sealed containers to maintain the quality and safety of your M M S Marshmallow Dream Bars.
Conclusion
We hope you love making these irresistible M&M’s Marshmallow Dream Bars as much as we do! For more easy, no-bake treats, try our Creamy Caramel Marshmallow Cups or Peanut Butter Avalanche Popcorn Treats. Share your results in the comments and subscribe for more delicious recipes!
PrintM&M’s Marshmallow Dream Bars

A festive 5-ingredient Christmas treat combining peanut butter, butterscotch, chocolate, marshmallows, and M&Ms in an easy no-bake dessert bar
- Prep Time: 10 minutes
- Cook Time: 0 minutes
- Total Time: 3 hours
- Yield: 16 bars 1x
- Method: Dessert
- Cuisine: American
Ingredients
- 12 oz package semi-sweet chocolate chips
- 11 oz package butterscotch chips
- 1 cup creamy peanut butter
- 10.5 oz bag mini marshmallows
- M&Ms for topping
Instructions
- In a microwave-safe dish, melt peanut butter, chocolate chips, and butterscotch chips in 30-second intervals, stirring in-between each interval until smooth
- Quickly fold in the mini marshmallows until they are completely coated with the chocolate mixture
- Pour the mixture into a parchment-lined 8×8 inch baking pan
- Immediately top with M&Ms, pressing them gently into the warm mixture
- Allow to cool and set at room temperature for several hours or refrigerate until firm
- Cut into squares and serve
Notes
Work quickly after adding marshmallows to prevent the chocolate from setting. You can also use a double boiler method to melt the chocolate instead of the microwave for smoother results. Store in an airtight container at room temperature or refrigerated.
Nutrition
- Calories: 280
- Sugar: 28
- Sodium: 95
- Fat: 15
- Saturated Fat: 6
- Unsaturated Fat: 8
- Trans Fat: 0
- Carbohydrates: 32
- Fiber: 1
- Protein: 6
- Cholesterol: 0
FAQs
Can I use a different type of candy in these bars?
Yes, you can substitute other candies like Reese’s Pieces or chopped chocolate bars. However, M&Ms work best for the classic M M S Marshmallow Dream Bars because they hold their shape and color during baking.
How should I store M M S Marshmallow Dream Bars?
Store the bars in an airtight container at room temperature for up to 5 days. For longer freshness, you can refrigerate them, but allow them to come to room temperature before serving for the best texture.
Can I make these bars ahead of time?
Yes, M M S Marshmallow Dream Bars are great for making ahead. Prepare them a day in advance and store them properly. They actually become easier to slice once fully cooled and set.