Easy Peanut Butter Pie Recipe
Introduction
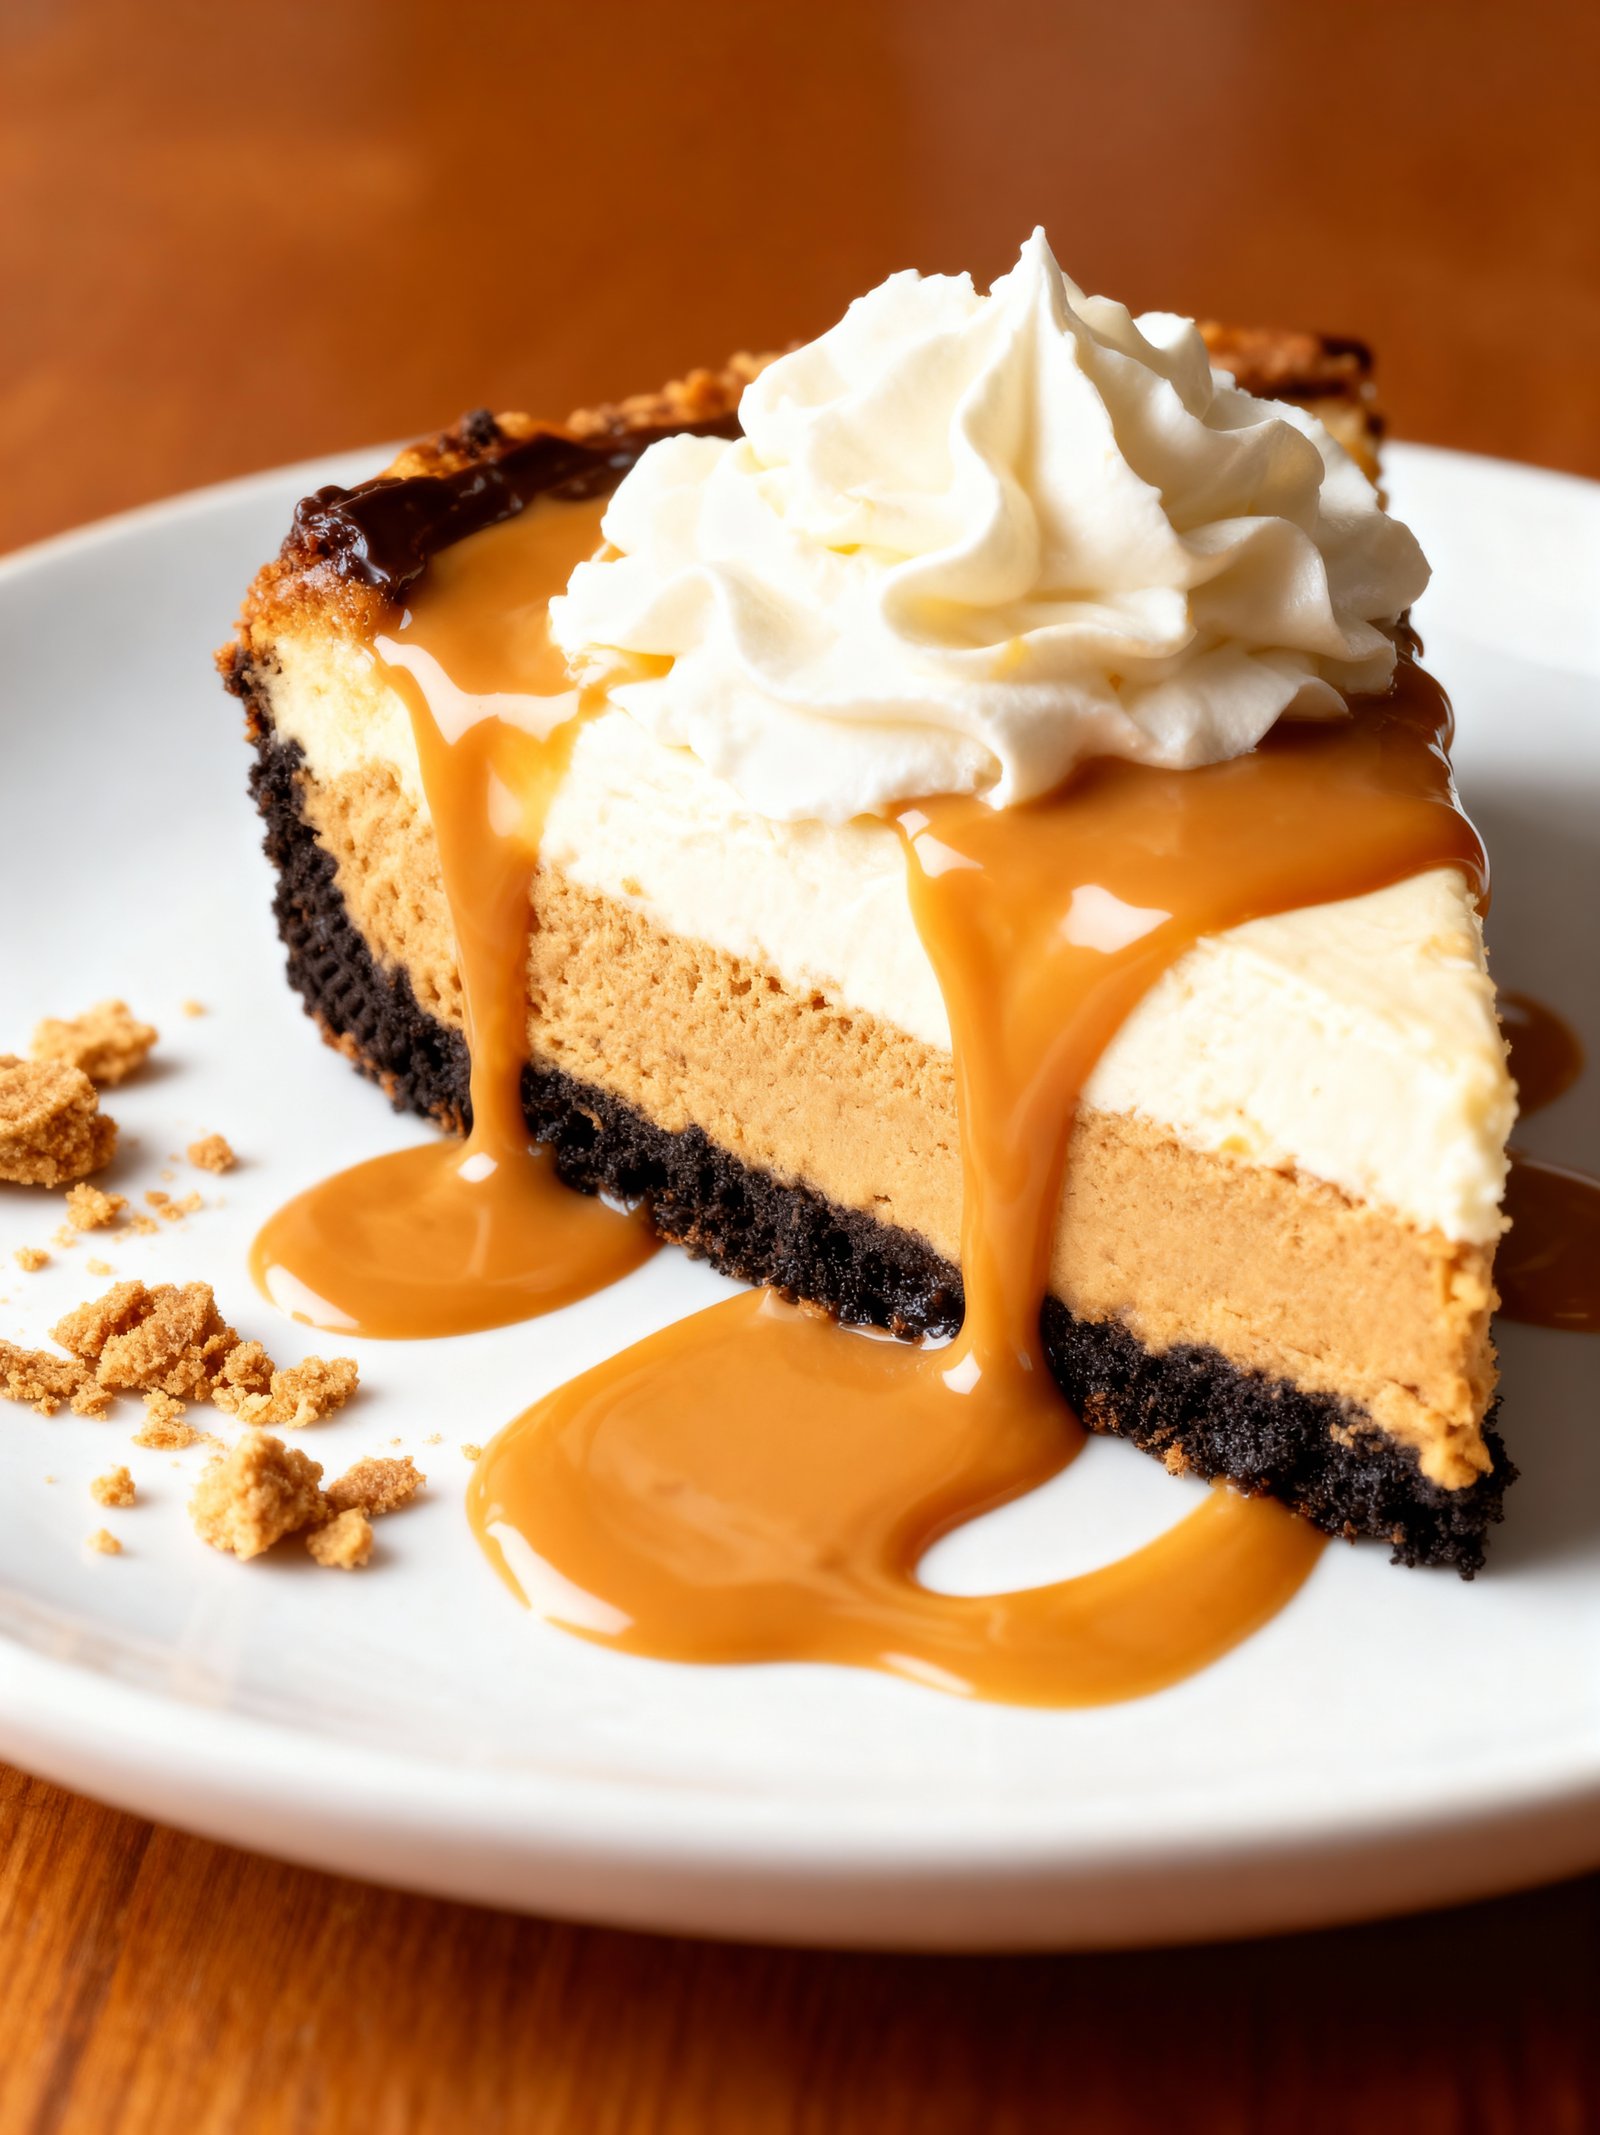
This No-Bake Peanut Butter Pie is incredibly simple to make with just a few ingredients and no oven required. The creamy, rich filling in a chocolate cookie crust is perfect for any occasion. For more easy no-bake desserts, try the Milky Way No Bake Cookies Recipe or the No-Bake German Chocolate Pie Recipe.
Ingredients
This no-bake Peanut Butter Pie delivers a rich, creamy filling with a satisfying crunch from the graham cracker crust—a perfect balance of sweet and salty flavors that comes together effortlessly.
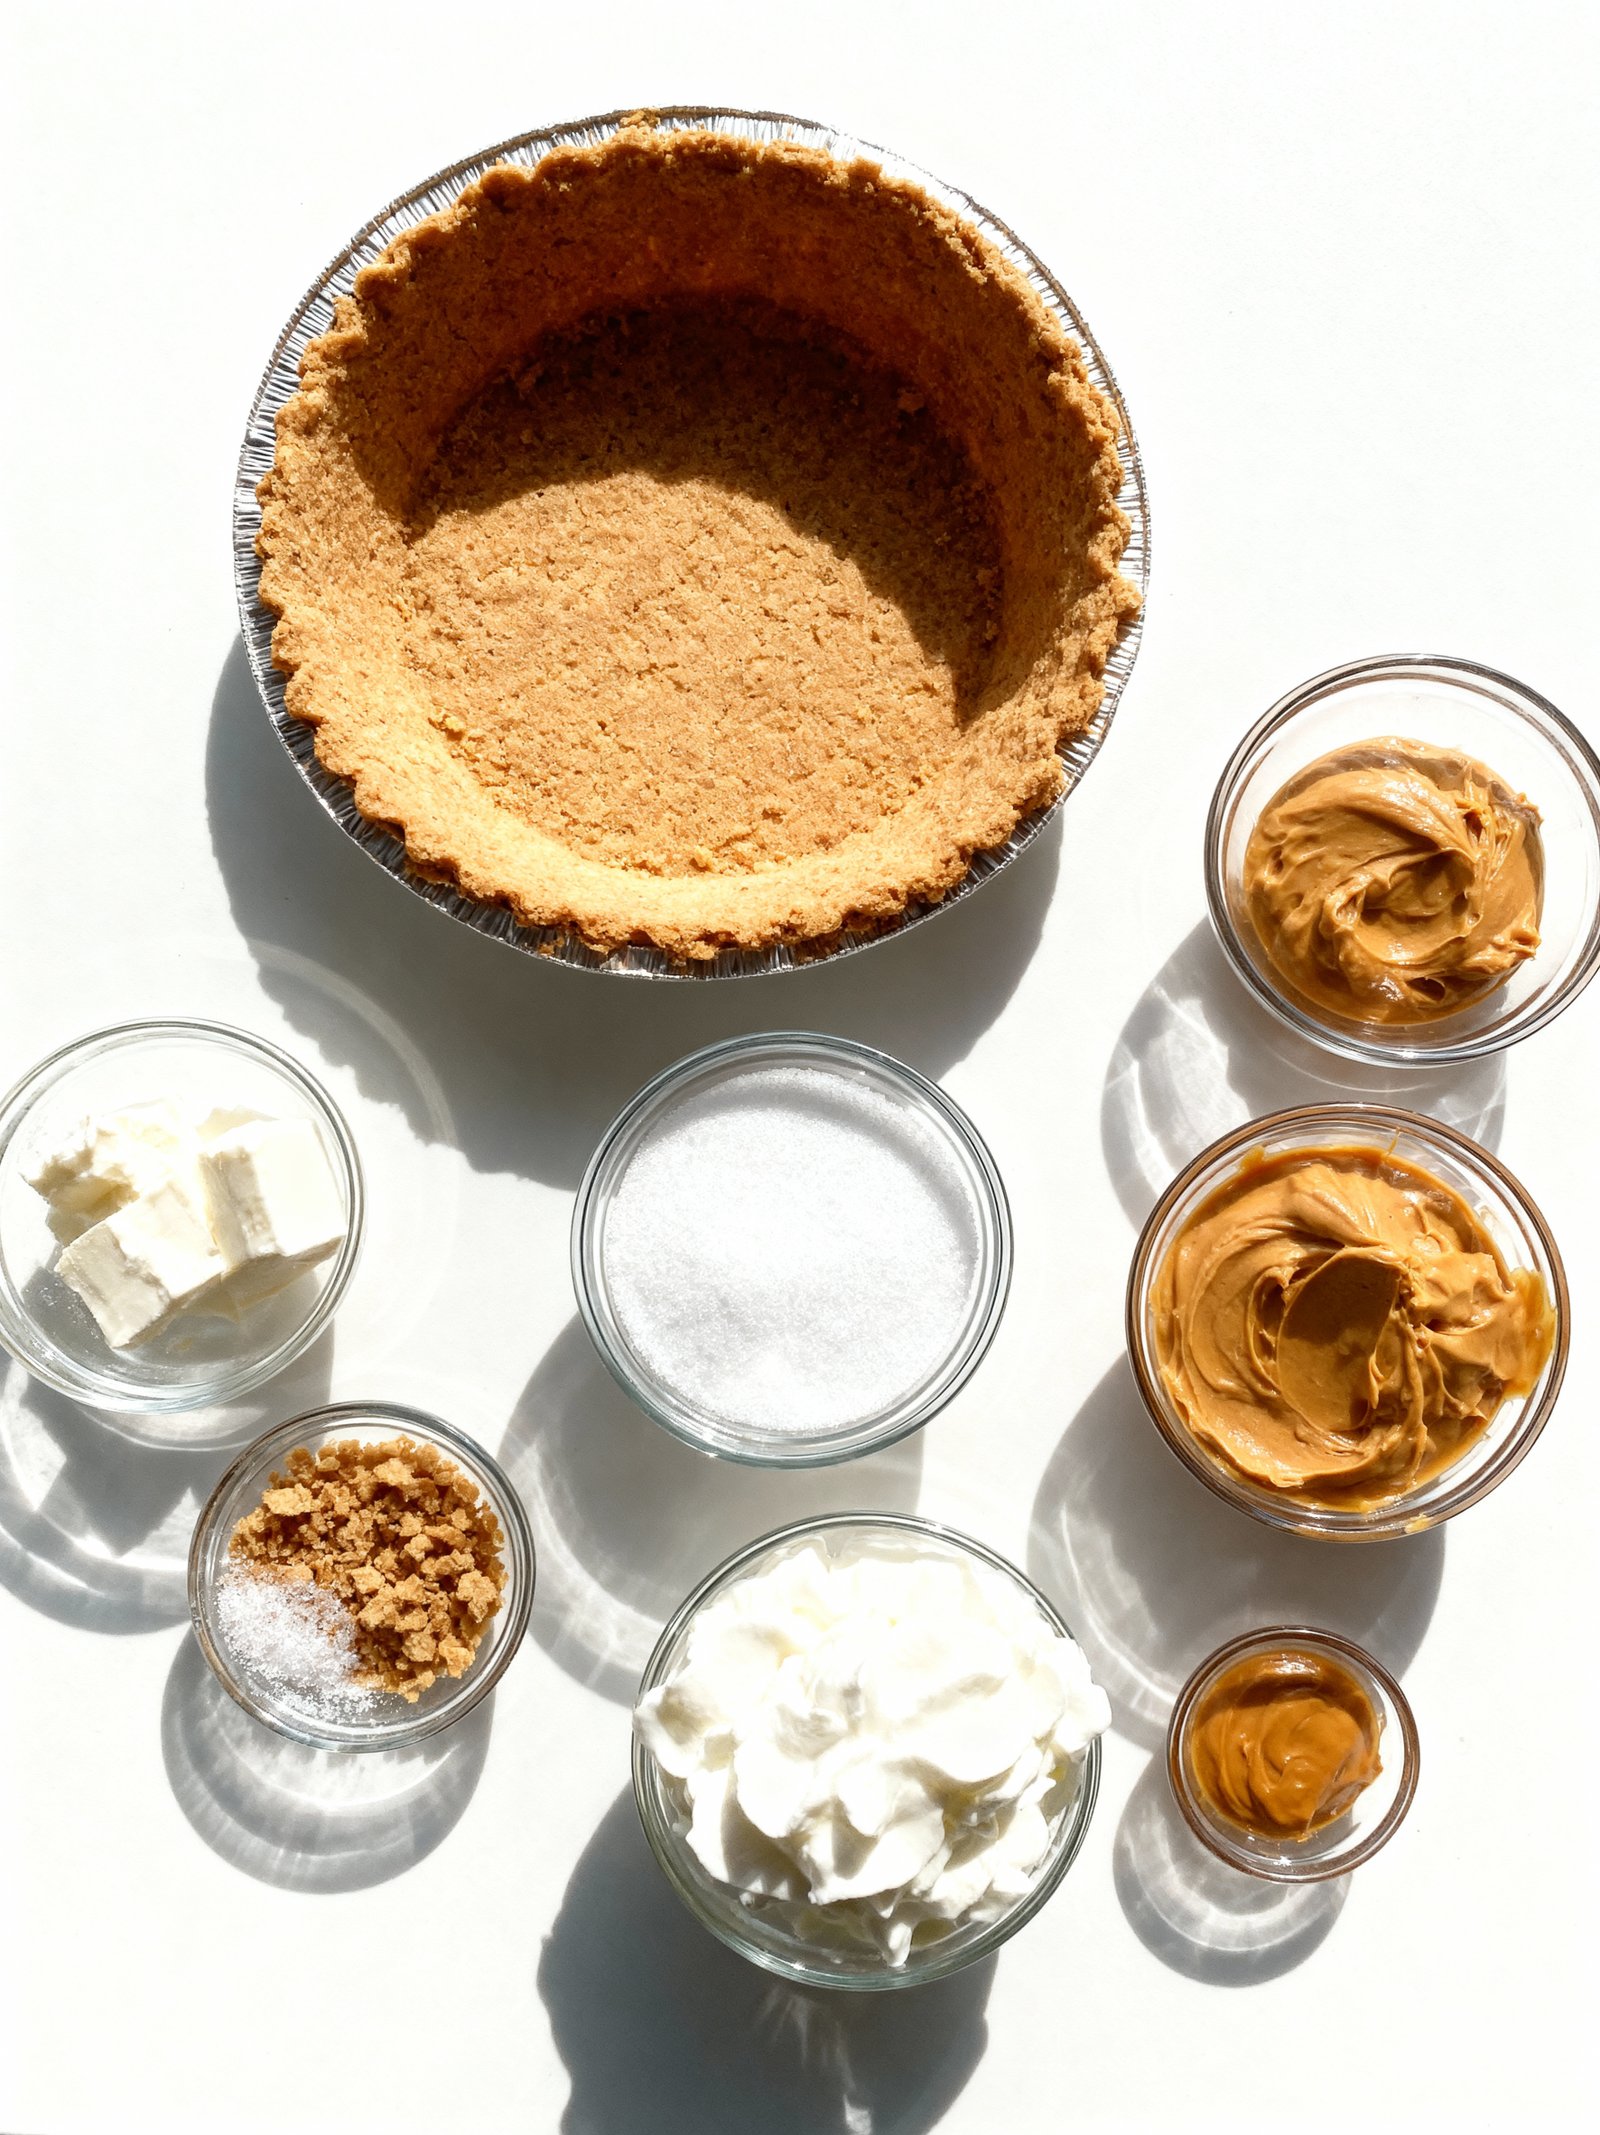
- 1 pre-made 9-inch graham cracker pie crust
- 8 ounces cream cheese, softened
- 1 cup creamy peanut butter
- 1 cup powdered sugar
- 8 ounces whipped topping (Cool Whip), thawed
- Optional peanut butter crumbs: 2 tablespoons powdered sugar, 1 tablespoon peanut butter
Timing
| Prep Time | 20 minutes |
| Cook Time | 10 minutes |
| Total Time | 30 minutes |
Context: This Peanut Butter Pie recipe is about 20% faster than similar recipes.
Step-by-Step Instructions
Step 1 — Prepare the Crust
Combine 1 ½ cups of graham cracker crumbs with 6 tablespoons of melted butter and 3 tablespoons of granulated sugar in a medium bowl. Press the mixture firmly and evenly into the bottom and up the sides of a 9-inch pie plate.
Bake the crust at 350°F for 8–10 minutes, until lightly golden and fragrant. Let it cool completely on a wire rack before filling to ensure a crisp texture.
Step 2 — Make the Peanut Butter Filling
In a large mixing bowl, beat 1 cup of creamy peanut butter with 8 ounces of softened cream cheese until smooth and well combined. Use an electric mixer on medium speed for best results, scraping down the sides as needed.
Gradually add 1 cup of powdered sugar and 1 teaspoon of vanilla extract, mixing until fully incorporated. The filling should be thick, creamy, and free of lumps.
Step 3 — Whip the Cream
In a separate chilled bowl, whip 1 ½ cups of heavy cream until soft peaks form. For stability, you can add 2 tablespoons of powdered sugar while whipping.
Be careful not to overwhip—the cream should hold its shape but remain smooth and spreadable for folding into the peanut butter mixture.
Step 4 — Combine Filling and Cream
Gently fold the whipped cream into the peanut butter filling in two additions, using a spatula and a light hand to maintain airiness. Stop folding as soon as no white streaks remain.
Overmixing can deflate the cream, so work quickly but carefully to keep the filling light and fluffy.
Step 5 — Assemble the Pie
Spoon the peanut butter cream filling into the cooled crust, spreading it evenly with an offset spatula. Smooth the top for a clean, professional finish.
Tap the pie plate gently on the counter to release any air bubbles and help the filling settle into the crust.
Step 6 — Chill Thoroughly
Cover the Peanut Butter Pie with plastic wrap and refrigerate for at least 4 hours, or preferably overnight. This allows the filling to set fully and the flavors to meld.
For best texture, avoid freezing unless serving later—refrigeration keeps the pie creamy and sliceable.
Step 7 — Add Toppings Before Serving
Just before serving, garnish with additional whipped cream, chocolate shavings, or a drizzle of melted peanut butter. You can also sprinkle chopped peanuts for extra crunch.
Slice with a warm, dry knife for clean edges, wiping the blade between cuts. Serve chilled for the perfect Peanut Butter Pie experience.
Nutritional Information
| Calories | 485 |
| Protein | 11g |
| Carbohydrates | 38g |
| Fat | 33g |
| Fiber | 2g |
| Sodium | 290mg |
Note: Estimates based on typical ingredients and serving size.
Healthier Alternatives
- Greek yogurt for cream cheese — Adds protein and tang while reducing fat content
- Almond flour crust — Creates a gluten-free, lower-carb base with nutty flavor
- Coconut cream for heavy cream — Provides dairy-free richness with subtle tropical notes
- Natural peanut butter — Reduces added sugars and sodium compared to conventional brands
- Monk fruit sweetener for sugar — Maintains sweetness without the carbs or calories
- Dark chocolate topping — Offers antioxidant benefits with less sugar than milk chocolate
- Protein powder enhancement — Boosts protein content while maintaining the classic peanut butter pie texture
Serving Suggestions
- Top slices with whipped cream and crushed peanuts for extra crunch
- Pair with a drizzle of chocolate or caramel sauce for added richness
- Serve alongside a scoop of vanilla ice cream for a classic dessert combination
- Garnish with fresh banana slices for a refreshing contrast to the creamy peanut butter pie
- Accompany with a cup of strong coffee to balance the sweetness
- Perfect for potlucks, holidays, or casual family gatherings
- Chill thoroughly before slicing for clean, neat portions
This Peanut Butter Pie is a versatile dessert that shines with simple garnishes and pairs beautifully with both hot and cold beverages.
Common Mistakes to Avoid
- Mistake: Using natural peanut butter, which can separate and make the filling oily. Fix: Opt for commercial, stabilized peanut butter for a consistently creamy texture.
- Mistake: Overmixing the filling, which incorporates too much air and can cause cracking. Fix: Mix just until the ingredients are combined and smooth.
- Mistake: Not pre-baking a crumb crust, leading to a soggy bottom. Fix: Always bake your graham cracker or Oreo crust for 8-10 minutes to set it.
- Mistake: Adding hot cream cheese directly to the mix, which can curdle the filling. Fix: Ensure all dairy ingredients are at room temperature before blending.
- Mistake: Skipping the chilling time, resulting in a slice that doesn’t hold its shape. Fix: Chill your Peanut Butter Pie for at least 4 hours, preferably overnight.
- Mistake: Using powdered sugar that isn’t sifted, creating a grainy texture. Fix: Sift your powdered sugar to ensure it incorporates smoothly into the filling.
- Mistake: Whipping the heavy cream to stiff peaks too early, causing it to deflate when folded in. Fix: Whip the cream to soft peaks just before you’re ready to fold it into the base.
- Mistake: Pouring a hot topping like ganache onto a chilled pie, which can melt the filling. Fix: Allow any chocolate toppings to cool to room temperature before adding them.
- Mistake: Not tasting the filling before chilling, missing the chance to adjust sweetness. Fix: Always do a quick taste test and adjust sugar or salt levels to your preference.
Storing Tips
- Fridge: Store leftover Peanut Butter Pie covered in the refrigerator for up to 5 days. Use an airtight container or wrap the pie dish tightly with plastic wrap to maintain freshness and prevent other flavors from being absorbed.
- Freezer: For longer storage, freeze the Peanut Butter Pie for up to 2 months. Wrap the entire pie or individual slices tightly in plastic wrap and then in aluminum foil, or place them in a freezer-safe airtight container to prevent freezer burn.
- Reheat: This Peanut Butter Pie is typically served chilled. If you prefer a softer texture, let a refrigerated slice sit at room temperature for 10-15 minutes before serving. Do not microwave or heat it, as this can cause the structure to collapse and is not recommended for food safety.
Always keep your Peanut Butter Pie refrigerated at or below 40°F (4°C) to ensure it stays safe to eat.
Conclusion
This simple Peanut Butter Pie is a guaranteed crowd-pleaser. If you love peanut butter desserts, try our Butterfinger Caramel Crunch Cookies Recipe or Thai Peanut Chicken Wrap Recipe. Make this pie today and share your results in the comments! Subscribe for more easy recipes.
PrintEasy Peanut Butter Pie

A rich, creamy no-bake peanut butter pie with a smooth peanut butter and cream cheese filling in a graham cracker crust, topped with whipped topping and optional peanut butter crumbs.
- Prep Time: 20 minutes
- Cook Time: 0 minutes
- Total Time: 2 hours 20 minutes
- Yield: 8 servings 1x
- Method: Dessert
- Cuisine: American
Ingredients
- 1 pre-made 9-inch graham cracker pie crust
- 8 ounces cream cheese, softened
- 1 cup creamy peanut butter
- 1 cup powdered sugar
- 8 ounces whipped topping (Cool Whip), thawed
- Optional peanut butter crumbs: 2 tablespoons powdered sugar, 1 tablespoon peanut butter
Instructions
- In a medium bowl, beat the cream cheese and peanut butter together until smooth and creamy.
- Add the powdered sugar and beat until fully combined and smooth.
- Gently fold in 1 ½ cups of the whipped topping until combined.
- Pour the filling into the prepared graham cracker crust and spread evenly.
- Spread the remaining whipped topping over the top of the pie.
- For the crumb topping, mix peanut butter into powdered sugar with a fork until crumbs form; sprinkle on pie.
- Chill the pie for at least 2 hours or overnight before serving.
Notes
Use room temperature cream cheese for easier mixing. The optional crumb topping adds a nice decorative touch and extra peanut butter flavor. Chill well to allow the pie to set for the best texture.
Nutrition
- Calories: 400
- Sugar: 18g
- Sodium: 250mg
- Fat: 30g
- Saturated Fat: 8g
- Unsaturated Fat: 20g
- Trans Fat: 0g
- Carbohydrates: 30g
- Fiber: 2g
- Protein: 8g
- Cholesterol: 40mg
FAQs
Can I make Peanut Butter Pie ahead of time?
Yes, you can prepare this Peanut Butter Pie a day in advance. Keep it covered in the refrigerator until ready to serve. This allows the filling to set perfectly.
What can I use if I don’t have a pre-made crust?
You can make a simple graham cracker or Oreo crust. Combine crushed cookies with melted butter, press into the pie dish, and chill before adding the filling. This homemade crust works wonderfully with the Peanut Butter Pie.
How should I store leftover Peanut Butter Pie?
Store any leftovers covered tightly in the refrigerator. It will keep well for up to 3-4 days. For best texture, avoid freezing as it can alter the creamy consistency.