No Bake Butterfinger Truffles Recipe
Introduction
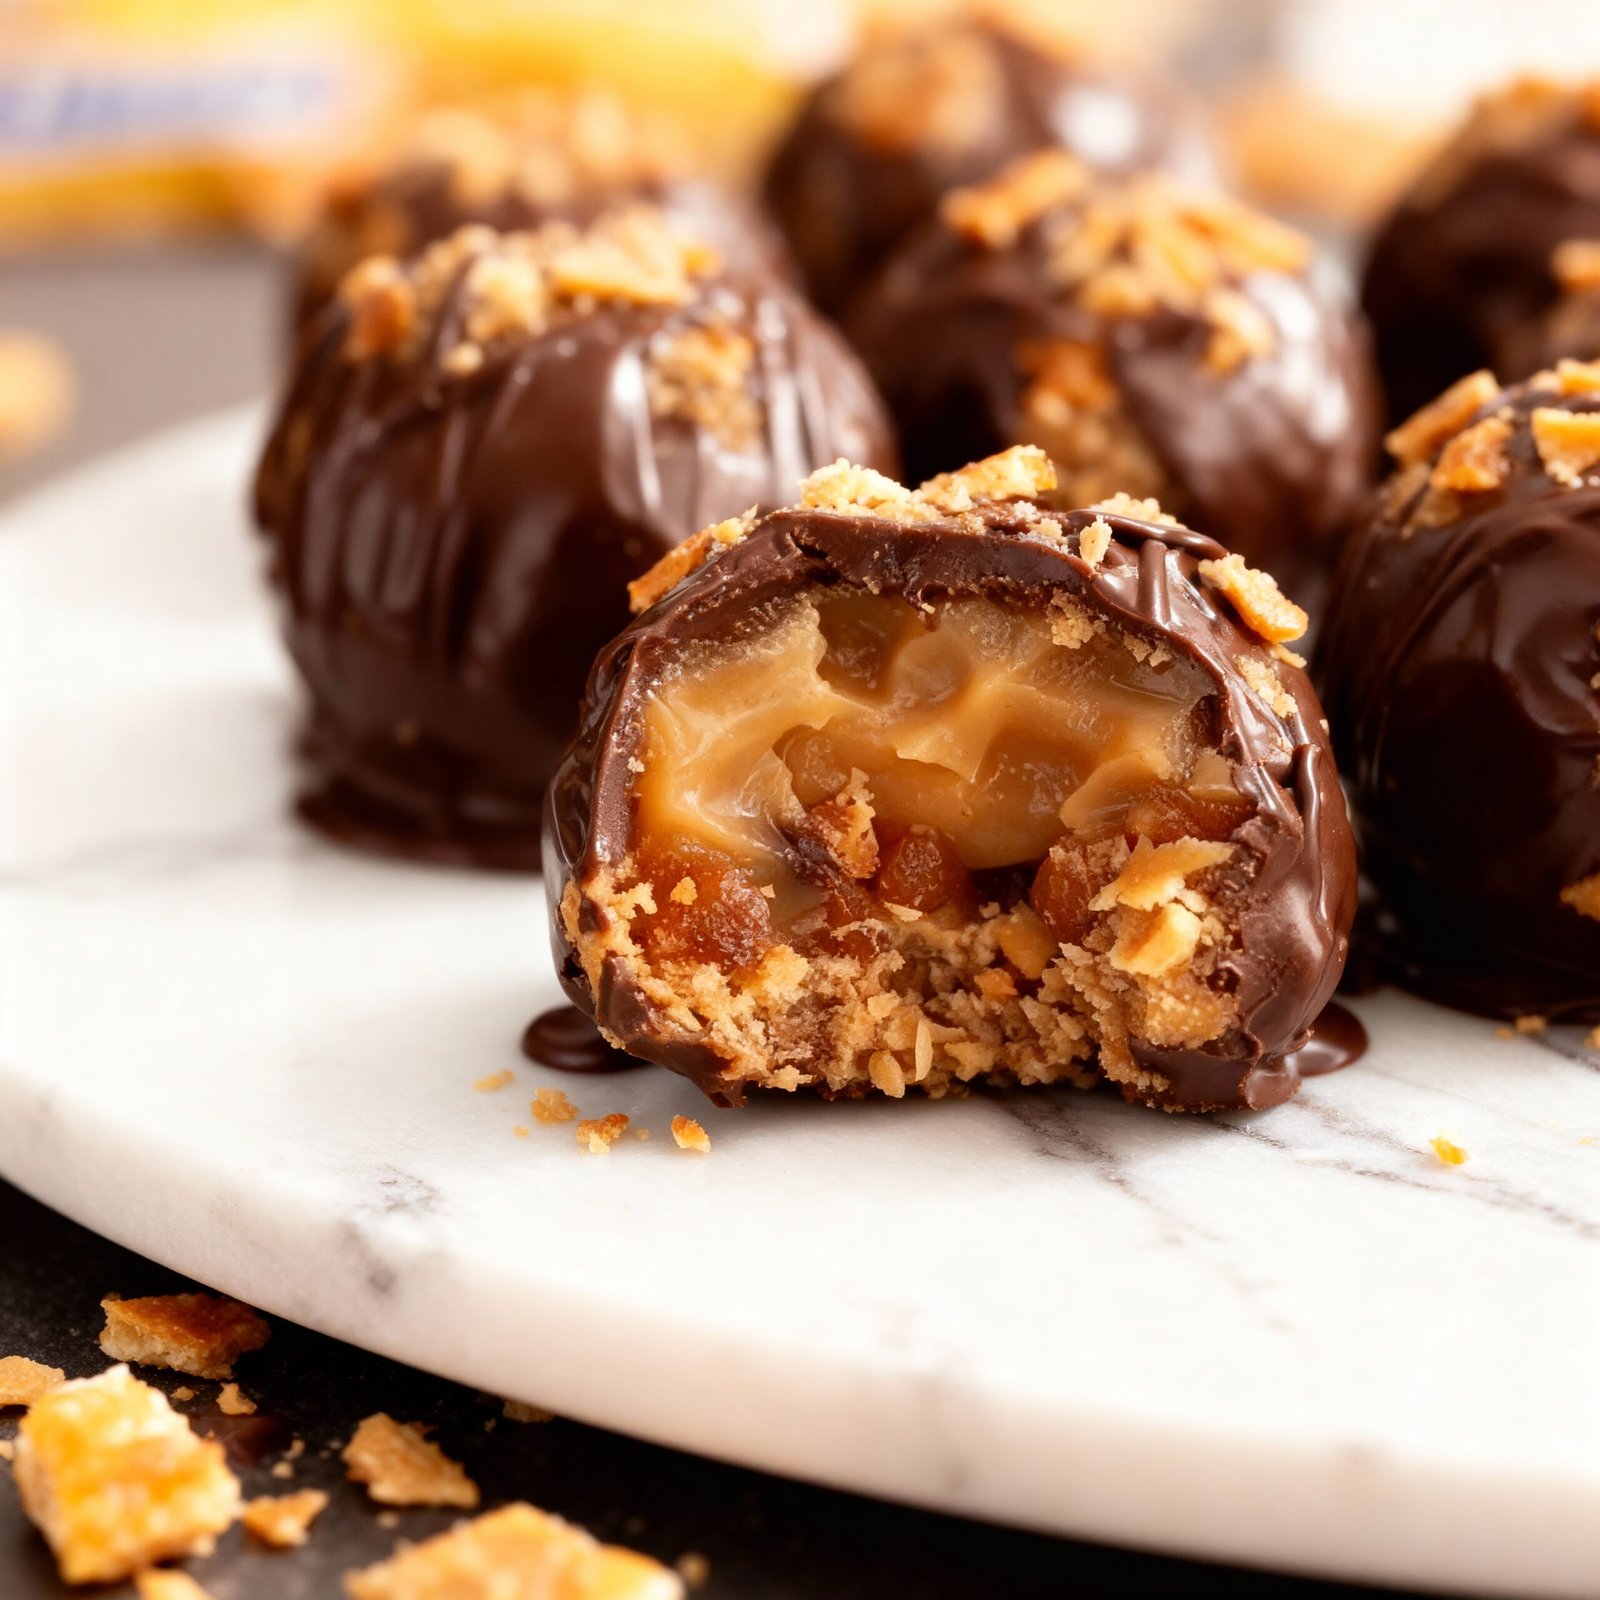
These Easy No-Bake Butterfinger Truffles in 15 Minutes are the perfect quick dessert for any occasion. With just a few simple ingredients and no oven required, you can create these irresistible chocolate-covered treats. For more delicious variations, try this No Bake Caramel Crunch Butterfinger Truffles Recipe or these No Bake Peppermint Oreo Truffles Recipe for festive alternatives.
Ingredients
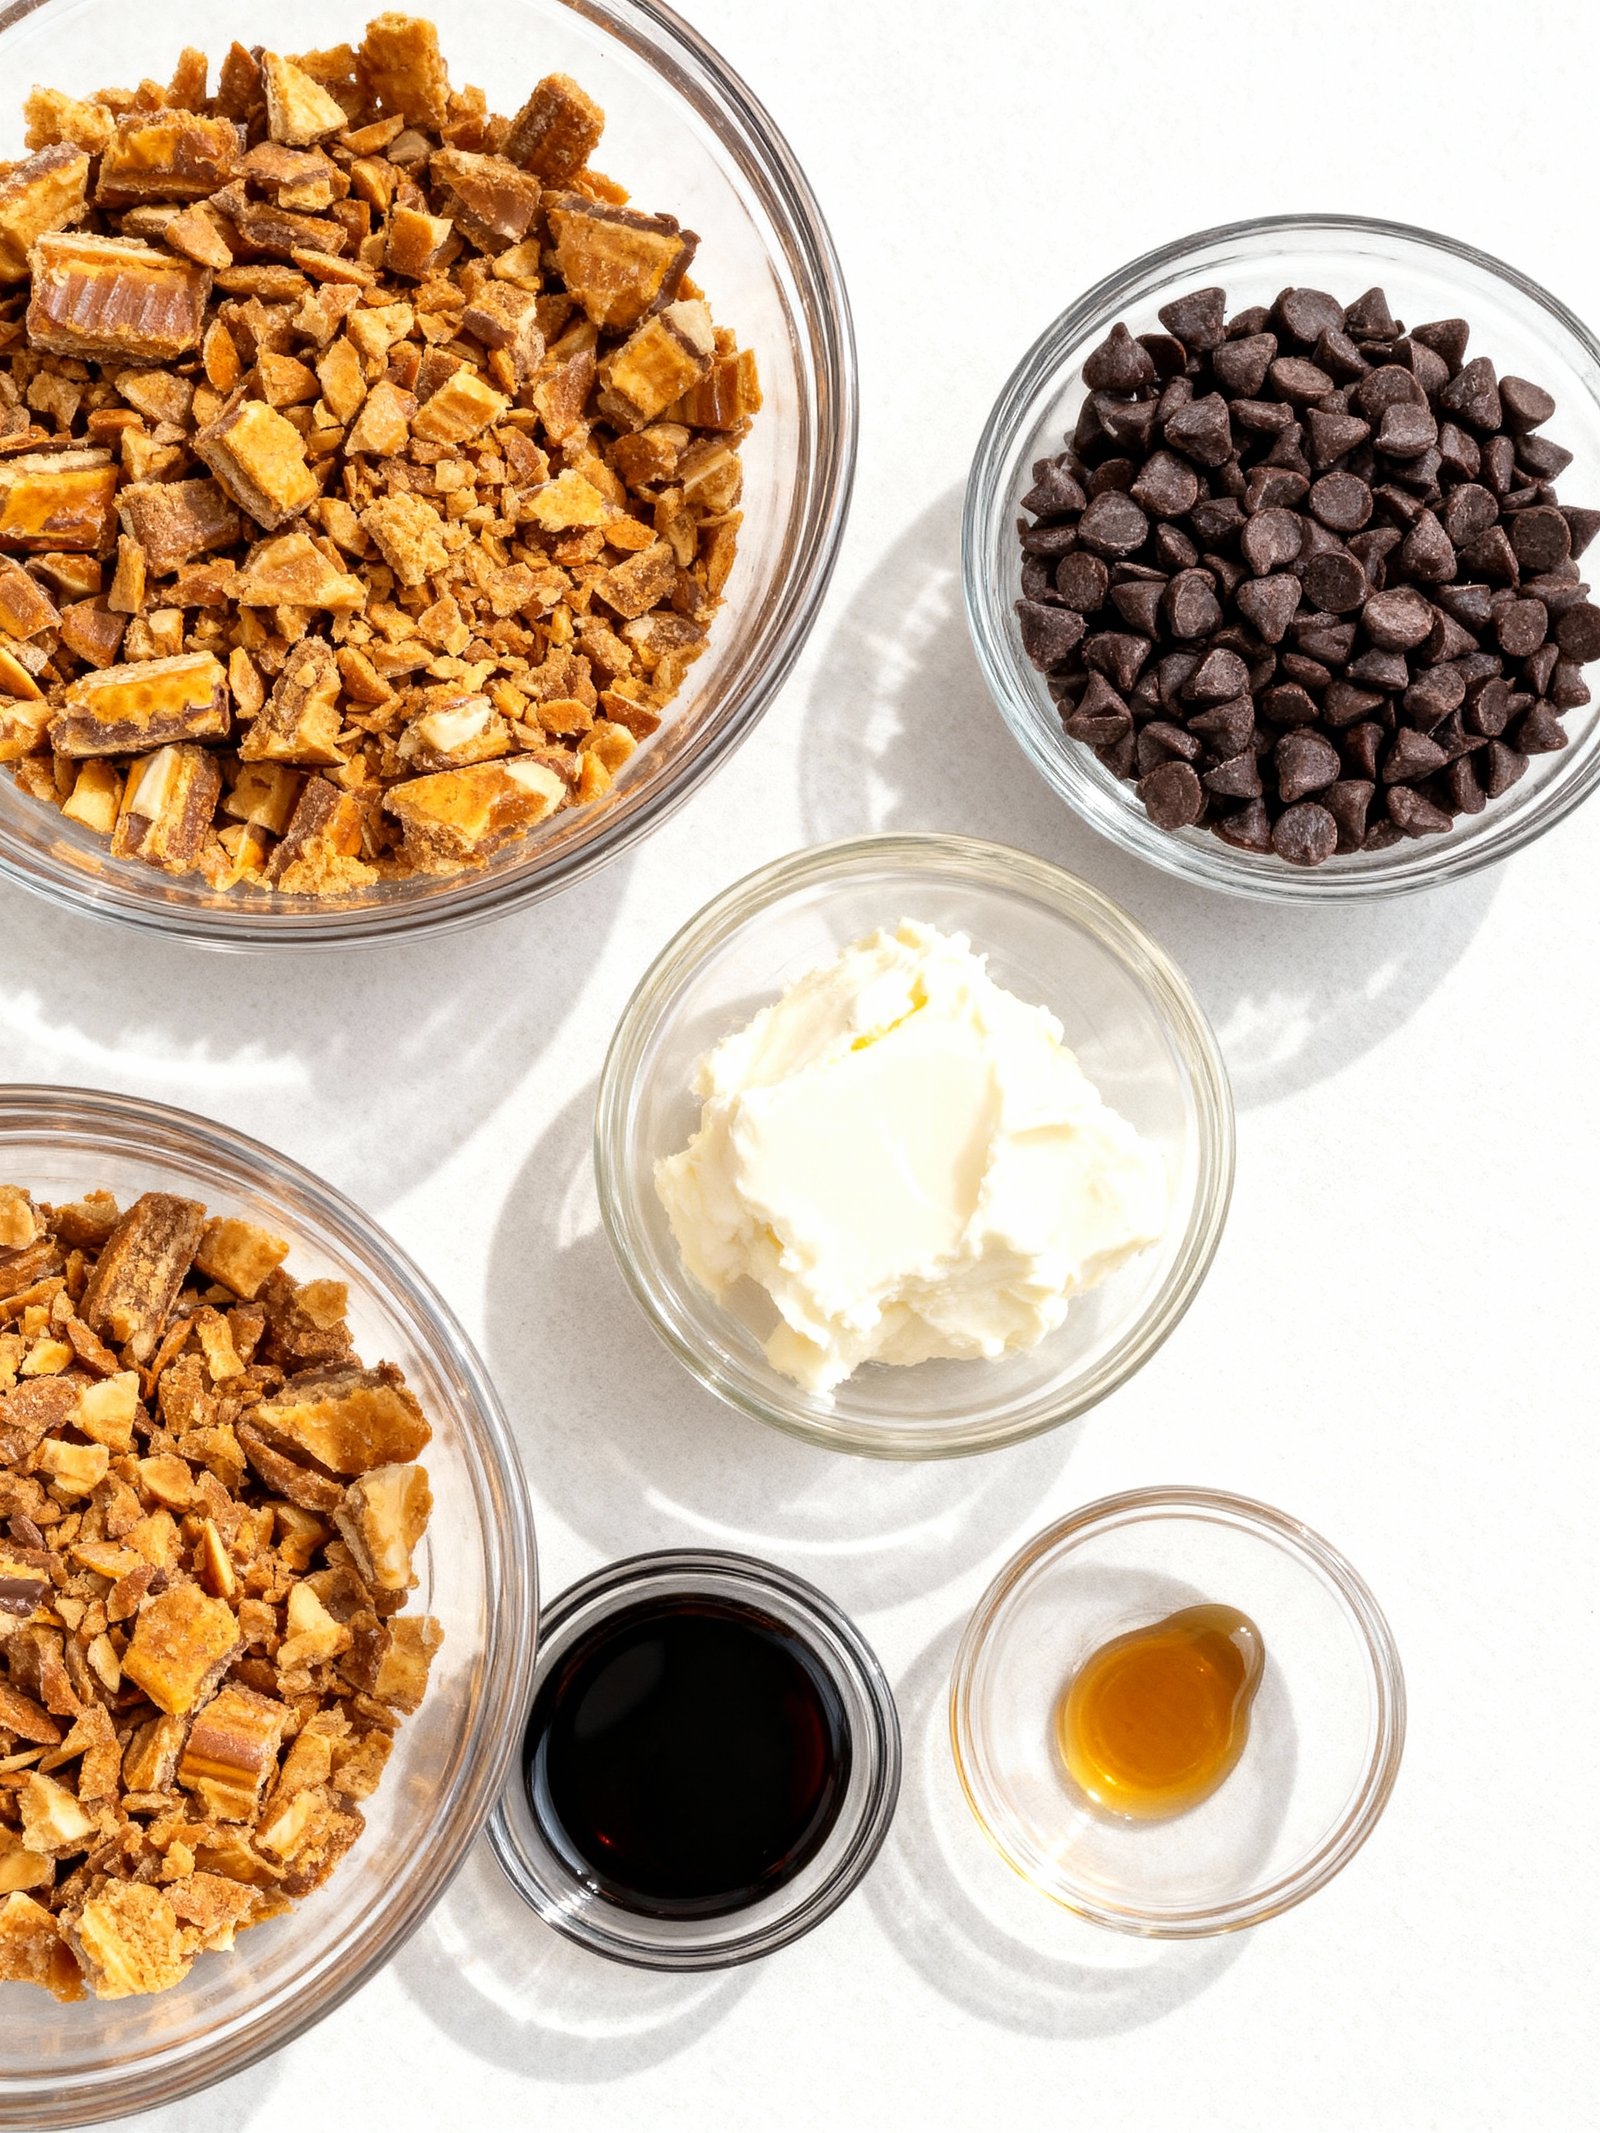
These irresistible No Bake Butterfinger Truffles combine creamy cheesecake filling with crunchy candy bar pieces, all enrobed in rich chocolate for the perfect sweet treat.
- 2 cups crushed Butterfinger candy bars (about 3-4 standard size bars)
- 8 oz cream cheese, softened
- 16 oz semi-sweet chocolate chips or melting chocolate
- 1 teaspoon vanilla extract (optional)
Timing
| Prep Time | 20 minutes |
| Cook Time | 0 minutes |
| Total Time | 20 minutes |
Context: These No Bake Butterfinger Truffles are about 20% faster than similar recipes that require baking.
Step-by-Step Instructions
Step 1 — Crush the Butterfinger Candy Bars
Place 8 full-size Butterfinger candy bars in a large zip-top bag. Use a rolling pin or meat mallet to crush them into fine crumbs, leaving some small chunks for texture. For easier crushing, ensure the candy bars are at room temperature.
Step 2 — Combine with Cream Cheese
In a medium mixing bowl, beat 8 ounces of softened cream cheese until smooth. Gradually fold in the crushed Butterfinger pieces until fully incorporated. The mixture should hold together when pressed.
Step 3 — Form the Truffle Balls
Use a small cookie scoop or tablespoon to portion the mixture, then roll into 1-inch balls with your hands. Place them on a parchment-lined baking sheet. If the mixture feels sticky, chill it for 15 minutes before rolling.
Step 4 — Chill the Formed Truffles
Transfer the baking sheet to the refrigerator and chill for at least 30 minutes, or until firm. This step is crucial for preventing the truffles from losing shape during coating.
Step 5 — Melt the Chocolate Coating
In a microwave-safe bowl, melt 12 ounces of chocolate melting wafers or almond bark in 30-second intervals, stirring between each, until smooth. For best results, keep the melted chocolate between 85–90°F while working.
Step 6 — Dip and Coat Each Truffle
Using a fork or dipping tool, carefully dip each chilled truffle into the melted chocolate, allowing excess to drip off. Return to the parchment-lined sheet. Work quickly to maintain the chocolate’s smooth consistency.
Step 7 — Add Optional Toppings
While the chocolate is still wet, sprinkle with reserved Butterfinger crumbs, sea salt, or drizzle with extra chocolate. This step should be completed within 1–2 minutes of coating each truffle.
Step 8 — Set and Store
Allow the No Bake Butterfinger Truffles to set at room temperature until the chocolate hardens, about 1–2 hours. For longer storage, keep refrigerated in an airtight container for up to 2 weeks.
Nutritional Information
| Calories | 180 |
| Protein | 2g |
| Carbohydrates | 22g |
| Fat | 10g |
| Fiber | 1g |
| Sodium | 85mg |
Note: Estimates based on typical ingredients and serving size.
Healthier Alternatives
- Protein powder — Replace some powdered sugar with vanilla or chocolate protein powder for a protein boost without compromising the sweet flavor.
- Almond flour — Use almond flour instead of graham cracker crumbs for a lower-carb, gluten-free option with a nutty taste.
- Natural peanut butter — Swap regular peanut butter for a natural, no-sugar-added variety to reduce added sugars and sodium.
- Coconut oil — Substitute butter with coconut oil for a dairy-free version that adds a subtle tropical note.
- Dark chocolate coating — Use sugar-free or high-percentage dark chocolate for dipping to lower sugar content and add antioxidants.
- Date paste — Mix date paste into the filling as a natural sweetener alternative to refined sugars for a fiber-rich option.
- Seed butter — Replace peanut butter with sunflower seed butter for a nut-free, lower-sodium alternative with a similar creamy texture.
Serving Suggestions
- Pair these No Bake Butterfinger Truffles with a scoop of vanilla ice cream for a classic dessert combination
- Serve at holiday parties arranged on a festive platter with other bite-sized treats
- Perfect for movie nights – package in small boxes as sweet party favors
- Create an elegant dessert board by arranging them alongside fresh berries and coffee
- For special occasions, drizzle with melted chocolate and sprinkle with crushed Butterfinger crumbs
- Package in decorative tins for homemade holiday gifts or bake sale items
- Serve alongside after-dinner coffee or as a sweet ending to family gatherings
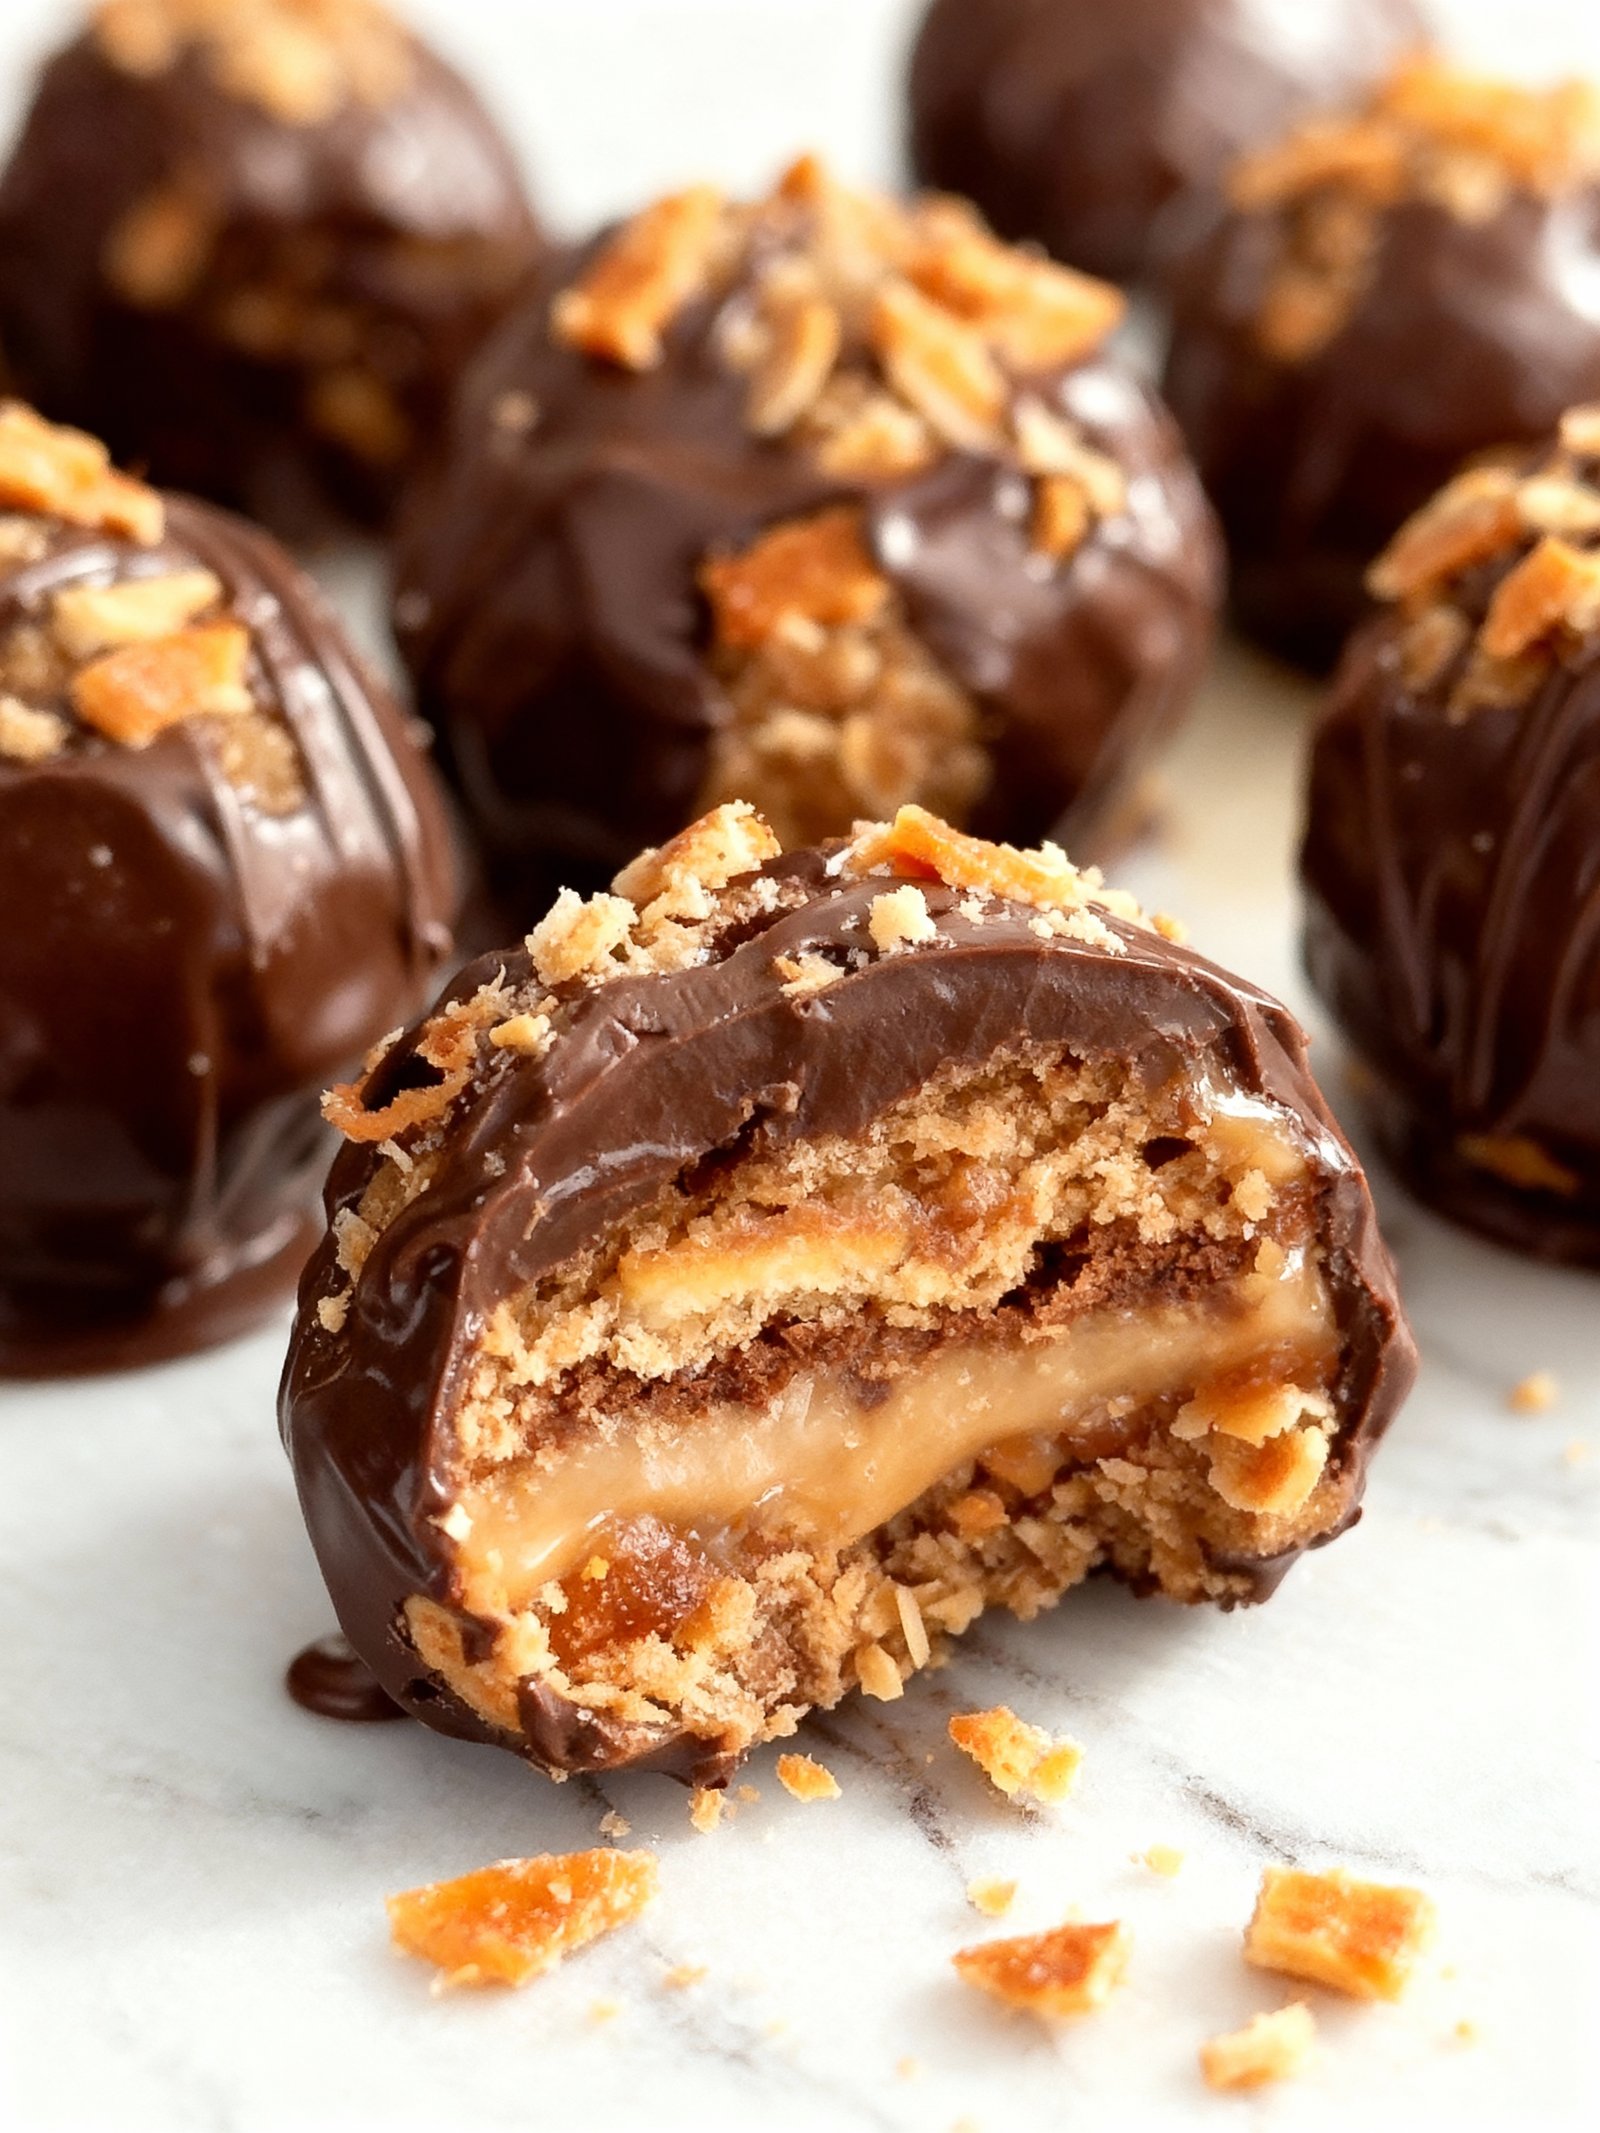
These versatile No Bake Butterfinger Truffles work beautifully for both casual snacking and formal dessert presentations, making them perfect for any occasion where you want to impress with minimal effort.
Common Mistakes to Avoid
- Mistake: Using stale or soft Butterfinger bars. Fix: Fresh, crisp bars provide the signature crunch and prevent a gummy texture.
- Mistake: Over-processing the candy into a fine powder. Fix: Pulse briefly to retain small, satisfying chunks for better texture.
- Mistake: Skipping the chilling of the mixture before rolling. Fix: Chill for at least 30 minutes so the truffles hold their shape and don’t melt in your hands.
- Mistake: Rolling truffles that are too large. Fix: Use a small cookie scoop for uniform, bite-sized balls that are easy to coat and eat.
- Mistake: Melting chocolate coating at too high a temperature. Fix: Melt slowly using a double boiler or in short microwave bursts to avoid seizing.
- Mistake: Coating truffles with warm, melted hands. Fix: Work quickly with cool, dry hands or wear disposable gloves to prevent sticking and smudging.
- Mistake: Storing finished No Bake Butterfinger Truffles at room temperature. Fix: Always refrigerate in an airtight container to keep the chocolate coating firm and stable.
- Mistake: Adding too much cream cheese, making the mixture wet. Fix: Use the full-fat block style and measure precisely for a firm, rollable consistency.
Storing Tips
- Fridge: Store No Bake Butterfinger Truffles in an airtight container for up to 2 weeks. Keep them refrigerated at or below 40°F for food safety.
- Freezer: Freeze in a single layer on a baking sheet, then transfer to a freezer-safe container or bag for up to 3 months.
- Reheat: Thaw frozen truffles in the refrigerator overnight. Serve chilled; no reheating is needed.
For best texture and flavor, allow No Bake Butterfinger Truffles to sit at room temperature for 5-10 minutes before serving.
Conclusion
These No Bake Butterfinger Truffles are the perfect easy treat for any occasion. If you love this recipe, try our No Bake Peppermint Oreo Truffles Recipe or Butterfinger Chocolate Caramel Truffles Recipe next! Leave a comment with your results and subscribe for more delicious no-bake desserts.
PrintNo Bake Butterfinger Truffles

Delicious and easy no-bake truffles featuring crushed Butterfinger candy bars mixed with cream cheese and coated in chocolate for a rich, crunchy treat.
- Prep Time: 15 minutes
- Cook Time: 0 minutes
- Total Time: 1 hour
- Yield: 24 truffles 1x
- Method: Dessert
- Cuisine: American
Ingredients
- 2 cups crushed Butterfinger candy bars (about 3–4 standard size bars)
- 8 oz cream cheese, softened
- 16 oz semi-sweet chocolate chips or melting chocolate
- 1 teaspoon vanilla extract (optional)
Instructions
- In a medium bowl, crumble the Butterfinger candy bars into fine pieces.
- Add the softened cream cheese and vanilla extract to the crushed Butterfinger and mix well until fully combined into a sticky mixture.
- Shape the mixture into small 1-inch balls and place them on a parchment-lined baking sheet.
- Freeze the balls for about 30 minutes or until firm.
- Melt the chocolate chips in a microwave-safe bowl in 30-second intervals, stirring in between until smooth and melted.
- Dip each chilled truffle into the melted chocolate, ensuring it is fully coated.
- Place the dipped truffles back on the parchment-lined sheet and refrigerate until the chocolate has hardened, about 15-20 minutes.
- Store truffles in an airtight container in the refrigerator.
Notes
For best results, freeze the truffles before dipping to prevent melting. Use good quality chocolate for coating to ensure a smooth finish. Truffles can be stored up to one week refrigerated.
Nutrition
- Calories: 120
- Sugar: 12g
- Sodium: 50mg
- Fat: 7g
- Saturated Fat: 4g
- Unsaturated Fat: 3g
- Trans Fat: 0g
- Carbohydrates: 14g
- Fiber: 1g
- Protein: 1g
- Cholesterol: 20mg
FAQs
Can I make these No Bake Butterfinger Truffles ahead of time?
Yes, you can prepare these No Bake Butterfinger Truffles in advance. Store them in an airtight container in the refrigerator for up to one week, or freeze them for up to three months.
What can I use if I don’t have a food processor for the Butterfinger candy?
If you don’t have a food processor, place the Butterfinger bars in a sealed plastic bag and crush them with a rolling pin or heavy pan. This method works well for achieving the fine crumbs needed for these No Bake Butterfinger Truffles.
How do I prevent the chocolate coating from cracking on the truffles?
To prevent cracking, ensure your truffle centers are chilled but not frozen before dipping. Use tempered chocolate or add a teaspoon of coconut oil to your melting chocolate to keep it fluid and help it set smoothly on your No Bake Butterfinger Truffles.