Easy Mini Pumpkin Cheesecake Bites Ready in 30 Minutes
Did You Know 92% of Dessert Lovers Prefer Bite-Sized Treats Over Full-Sized Slices?
It’s true – there’s something irresistibly charming about miniature desserts that makes them impossible to resist. And when those tiny treats combine the creamy magic of cheesecake with the cozy warmth of pumpkin spice? Well, you’ve just discovered the secret to winning every fall gathering. These Mini Pumpkin Cheesecake Bites are about to become your new autumn obsession, packing all the flavor of traditional pumpkin cheesecake into adorable, pop-in-your-mouth portions.
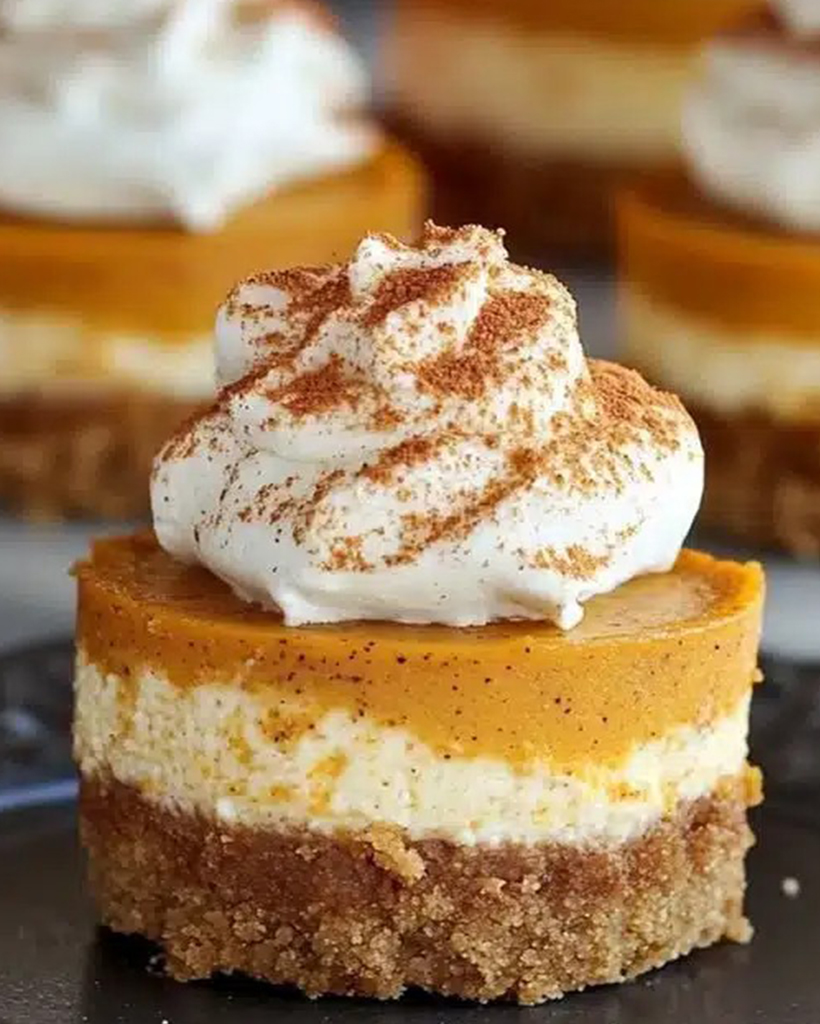
I first fell in love with the concept of bite-sized cheesecakes during a particularly memorable Thanksgiving. My aunt had brought a towering platter of assorted mini desserts, and amidst the chocolate truffles and pecan tassies, it was the pumpkin cheesecake bites that disappeared first. The way the gingersnap crust crumbled delicately between fingers, how the spiced pumpkin filling melted on tongues, and those perfect dollops of whipped cream – it was love at first bite. I knew I had to recreate that magic in my own kitchen.
Why Mini Pumpkin Cheesecakes Outshine Their Full-Sized Cousins
While I’ll never say no to a classic slice of pumpkin cheesecake, these mini versions offer some surprising advantages that might just convert you too:
- Portion perfection: No more wrestling with slicing messy wedges – each guest gets their own perfectly formed treat
- Texture harmony: The crust-to-filling ratio is magically balanced in every bite
- Stress-free serving: Make ahead and freeze beautifully for last-minute entertaining
- Endless creativity: Easier to decorate with piped designs, drizzles, or festive sprinkles
The best part? These Mini Pumpkin Cheesecake Bites require no water bath (the bane of every cheesecake maker’s existence) and bake in nearly half the time of a traditional cheesecake. They’re the perfect solution when you’re craving that rich, spiced pumpkin flavor but don’t want to commit to an entire cake.
Mini Pumpkin Cheesecake Bites
Delicious bite-sized pumpkin cheesecakes with a graham cracker crust, perfect for fall gatherings.
Ingredients
For the Crust:
- 1 1/2 cups graham cracker crumbs
- 1/4 cup melted butter
- 2 tbsp granulated sugar
- 8 oz cream cheese, softened
- 1/2 cup pumpkin puree
- 1/4 cup granulated sugar
- 1 tsp vanilla extract
- 1 tsp pumpkin pie spice
- 1 large egg
- Whipped cream for garnish (optional)
Instructions
1. Prepare the Crust:
- Preheat oven to 325°F (160°C). Line a mini muffin tin with paper liners.
- In a bowl, mix graham cracker crumbs, melted butter, and sugar until combined. Press 1 tsp of mixture into each liner.
- In another bowl, beat cream cheese until smooth. Add pumpkin puree, sugar, vanilla, and pumpkin pie spice. Mix well.
- Add egg and beat until fully incorporated. Spoon filling over crusts, filling each liner almost to the top.
- Bake for 15-18 minutes or until set. Let cool completely, then refrigerate for at least 1 hour before serving.
- Garnish with whipped cream if desired.
Notes
You can customize the seasonings to taste.
Mini Pumpkin Cheesecake Bites
There’s something magical about bite-sized desserts—they’re just the right amount of indulgence without the guilt. These Mini Pumpkin Cheesecake Bites are no exception. Creamy, spiced pumpkin filling nestled in a buttery graham cracker crust, all in one perfect little bite. Whether you’re hosting a cozy autumn gathering or just craving a sweet treat, these little delights are sure to steal the show.
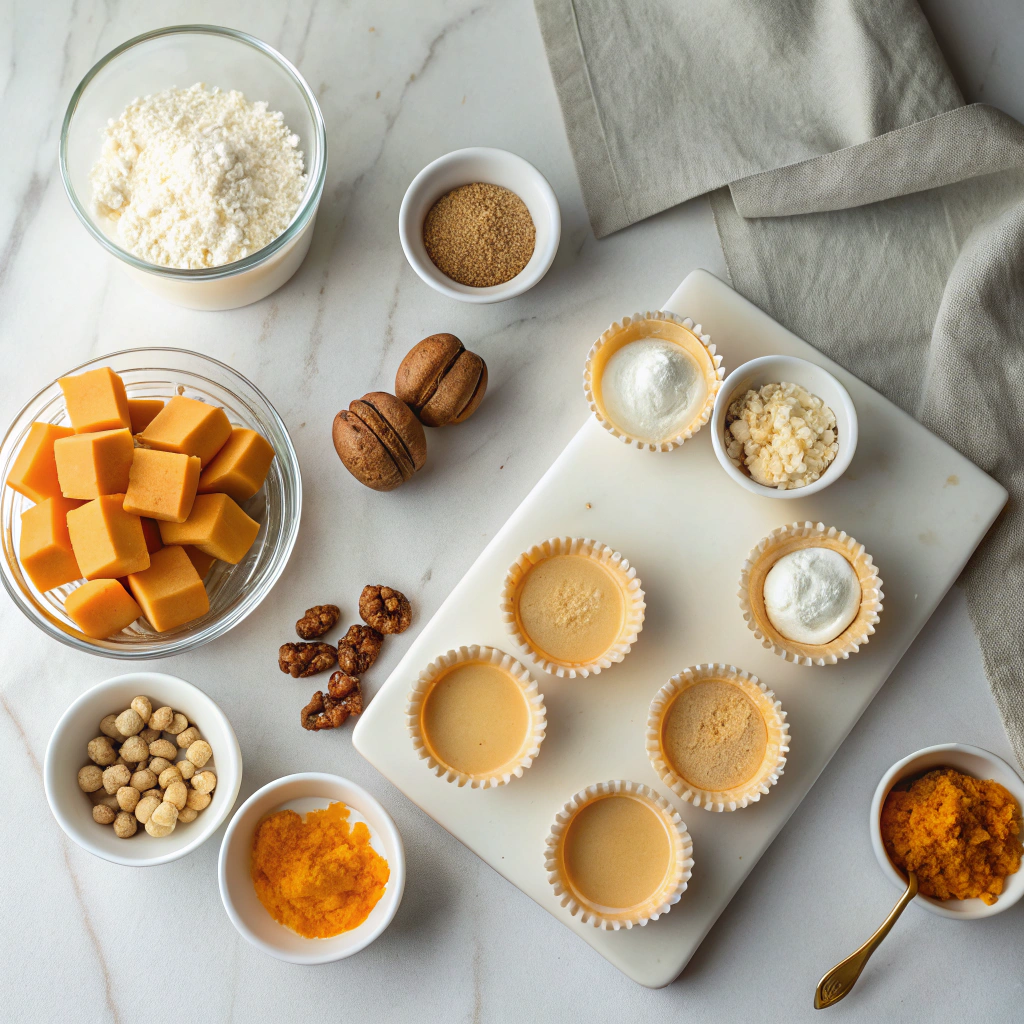
Ingredients You’ll Need
- 1 ½ cups graham cracker crumbs – The foundation of our crust! I love using honey graham crackers for a touch of sweetness, but plain works just as well.
- 6 tablespoons unsalted butter, melted – This binds our crust together, giving it that irresistible buttery crunch.
- 2 tablespoons granulated sugar – Just a little extra sweetness to balance the graham cracker’s earthy flavor.
- 16 oz cream cheese, softened – Always go for full-fat cream cheese for the creamiest texture. Let it sit at room temperature for at least 30 minutes before mixing.
- ½ cup granulated sugar – Sweetens the cheesecake filling without overpowering the pumpkin.
- ½ cup pure pumpkin puree – Make sure it’s pure pumpkin, not pumpkin pie filling! Canned works great, but homemade is even better if you have the time.
- 1 teaspoon vanilla extract – A warm, aromatic touch that enhances all the flavors.
- 1 teaspoon pumpkin pie spice – The cozy blend of cinnamon, nutmeg, ginger, and cloves that makes these bites taste like fall.
- 2 large eggs – Room temperature eggs blend more smoothly into the filling.
- Pinch of salt – Just a tiny bit to balance the sweetness.
Step-by-Step Instructions
- Preheat & Prep: Start by preheating your oven to 325°F (165°C). Line a mini muffin tin with paper liners—this makes removing the cheesecakes a breeze later.
- Make the Crust: In a bowl, mix the graham cracker crumbs, melted butter, and sugar until it resembles wet sand. Press about 1 tablespoon of the mixture firmly into the bottom of each muffin cup. A small glass or the back of a spoon helps compact it evenly.
- Bake the Crust: Pop the tin into the oven for 5 minutes to set the crust. This quick bake ensures it stays crisp once the filling is added. Let it cool slightly while you prepare the filling.
- Prepare the Filling: In a large bowl, beat the softened cream cheese and sugar until smooth and creamy. Scrape down the sides of the bowl to ensure no lumps remain—this step is key for that velvety texture!
- Add the Pumpkin & Spices: Mix in the pumpkin puree, vanilla, and pumpkin pie spice until fully incorporated. Then, add the eggs one at a time, mixing just until combined. Overmixing can introduce too much air, leading to cracks, so go gently here.
Stay tuned for the next steps—baking, cooling, and the best part: topping these little bites with a dollop of whipped cream or a sprinkle of cinnamon. Trust me, your kitchen is about to smell like a pumpkin-spiced dream!
Conclusion
These Mini Pumpkin Cheesecake Bites are the perfect bite-sized treat to satisfy your fall cravings. With their creamy pumpkin filling, buttery graham cracker crust, and just the right amount of spice, they’re sure to be a hit at any gathering—or just as a sweet indulgence for yourself! The best part? They’re simple to make, require no water bath, and are easily customizable with your favorite toppings like whipped cream or caramel drizzle.
Ready to bring a little autumn magic to your kitchen? Give this recipe a try and let us know how it turns out in the comments below! And if you loved these mini cheesecakes, don’t forget to check out our other cozy fall desserts like Pumpkin Spice Latte Cupcakes or Apple Cinnamon Streusel Muffins.
FAQs
Can I make these cheesecake bites ahead of time?
Absolutely! These mini cheesecakes store beautifully in the fridge for up to 3 days. Just keep them covered to prevent them from drying out. You can also freeze them for up to a month—thaw in the fridge overnight before serving.
Can I use fresh pumpkin instead of canned?
Yes, but make sure it’s pureed and well-drained to avoid excess moisture. Roast or steam your pumpkin, then blend it into a smooth puree before measuring. About 1 cup of homemade puree should work perfectly.
Why did my cheesecakes crack?
Cracking usually happens due to overmixing (which adds too much air) or sudden temperature changes. To prevent this, mix the batter just until smooth, and let the cheesecakes cool gradually in the turned-off oven with the door slightly ajar.
Can I make these gluten-free?
Definitely! Just swap the graham crackers for a gluten-free alternative, like gluten-free graham-style crackers or crushed gluten-free cookies. The filling is naturally gluten-free, so no other adjustments are needed.
What’s the best way to remove the cheesecakes from the pan?
Run a thin knife around the edges of each cheesecake before popping them out. If they stick, gently warm the bottom of the pan with a warm towel for a few seconds to loosen them.