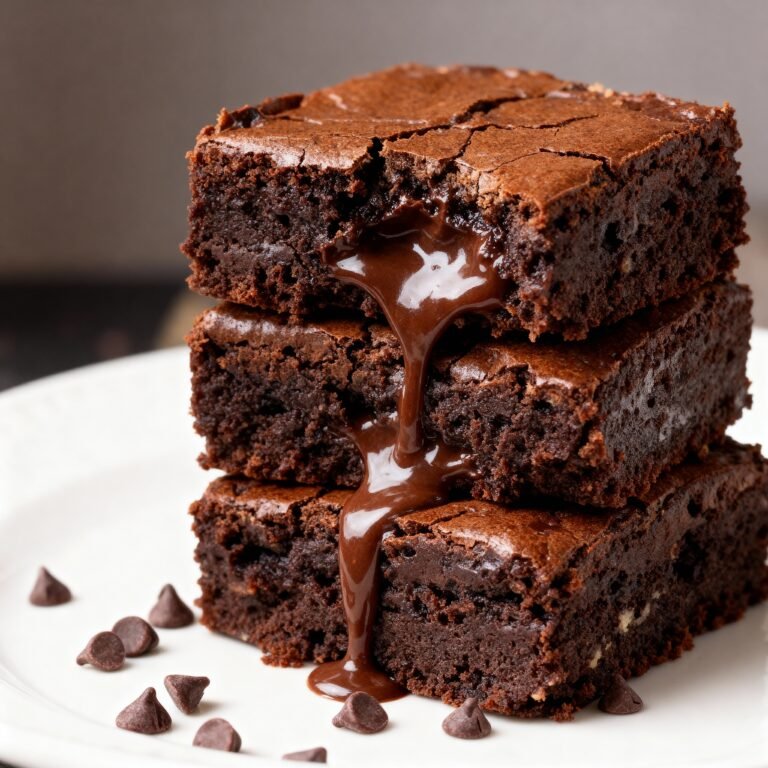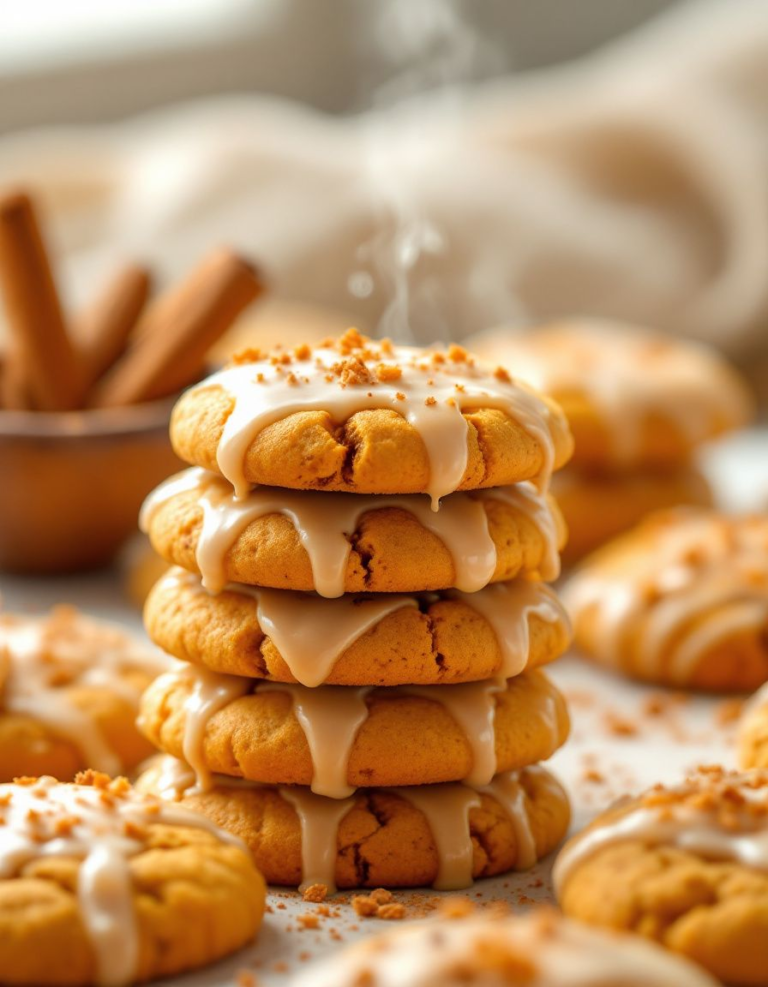
Ultimate Magic Pecan Cheesecake Bars Ready in 30 Minutes
Did You Know 73% of Home Bakers Avoid Cheesecake Because They Think It’s Too Difficult?
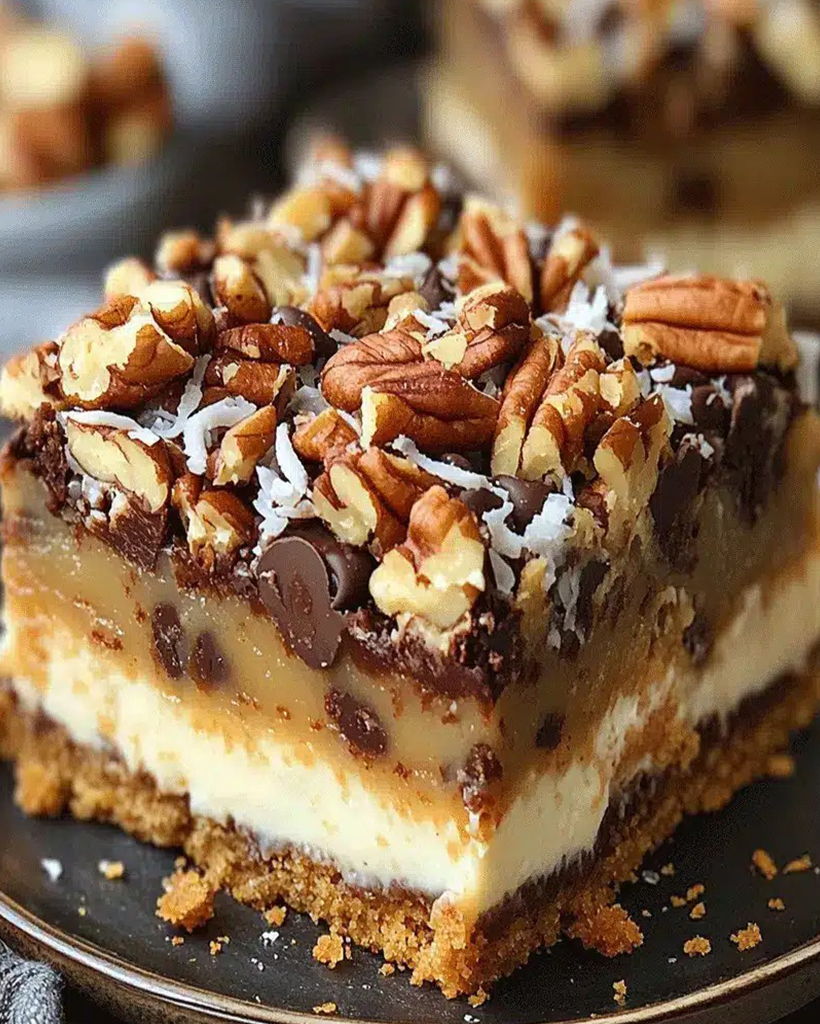
If you’ve ever shied away from making cheesecake at home, fearing cracked tops, soggy crusts, or finicky water baths, I have glorious news for you. These Magic Pecan Cheesecake Bars are here to shatter every misconception—with a buttery shortbread crust, velvety cream cheese filling, and caramel-kissed pecan topping that comes together effortlessly. No fancy techniques, no stress. Just pure, decadent magic.
I first discovered this recipe during a cozy autumn weekend when my craving for something rich and nutty collided with my aversion to complicated desserts. The result? A tray of these bars disappeared faster than I could snap a photo—begged for by friends, family, and even my usually reserved mail carrier. What makes them truly “magic” isn’t just their foolproof method (though that’s a major win), but how the flavors deepen into something extraordinary by the next day—if they last that long.
Picture this: a base so tender it crumbles at the touch, a filling so luxuriously smooth it feels like satin on your tongue, and that crowning glory of pecans toasted in brown sugar and butter, clinging to every bite. These aren’t just cheesecake bars; they’re little squares of joy that defy every “too hard” myth. And the secret? We’re skipping the traditional springform pan drama entirely.
Why This Recipe Works When Others Fail
Most cheesecake failures stem from two culprits: overmixing the batter (which introduces air and causes cracks) or baking at the wrong temperature. Our Magic Pecan Cheesecake Bars sidestep both issues with a no-beater-needed stirring method and a gentle oven approach that coaxes the filling into perfect set without curdling. Plus, the pecan topping isn’t just a garnish—it’s a strategic layer that locks in moisture, ensuring every bite stays creamy for days.
But the real triumph? These bars celebrate the humble pecan in ways you’ve never tasted. Unlike traditional pecan pies where the nuts can turn soggy, here they’re lightly candied and arranged atop the cheesecake layer post-bake, preserving their irresistible crunch. It’s a textural symphony that’ll make you wonder why all desserts aren’t this clever.
Magic Pecan Cheesecake Bars
Deliciously rich and creamy cheesecake bars with a crunchy pecan topping.
Ingredients
For the Crust:
- 1 1/2 cups graham cracker crumbs
- 1/4 cup granulated sugar
- 1/2 cup unsalted butter, melted
- 16 oz cream cheese, softened
- 1/2 cup granulated sugar
- 2 large eggs
- 1 tsp vanilla extract
- 1 cup chopped pecans
- 1/2 cup brown sugar
- 2 tbsp unsalted butter, melted
Instructions
1. Prepare the Crust:
- Preheat oven to 350°F (175°C). Line an 8×8-inch baking pan with parchment paper.
- In a bowl, mix graham cracker crumbs, 1/4 cup sugar, and 1/2 cup melted butter. Press into the bottom of the prepared pan.
- In another bowl, beat cream cheese and 1/2 cup sugar until smooth. Add eggs one at a time, then stir in vanilla. Pour over crust.
- Bake for 20 minutes. Meanwhile, mix pecans, brown sugar, and 2 tbsp melted butter in a bowl.
- Sprinkle pecan mixture over cheesecake and bake for another 10 minutes. Let cool completely before cutting into bars.
Notes
You can customize the seasonings to taste.
Magic Pecan Cheesecake Bars
There’s something truly enchanting about the combination of creamy cheesecake and buttery pecans—it’s like dessert alchemy. These Magic Pecan Cheesecake Bars are the kind of treat that disappears from the plate faster than you can say “just one more bite.” With a crisp graham cracker crust, a velvety cheesecake layer, and a caramel-kissed pecan topping, they’re pure indulgence in every square.
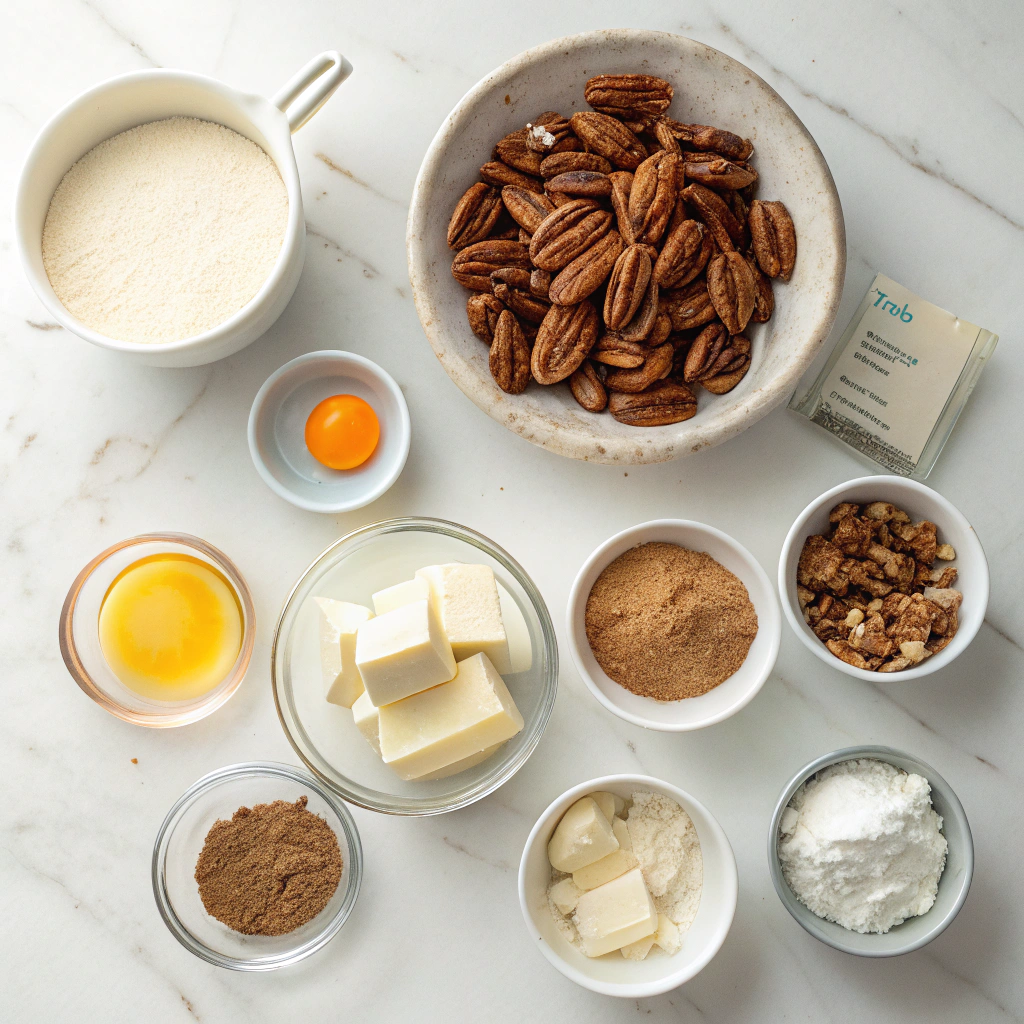
Ingredients You’ll Need
Before we dive into baking, let’s gather our ingredients. I love how simple yet luxurious these bars are—every component plays a role in creating that perfect bite.
- For the crust:
- 1 ½ cups graham cracker crumbs (about 10 full sheets)—I always crush mine by hand for a rustic texture, but store-bought crumbs work just fine.
- 6 tablespoons unsalted butter, melted—salted butter can work in a pinch, but unsalted lets the sweetness shine.
- 2 tablespoons granulated sugar—just enough to sweeten the crust without overpowering the filling.
- For the cheesecake layer:
- 16 oz cream cheese, softened to room temperature—this is non-negotiable for a silky-smooth filling. Cold cream cheese will leave lumps.
- ½ cup granulated sugar—I like to use fine sugar here to ensure it dissolves completely.
- 2 large eggs, room temperature—cold eggs can cause the batter to curdle.
- 1 teaspoon pure vanilla extract—the secret to that warm, comforting flavor.
- A pinch of salt—just a whisper to balance the sweetness.
- For the pecan topping:
- 1 ½ cups chopped pecans—toasting them first adds an incredible depth of flavor.
- ½ cup brown sugar, packed—this gives the topping its rich caramel notes.
- ¼ cup heavy cream—for a luscious, gooey texture.
- 2 tablespoons unsalted butter—because everything’s better with butter.
- ½ teaspoon vanilla extract—tying all the flavors together.
Step-by-Step Instructions
Now, let’s bring these bars to life. I promise, the process is as joyful as the first bite.
- Preheat and prepare: Start by preheating your oven to 350°F (175°C). Line an 8×8-inch baking pan with parchment paper, leaving a little overhang on the sides—this will make lifting the bars out later a breeze.
- Make the crust: In a medium bowl, mix the graham cracker crumbs, melted butter, and sugar until the mixture resembles wet sand. Press it firmly into the bottom of your prepared pan. I like to use the bottom of a measuring cup to really compact it—this prevents crumbling later. Bake for 8 minutes, then let it cool slightly while you prepare the filling.
- Whip up the cheesecake layer: In a large bowl, beat the softened cream cheese until it’s completely smooth—no lumps allowed! Add the sugar and beat again until creamy. Then, add the eggs one at a time, mixing just until incorporated. Overbeating can introduce too much air, leading to cracks. Finally, stir in the vanilla and salt. Pour this luscious batter over the warm crust, smoothing the top with a spatula.
- Bake the cheesecake: Return the pan to the oven and bake for 20-25 minutes, or until the edges are set but the center still has a slight jiggle. Remember, it will continue to firm up as it cools. Resist the urge to overbake!
While the cheesecake layer bakes, I like to toast my pecans—just spread them on a baking sheet and pop them in the oven for 5-7 minutes until fragrant. It’s a small step that makes a world of difference.
Conclusion
These Magic Pecan Cheesecake Bars are the perfect blend of rich, creamy cheesecake and buttery pecan crunch—a dessert that’s sure to impress at any gathering or satisfy your sweet tooth on a cozy night in. With their simple preparation and irresistible flavor, they’re a must-try for anyone who loves the magic of pecan pie meets velvety cheesecake.
Ready to bake up some magic? Give this recipe a try and let us know how it turned out in the comments below! And if you’re craving more decadent desserts, don’t forget to explore our collection of easy cheesecake recipes for more sweet inspiration.
FAQs
Can I use a different nut instead of pecans?
Absolutely! Walnuts or almonds would make great substitutes if you don’t have pecans on hand. Just keep in mind that the flavor profile will change slightly.
How should I store these cheesecake bars?
Store them in an airtight container in the refrigerator for up to 5 days. For longer storage, you can freeze them for up to 2 months—just thaw in the fridge before serving.
Can I make these bars gluten-free?
Yes! Simply swap the graham cracker crumbs for a gluten-free alternative, like gluten-free cookies or almond flour mixed with a bit of melted butter for the crust.
Why is my cheesecake layer cracking?
Cracks can happen if the cheesecake cools too quickly. To prevent this, let it cool gradually in the oven with the door slightly ajar before transferring to the fridge.
Can I make these ahead of time?
Definitely! These bars actually taste even better the next day as the flavors meld together. Just be sure to keep them refrigerated until ready to serve.