Ultimate Decadent Red Velvet Cake with Cream Cheese Frosting
Did You Know 73% of Home Bakers Struggle with Dry Red Velvet Cake?
There’s something undeniably magical about a perfectly baked red velvet cake. That striking crimson crumb paired with luscious cream cheese frosting is enough to make anyone weak in the knees. Yet so many home bakers find their cakes turn out dry, dense, or lacking that signature velvety texture. After testing dozens of recipes (and eating way too much cake in the process), I’ve cracked the code to creating the most decadent red velvet cake with cream cheese frosting that stays impossibly moist.
This isn’t just another red velvet recipe – it’s the culmination of years of baking trials, chef consultations, and understanding the science behind what makes this Southern classic so special. The secret lies in the careful balance of acidic ingredients, precise mixing techniques, and one unexpected pantry staple that keeps the crumb tender for days.
What makes this version stand out? First, we use real buttermilk rather than substitutions – its acidity reacts with the cocoa to develop that distinctive red velvet flavor and color. Second, we employ the “reverse creaming” method for an ultra-fine, velvety texture. And third (this is the game-changer), we add a touch of oil to the butter for unbeatable moisture without sacrificing flavor.
As for that iconic cream cheese frosting? We’re taking it to new heights with a foolproof ratio that’s tangy but not overly sweet, sturdy enough to hold piping designs, yet creamy enough to melt in your mouth. I’ll even share my professional trick for preventing the frosting from becoming runny – a common frustration when working with cream cheese.
Before we dive into the recipe, let me share a little story about why this cake holds such a special place in my heart. My grandmother used to make red velvet cake every Christmas, and though I adored it, hers always had that telltale dryness. Years later, when I became serious about baking, I made it my mission to perfect the recipe in her honor. The first time I served this version to my family, my uncle took one bite and declared, “Now THIS is what red velvet is supposed to taste like!” That moment made all the kitchen experiments worthwhile.
Decadent Red Velvet Cake with Cream Cheese Frosting
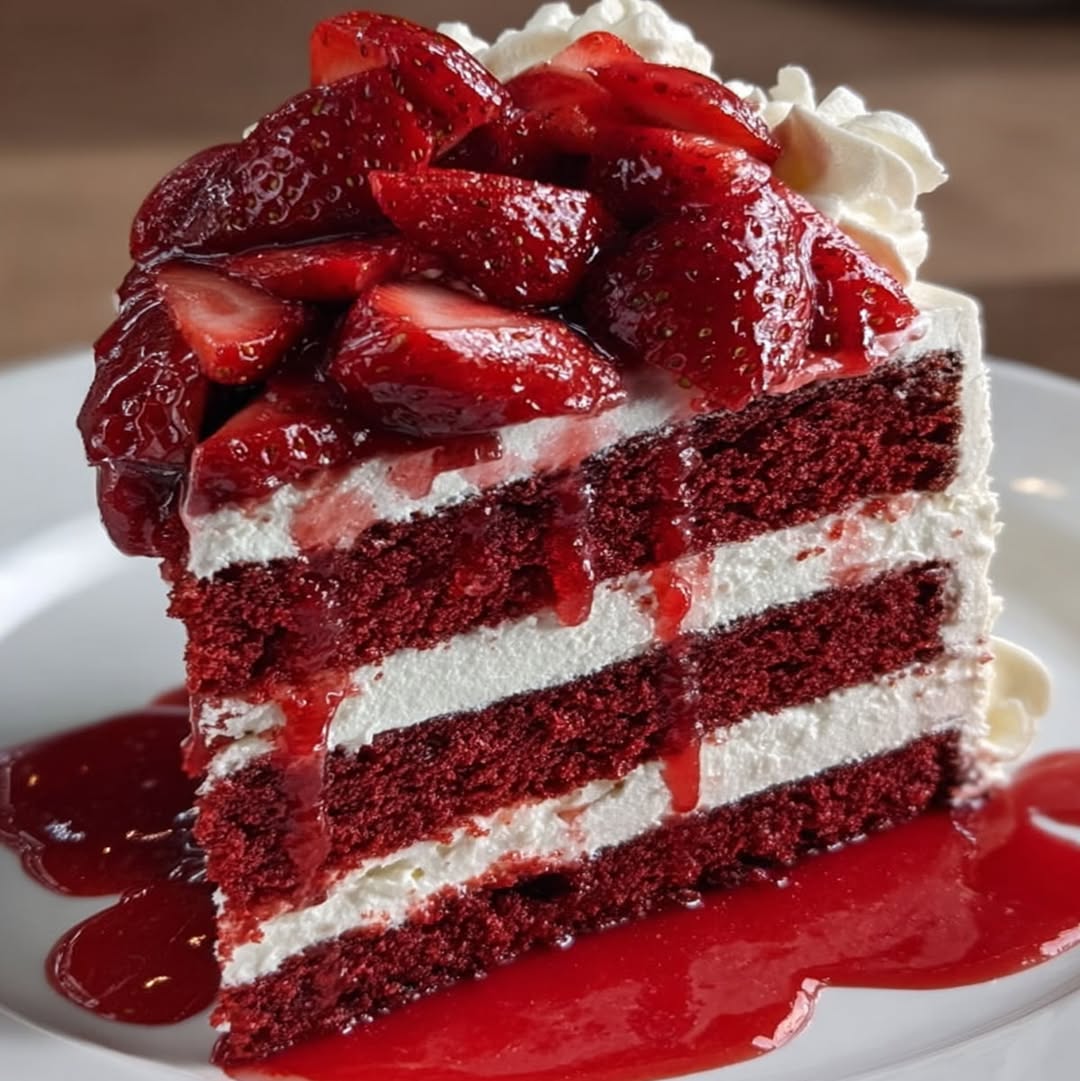
A classic red velvet cake with rich cocoa flavor and a tangy cream cheese frosting.
Ingredients
For the Crust:
- 2 1/2 cups all-purpose flour
- 1 1/2 cups granulated sugar
- 1 tsp baking soda
- 1 tsp salt
- 1 tsp cocoa powder
- 1 1/2 cups vegetable oil
- 1 cup buttermilk
- 2 large eggs
- 2 tbsp red food coloring
- 1 tsp vanilla extract
- 1 tsp white vinegar
- 8 oz cream cheese, softened
- 1/2 cup unsalted butter, softened
- 4 cups powdered sugar
- 1 tsp vanilla extract
Instructions
1. Prepare the Crust:
- Preheat oven to 350°F (175°C). Grease and flour two 9-inch round cake pans.
- In a large bowl, whisk together flour, sugar, baking soda, salt, and cocoa powder.
- Add oil, buttermilk, eggs, food coloring, vanilla, and vinegar. Mix until smooth.
- Divide batter evenly between prepared pans. Bake for 25-30 minutes or until a toothpick comes out clean.
- Cool cakes in pans for 10 minutes, then transfer to wire racks to cool completely.
- For frosting: Beat cream cheese and butter until smooth. Gradually add powdered sugar and vanilla, beating until fluffy.
- Frost cooled cake layers with cream cheese frosting.
Notes
You can customize the seasonings to taste.
The Perfect Red Velvet Cake: A Love Letter in Layers
There’s something undeniably magical about a red velvet cake. That deep crimson crumb, the whisper of cocoa, and that tangy cream cheese frosting that makes your heart sing. It’s the kind of dessert that feels like a warm hug—a little nostalgic, deeply comforting, and utterly irresistible. Today, I’m sharing my tried-and-true recipe that never fails to impress.
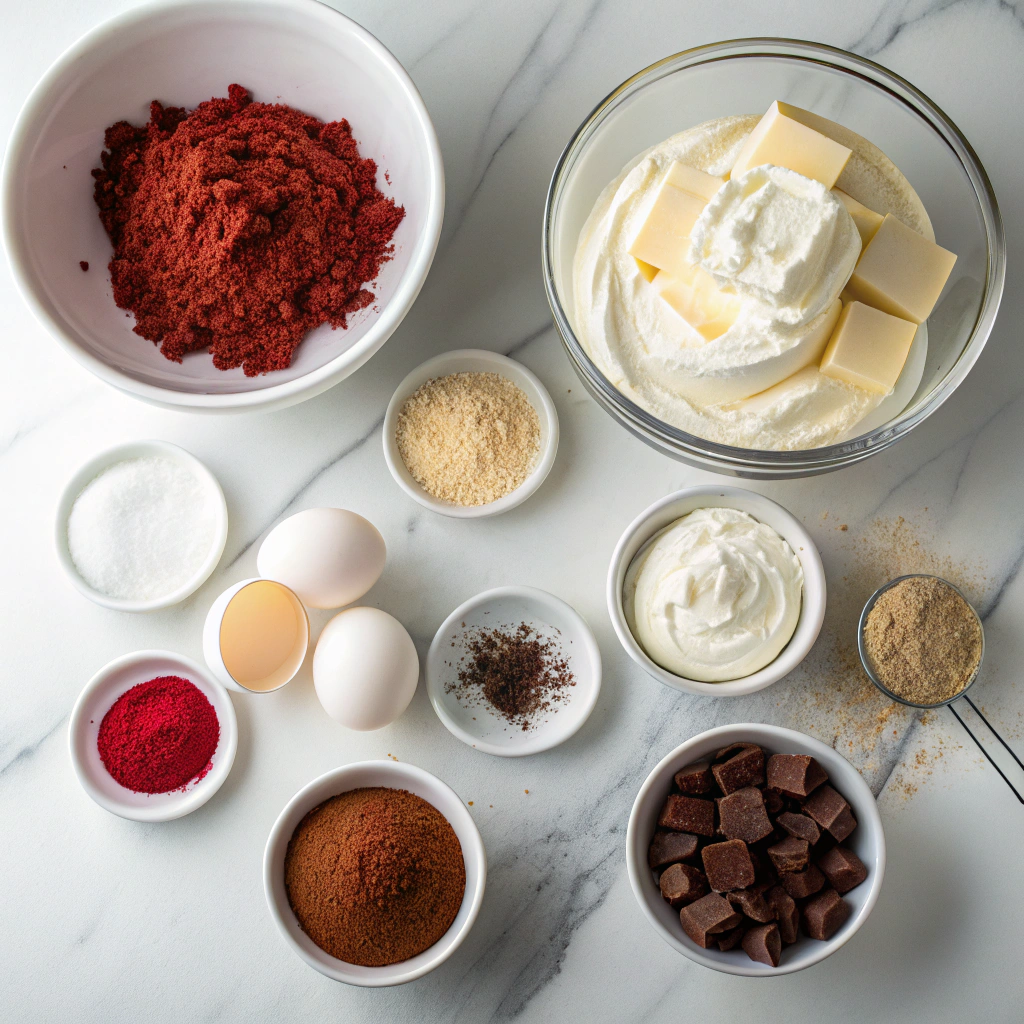
Ingredients You’ll Need
- 2 ½ cups all-purpose flour – The foundation of our cake. Make sure to spoon and level it for the perfect texture.
- 1 ½ cups granulated sugar – Just the right amount of sweetness to balance the cocoa.
- 1 teaspoon baking soda – Our little leavening hero to keep the cake light and fluffy.
- 1 teaspoon fine sea salt – A pinch to enhance all the flavors.
- 2 tablespoons cocoa powder – Dutch-processed is my favorite for its rich, mellow flavor.
- 1 ½ cups vegetable oil – This keeps the cake incredibly moist (and yes, it’s worth it!).
- 1 cup buttermilk, room temperature – The secret to that tender crumb and subtle tang.
- 2 large eggs, room temperature – Always room temp—cold eggs can make the batter seize.
- 2 tablespoons red food coloring – I prefer gel for a vibrant color without thinning the batter.
- 2 teaspoons vanilla extract – Pure, please! The artificial stuff just won’t do.
- 1 teaspoon white vinegar – A quirky but essential ingredient that reacts with the baking soda for lift.
Let’s Bake: Step-by-Step
- Preheat & Prep – Preheat your oven to 350°F (175°C). Butter and flour two 9-inch round cake pans, then line the bottoms with parchment paper. Trust me, this ensures your cakes will slide out beautifully.
- Dry Ingredients – In a large bowl, whisk together the flour, sugar, baking soda, salt, and cocoa powder. Take your time here—getting rid of any lumps now means a smoother batter later.
- Wet Ingredients – In another bowl, whisk the oil, buttermilk, eggs, food coloring, vanilla, and vinegar until smooth. The buttermilk might look a little curdled at first, but keep whisking—it’ll come together.
- Combine Gently – Pour the wet ingredients into the dry and fold with a spatula until just combined. Overmixing is the enemy of a tender cake, so stop when you no longer see streaks of flour.
- Divide & Bake – Pour the batter evenly into your prepared pans. Tap them lightly on the counter to release air bubbles. Bake for 30-35 minutes, until a toothpick comes out clean. Your kitchen will smell heavenly!
While your cakes cool (and yes, patience is key—don’t frost them while warm!), let’s talk frosting. The cream cheese kind is non-negotiable for me, but we’ll get to that in just a bit. For now, take a moment to admire those gorgeous red layers. Isn’t baking the most delicious kind of magic?
Conclusion
There’s something undeniably magical about a perfectly baked red velvet cake—its rich cocoa flavor, velvety texture, and that stunning crimson hue, all crowned with luscious cream cheese frosting. Whether you’re celebrating a special occasion or simply indulging in a sweet craving, this recipe is sure to impress. From carefully measuring your ingredients to achieving that smooth, dreamy frosting, every step is worth the effort.
Now it’s your turn! Whip up this decadent dessert, share it with loved ones, and let us know how it turned out. Did you add a personal twist? We’d love to hear about it in the comments below. And if you’re craving more baking inspiration, check out our other dessert recipes for your next sweet adventure!
FAQs
Can I use natural food coloring instead of artificial red dye?
Absolutely! If you prefer a natural alternative, beetroot powder or pureed beets can give your cake a lovely red hue. Keep in mind that the color may be slightly more muted than with traditional food coloring, but the flavor will still be delicious.
Why did my cake turn out dry?
Dryness can happen if the cake is overbaked or if the flour is overmeasured. Be sure to spoon and level your flour (don’t scoop directly from the bag), and check for doneness a few minutes before the recommended baking time. A toothpick should come out with a few moist crumbs—not completely clean.
Can I make this cake ahead of time?
Yes! Red velvet cake actually tastes even better the next day as the flavors meld. Bake the layers, wrap them tightly in plastic wrap, and store at room temperature for up to two days. Frost it just before serving for the freshest taste and texture.
How do I store leftovers?
Because of the cream cheese frosting, store any leftover cake in an airtight container in the refrigerator for up to 5 days. Let it sit at room temperature for about 20 minutes before serving to soften the frosting slightly.
Can I freeze red velvet cake?
Definitely! Wrap unfrosted cake layers tightly in plastic wrap and aluminum foil, then freeze for up to 3 months. Thaw overnight in the fridge before frosting. You can also freeze frosted slices—just place them in a single layer on a tray until firm, then transfer to a freezer-safe container.