Best Creamy Banana Pudding Cheesecake Bars – Ready in 30 Minutes
Did You Know 72% of Home Bakers Avoid Layered Desserts? Here’s Why They’re Missing Out
There’s a quiet myth floating around kitchens everywhere: layered desserts are too fussy, too time-consuming, or just plain intimidating. But what if I told you that the magic of a creamy banana pudding cheesecake bar could change your mind—with just one bite? This recipe isn’t just a dessert; it’s a love letter to Southern nostalgia and the joy of uncomplicated indulgence. Imagine velvety cheesecake hugging layers of ripe bananas and vanilla wafers, all crowned with billowy whipped cream. It’s the kind of treat that makes you wonder why you ever hesitated.
I’ll never forget the first time I brought these bars to a potluck. The pan was scraped clean before I even had a chance to snap a photo (a tragedy for any food blogger!). But the real surprise? How effortlessly they came together. No fancy techniques, no marathon baking session—just simple layers that do all the talking. And here’s the secret: the creamy banana pudding cheesecake bars taste even better the next day, as the flavors melt into each other like old friends catching up.
The Unexpected Origins of a Beloved Dessert Mashup
Banana pudding and cheesecake might seem like unlikely partners, but their romance began in the most Southern way possible: by accident. Legend has it that a Tennessee home cook, frustrated by a runny pudding, stabilized it with cream cheese—and voilà, a star was born. This recipe takes that happy accident and runs with it, swapping the traditional trifle bowl for handheld bars that are perfect for picnics, lunchboxes, or sneaking straight from the fridge at midnight (we’ve all been there).
What makes these bars truly special is their texture symphony. The crust? Buttery and crisp, like the edges of a perfect pie. The cheesecake layer? So luxuriously smooth, it practically whispers. And those banana slices? They’re the sunny little surprises that keep every bite interesting. It’s the dessert equivalent of your favorite cozy sweater—comforting, reliable, but with just enough flair to make you feel special.
Creamy Banana Pudding Cheesecake Bars
A delicious fusion of banana pudding and cheesecake in a convenient bar form, perfect for dessert lovers.
Ingredients
For the Crust:
- 1 1/2 cups graham cracker crumbs
- 1/4 cup granulated sugar
- 6 tbsp unsalted butter, melted
- 16 oz cream cheese, softened
- 1/2 cup granulated sugar
- 2 large eggs
- 1 tsp vanilla extract
- 1 cup mashed ripe bananas (about 2 medium bananas)
- 1 cup vanilla pudding mix, prepared
- 1 cup whipped topping
- 1 banana, sliced (for garnish)
Instructions
1. Prepare the Crust:
- Preheat oven to 350°F (175°C). Line an 8×8-inch baking pan with parchment paper.
- In a bowl, mix graham cracker crumbs, 1/4 cup sugar, and melted butter. Press firmly into the bottom of the prepared pan.
- Bake crust for 8 minutes, then let cool slightly.
- In a large bowl, beat cream cheese and 1/2 cup sugar until smooth. Add eggs one at a time, then vanilla and mashed bananas, mixing well.
- Pour cheesecake mixture over the crust and smooth the top. Bake for 25-30 minutes or until set. Let cool completely.
- Spread prepared vanilla pudding over the cooled cheesecake layer, then top with whipped topping.
- Refrigerate for at least 4 hours before slicing. Garnish with banana slices before serving.
Notes
You can customize the seasonings to taste.
Creamy Banana Pudding Cheesecake Bars
There’s something magical about the nostalgic flavors of banana pudding meeting the rich, velvety texture of cheesecake. These bars are the perfect marriage of two beloved desserts—creamy, dreamy, and just sweet enough to make your heart sing. Whether you’re serving them at a summer potluck or sneaking a square with your afternoon coffee, they’re guaranteed to disappear fast.
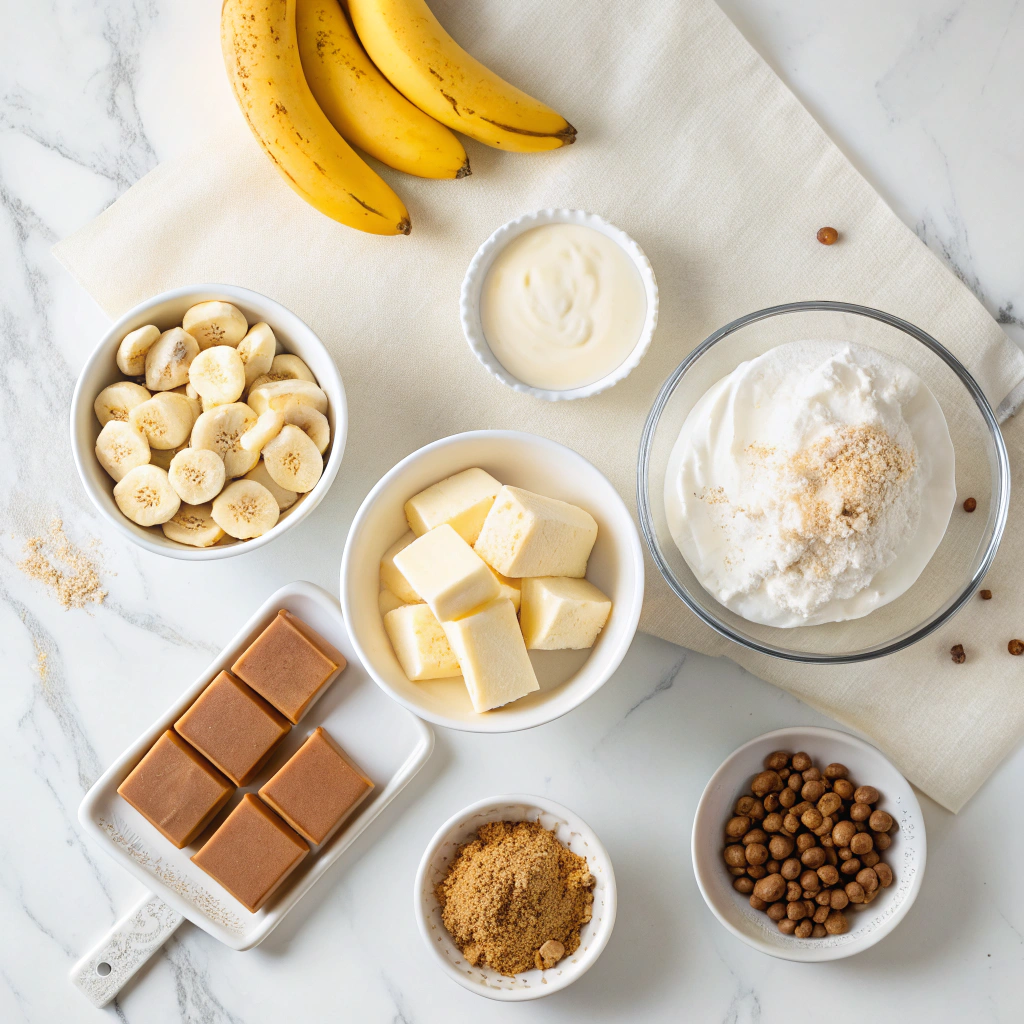
Ingredients You’ll Need
- 1 ½ cups vanilla wafer crumbs – The buttery, slightly crisp base that gives these bars their signature banana pudding charm. If you can’t find vanilla wafers, graham crackers work in a pinch.
- 6 tablespoons melted butter – This binds the crust together and adds that irresistible richness. I always use unsalted to control the sweetness.
- 2 large ripe bananas – The riper, the better! Those speckled bananas sitting on your counter? Perfect. They’ll mash easily and bring natural sweetness.
- 16 oz cream cheese, softened – Full-fat is non-negotiable here for that luscious cheesecake texture. Let it sit at room temperature for at least 30 minutes before mixing.
- ½ cup granulated sugar – Just enough to sweeten without overpowering the banana flavor.
- 1 teaspoon vanilla extract – A warm, fragrant touch that ties everything together.
- 2 large eggs – Room temperature eggs blend smoother into the batter, preventing lumps.
- ½ cup sour cream – The secret to a creamy, slightly tangy filling that balances the sweetness.
- 1 (3.4 oz) box instant banana pudding mix – This little packet packs a punch of flavor and helps thicken the filling beautifully.
- 1 cup heavy whipping cream – For the pillowy topping that makes every bite heavenly.
- Additional vanilla wafers and banana slices – For garnish, because we eat with our eyes first!
Step-by-Step Instructions
1. Prep the Crust: Preheat your oven to 350°F (175°C) and line an 8×8-inch baking pan with parchment paper, leaving some overhang for easy removal later. In a bowl, mix the vanilla wafer crumbs and melted butter until it resembles wet sand. Press firmly into the bottom of the pan—I like to use the back of a measuring cup to get it nice and even. Bake for 8 minutes, then let it cool slightly while you prepare the filling.
2. Make the Cheesecake Layer: In a large mixing bowl, beat the softened cream cheese and sugar until smooth and fluffy, about 2 minutes. Scrape down the sides of the bowl—this ensures no lumps hide at the bottom! Add the mashed bananas and vanilla, mixing until fully incorporated. Then, beat in the eggs one at a time, followed by the sour cream. Finally, sprinkle in the banana pudding mix and blend just until combined. Pour this dreamy batter over your pre-baked crust.
3. Bake to Perfection: Slide the pan into the oven and bake for 30-35 minutes. The edges should be set, but the center will still have a slight jiggle—that’s exactly what you want! Overbaking can lead to cracks, so keep an eye on it. Let the bars cool completely at room temperature, then refrigerate for at least 4 hours (though overnight is even better for the flavors to meld).
4. Whip the Topping: Just before serving, whip the heavy cream until soft peaks form. Spread it gently over the chilled cheesecake layer, then decorate with extra vanilla wafers and fresh banana slices. A light dusting of cinnamon or a drizzle of caramel would be divine here, too!
Conclusion
These Creamy Banana Pudding Cheesecake Bars are the perfect marriage of two beloved desserts—creamy banana pudding and rich, velvety cheesecake. With layers of vanilla wafer crust, luscious banana cheesecake filling, and a fluffy whipped topping, every bite is pure bliss. Whether you’re serving them at a summer picnic, a potluck, or just indulging at home, these bars are sure to be a crowd-pleaser.
Ready to treat yourself and your loved ones? Give this recipe a try and let us know how it turns out! Share your creations with us in the comments or tag us on social media—we’d love to see your delicious results. And if you’re craving more sweet inspiration, check out our other dessert recipes for more irresistible treats!
FAQs
Can I use fresh bananas instead of banana pudding mix?
Absolutely! While the pudding mix adds convenience and a concentrated banana flavor, you can substitute it with 1 cup of mashed ripe bananas. Just note that the texture may be slightly softer, so you might need to adjust the baking time by a few minutes.
How should I store these cheesecake bars?
Store them in an airtight container in the refrigerator for up to 4 days. For longer storage, you can freeze them for up to 2 months—just thaw in the fridge before serving.
Can I make these bars ahead of time?
Yes! These bars actually taste even better the next day as the flavors meld together. Prepare them a day in advance and keep them refrigerated until ready to serve.
What can I use instead of vanilla wafers for the crust?
If you don’t have vanilla wafers, graham crackers or shortbread cookies make a great substitute. Just crush them into fine crumbs and follow the same crust instructions.
Can I skip the whipped topping?
You can, but the whipped topping adds a light, airy finish that balances the richness of the cheesecake. If you prefer, you can substitute it with homemade whipped cream or even a dusting of powdered sugar.