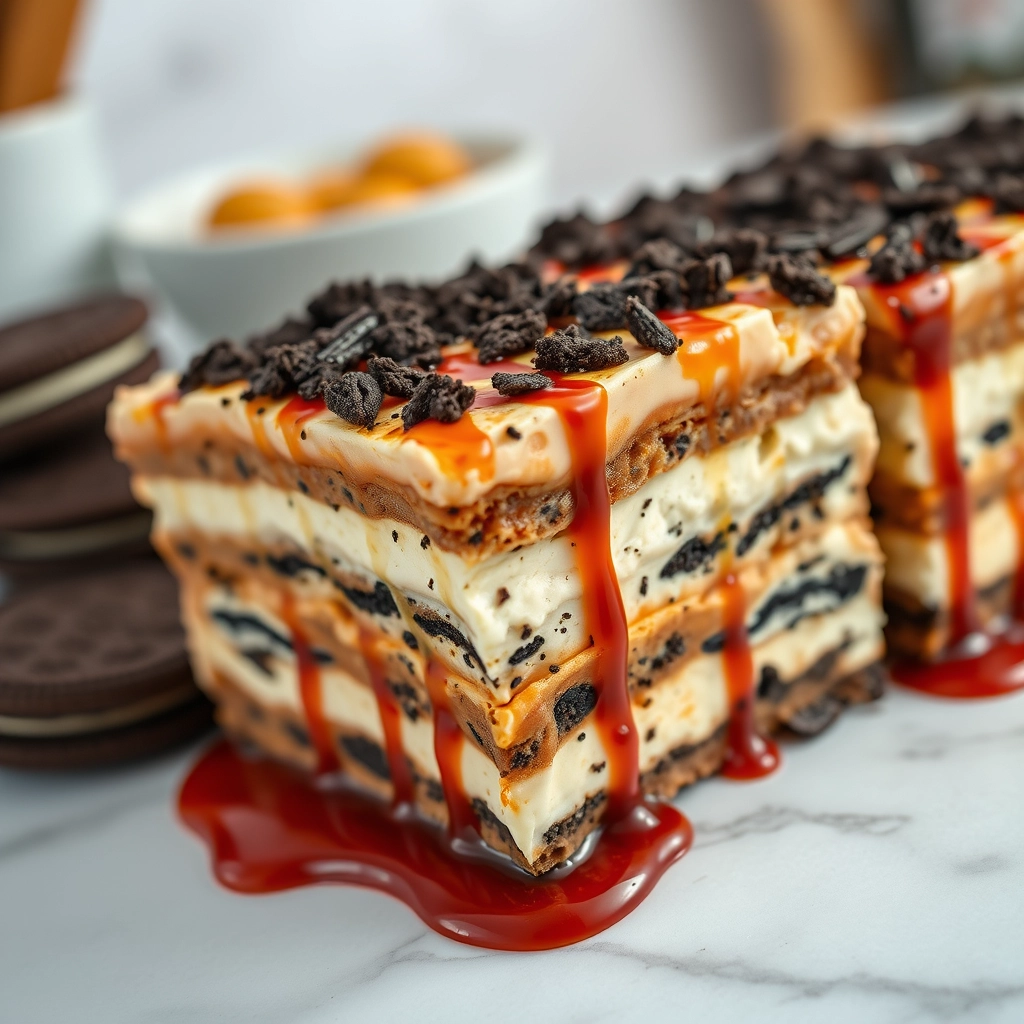
Best Oreo Lasagna – Easy No-Bake Dessert Recipe
There’s something magical about a dessert that requires zero oven time but still manages to steal the show at every gathering. The first time I made this Oreo Lasagna, it was for a last-minute potluck—I needed something quick, decadent, and guaranteed to please. Let me tell you, the tray came back scraped clean, and I’ve been making it ever since. Layers of crushed Oreos, velvety cream cheese filling, and fluffy whipped topping come together in a no-bake masterpiece that’s as fun to assemble as it is to eat. Whether you’re craving a sweet treat or need a crowd-pleaser, this dessert is your new best friend.
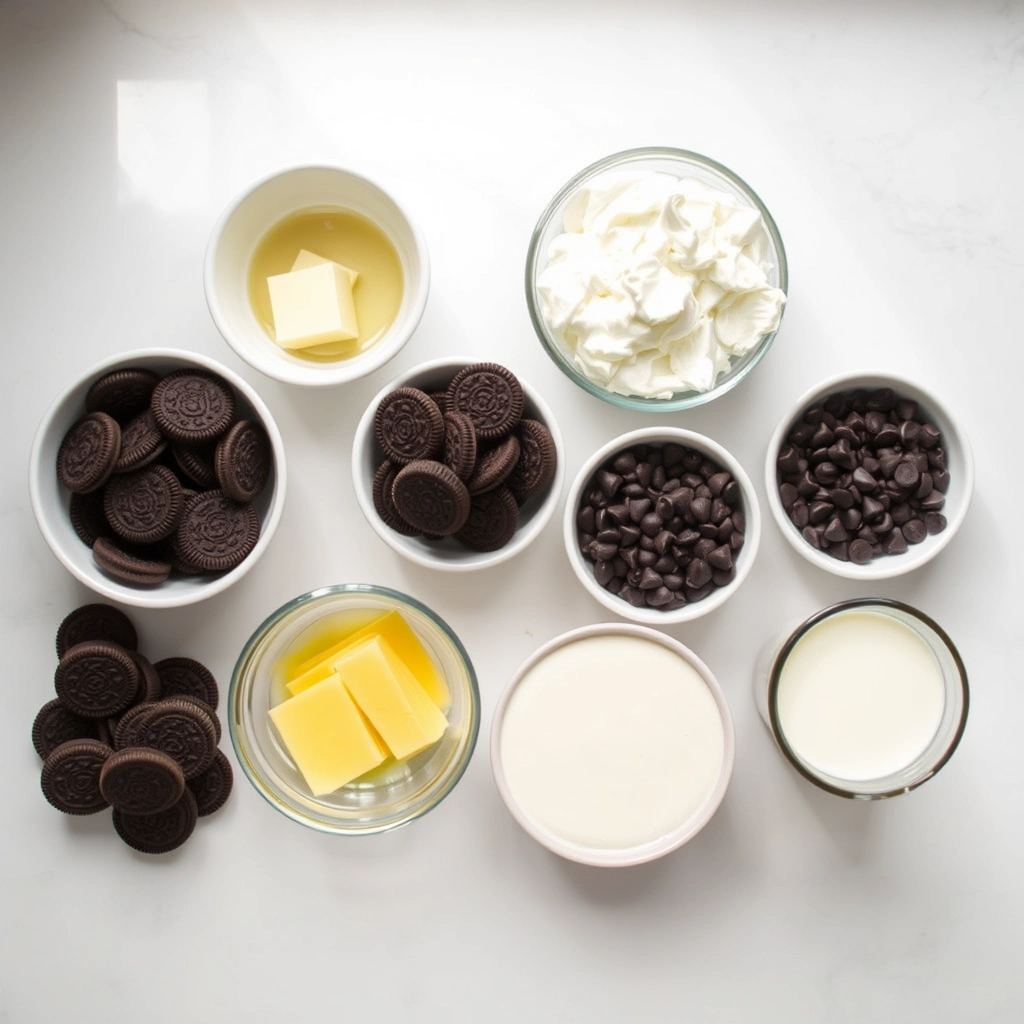
Ingredients You’ll Need
Gather these simple ingredients for a dessert that’s anything but ordinary:
- 36 Oreo cookies – The star of the show! Regular or Double Stuf both work beautifully.
- 6 tablespoons unsalted butter, melted – This binds the crust together for that perfect crunch.
- 1 (8 oz) package cream cheese, softened – Full-fat is best for that luscious texture.
- 1/4 cup granulated sugar – Just enough to sweeten the cream cheese layer.
- 2 cups cold milk – Whole milk makes the pudding extra creamy.
- 1 (3.4 oz) package instant chocolate pudding mix – The secret to the rich middle layer.
- 1 (8 oz) tub whipped topping (like Cool Whip), thawed – Light and airy, it ties everything together.
- Optional: Mini chocolate chips or crushed Oreos for garnish – Because a little extra chocolate never hurt anyone!
How to Make Oreo Lasagna
This dessert comes together in layers—just like its namesake—but with far less effort. Here’s how to build your masterpiece:
- Crush the Oreos: Place the cookies in a zip-top bag and crush them with a rolling pin until you have fine crumbs (leave a few larger pieces for texture if you like). Reserve 1/2 cup for garnish later.
- Make the crust: Mix the remaining Oreo crumbs with melted butter until well combined. Press firmly into the bottom of a 9×13-inch baking dish. Pop it in the fridge for 10 minutes to set.
- Whip the cream cheese layer: In a bowl, beat the softened cream cheese and sugar until smooth. Gently fold in 1 cup of the whipped topping. Spread this mixture over the chilled crust.
- Prepare the pudding: Whisk the pudding mix and cold milk for 2 minutes until thickened. Let it sit for 5 minutes, then spread it over the cream cheese layer.
- Top it off: Spread the remaining whipped topping over the pudding layer. Sprinkle with reserved Oreo crumbs or mini chocolate chips. Cover and refrigerate for at least 4 hours (overnight is even better!).
Tip: For clean slices, dip your knife in hot water before cutting. And don’t skip the chilling time—it’s what gives this dessert its perfect, sliceable texture!
Pro Tips, Variations, and Substitutions
This Oreo lasagna is wonderfully forgiving, so feel free to get creative! Here are some ways to make it your own:
- Cookie Swap: Try using Golden Oreos for a vanilla twist or mint Oreos for a refreshing kick.
- Creamy Alternatives: Swap the whipped topping for stabilized whipped cream or even vanilla pudding for a denser texture.
- Chocolate Boost: Add a layer of chocolate ganache or Nutella between the Oreo layers for extra indulgence.
- Fruity Twist: Layer in sliced strawberries or raspberries for a tart contrast to the sweetness.
What to Serve With Oreo Lasagna
This dessert is rich enough to stand on its own, but if you want to elevate your dessert spread, try pairing it with:
- A scoop of vanilla ice cream for an extra creamy contrast.
- A drizzle of caramel or hot fudge sauce.
- A cup of strong coffee or cold milk to balance the sweetness.
- Fresh berries for a light, refreshing side.
Storage and Reheating Tips
This no-bake dessert is best enjoyed fresh, but if you have leftovers (lucky you!), here’s how to keep them tasting great:
- Refrigeration: Cover tightly with plastic wrap or transfer to an airtight container. It will stay fresh for up to 3 days.
- Freezing: For longer storage, freeze individual slices in airtight containers for up to 1 month. Thaw in the fridge before serving.
- Serving Tip: Let it sit at room temperature for 10 minutes before serving to soften slightly for the best texture.
Frequently Asked Questions
Can I make Oreo lasagna ahead of time?
Absolutely! In fact, it tastes even better after chilling for at least 4 hours (or overnight) as the flavors meld together.
Can I use homemade whipped cream instead of Cool Whip?
Yes! Just make sure to stabilize it with a bit of powdered sugar or gelatin so it holds up well in the layers.
Why is my Oreo lasagna soggy?
This usually happens if the dessert sits too long before serving. To prevent sogginess, assemble it no more than a day in advance and store it properly in the fridge.
Can I make this gluten-free?
Definitely! Just use gluten-free Oreos or another gluten-free chocolate sandwich cookie.
Final Thoughts
There’s something magical about a dessert that requires no baking yet delivers layers of creamy, crunchy, chocolatey bliss. Whether you’re making this Oreo lasagna for a special occasion or just because, it’s sure to bring smiles to every bite. So grab your favorite Oreos, whip up this easy treat, and get ready to savor every spoonful. Happy indulging!
PrintOreo Lasagna
A decadent no-bake dessert lasagna made with layers of Oreo cookies, cream cheese filling, and whipped topping.
Ingredients
For the Crust:
- 36 Oreo cookies
- 6 tablespoons butter, melted
- 1 (8 oz) package cream cheese, softened
- 1/4 cup granulated sugar
- 2 tablespoons milk
- 1 (12 oz) container whipped topping, divided
- 1 (3.9 oz) package instant chocolate pudding mix
- 1 1/2 cups cold milk
- 1/2 cup mini chocolate chips
Instructions
1. Prepare the Crust:
- Crush 36 Oreo cookies into fine crumbs. Mix with melted butter and press firmly into a 9×13 inch dish to form the crust. Refrigerate for 10 minutes.
- Beat cream cheese, sugar, and 2 tablespoons milk until smooth. Fold in 1 1/4 cups whipped topping. Spread over crust.
- Whisk pudding mix with 1 1/2 cups cold milk for 2 minutes. Let stand 5 minutes until thickened. Spread over cream cheese layer.
- Top with remaining whipped topping and sprinkle with mini chocolate chips. Refrigerate at least 4 hours before serving.
Notes
You can customize the seasonings to taste.