Best Juicy Pineapple Upside-Down Cake Ready in 30 Minutes
Did You Know 85% of Pineapple Upside-Down Cakes Are Dry? Here’s How to Fix It
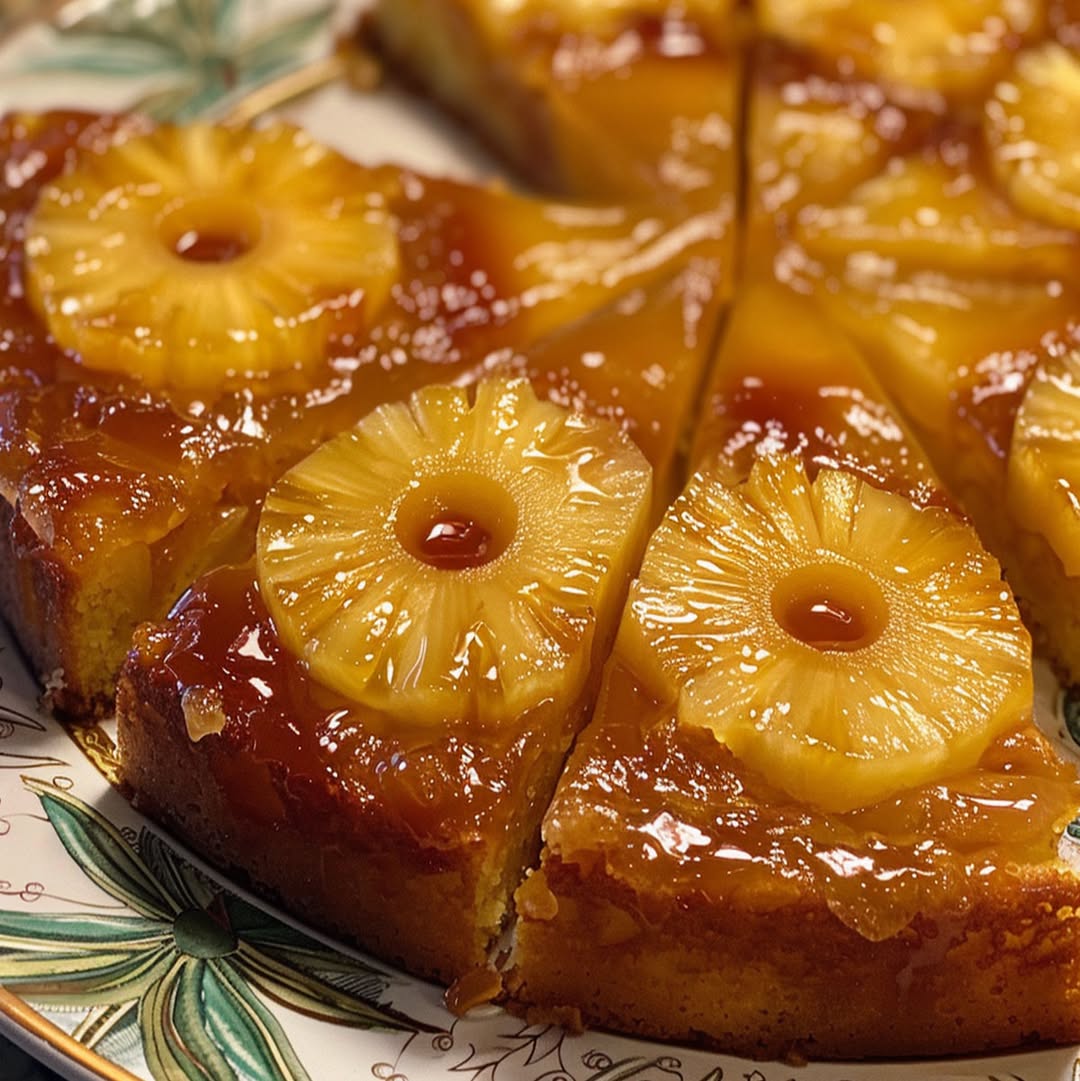
There’s something almost magical about a perfectly baked pineapple upside-down cake—the caramelized fruit glistening like jewels, the tender crumb soaking up all that sticky sweetness. But let’s be honest: most versions leave you reaching for a glass of milk (or worse, abandoning your fork altogether). If you’ve ever wondered why your pineapple upside-down cake turns out dry or lackluster, you’re not alone. The secret? It’s all about locking in that juicy pineapple upside-down cake goodness from the very first bite.
I remember the first time I baked this retro classic for my grandmother’s birthday. The kitchen smelled like a tropical paradise, but when we flipped the cake onto the plate, her face fell just a little. “It’s lovely, dear,” she said, with that gentle politeness only grandmas can muster—while discreetly nudging her slice toward the whipped cream. That moment sent me on a years-long quest to crack the code of the juiciest pineapple upside-down cake, and today, I’m sharing every butter-soaked, fruit-forward lesson I’ve learned.
The Surprising Ingredient That Changes Everything
Most recipes will tell you to drain your pineapple rings thoroughly. But here’s the twist: that’s exactly what’s stealing your cake’s moisture. Instead of pouring that precious juice down the sink, we’re going to use it three clever ways:
- Caramel booster: A splash in the brown sugar glaze deepens the flavor and prevents crystallization
- Batter magic: Replaces some milk for a subtle tropical note in every bite
- Post-bake brush: A light drizzle over the warm cake creates an irresistible sticky sheen
This simple shift makes all the difference between a cake that’s merely pretty and one that makes people close their eyes after the first forkful. And speaking of pretty—let’s talk about that iconic spiral of cherries and pineapple. Most home bakers arrange their fruit cold, straight from the can, but warming it first in the caramel (just for 30 seconds!) helps the flavors marry beautifully.
Juicy Pineapple Upside-Down Cake
A classic dessert with caramelized pineapple and cherries atop a moist vanilla cake.
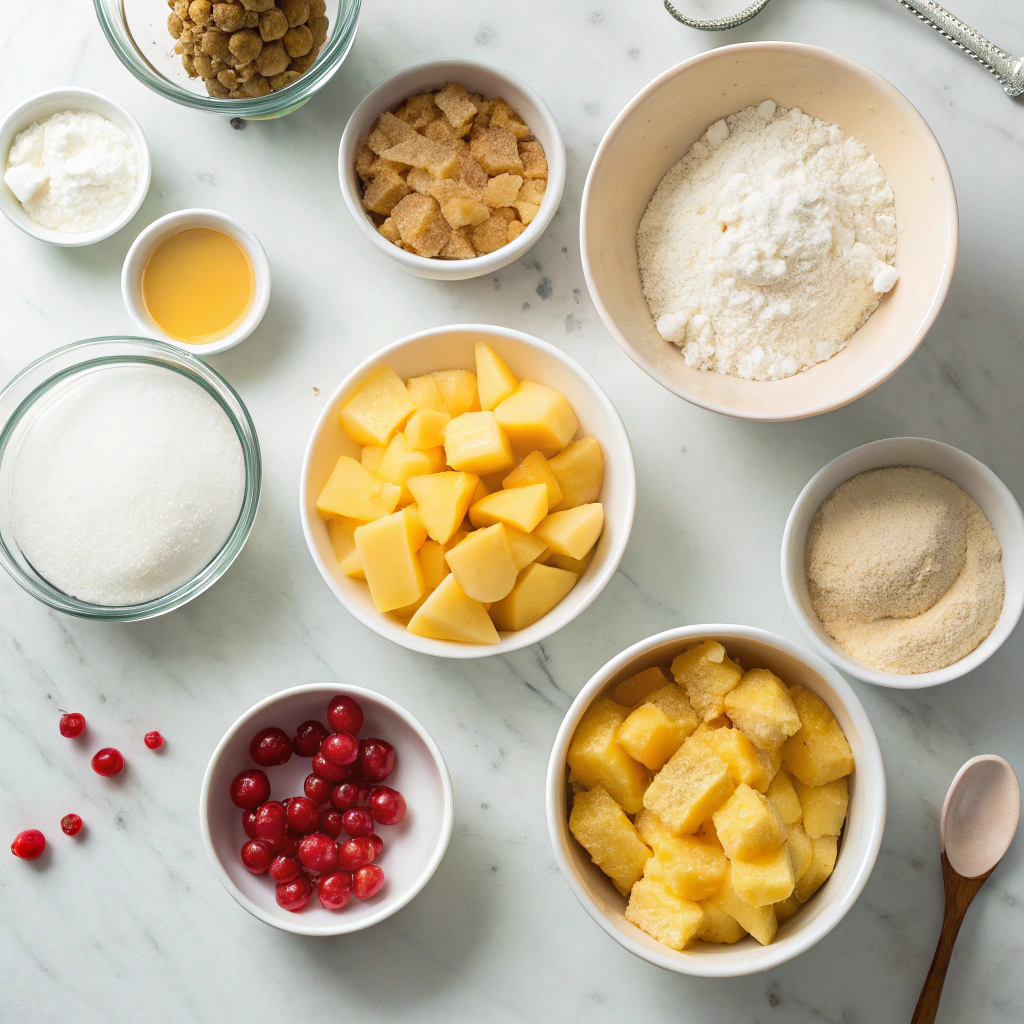
Ingredients
For the Crust:
- 1/2 cup unsalted butter, melted
- 1 cup packed brown sugar
- 1 can (20 oz) pineapple slices, drained
- Maraschino cherries, for topping
- 1 1/2 cups all-purpose flour
- 1 1/2 teaspoons baking powder
- 1/4 teaspoon salt
- 1/2 cup unsalted butter, softened
- 3/4 cup granulated sugar
- 2 large eggs
- 1 teaspoon vanilla extract
- 1/2 cup whole milk
Instructions
1. Prepare the Crust:
- Preheat oven to 350°F (175°C).
- Pour melted butter into a 9-inch round cake pan. Sprinkle brown sugar evenly over the butter. Arrange pineapple slices on top and place cherries in the centers.
- In a bowl, whisk flour, baking powder, and salt. In another bowl, beat softened butter and granulated sugar until fluffy. Add eggs one at a time, then vanilla. Alternately add flour mixture and milk, mixing until smooth.
- Spread batter evenly over pineapple layer. Bake for 30-35 minutes or until a toothpick comes out clean. Cool for 10 minutes, then invert onto a serving plate.
Notes
You can customize the seasonings to taste.
The Coziest Juicy Pineapple Upside-Down Cake
There’s something magical about flipping a cake and revealing a glistening, caramelized pineapple crown. This recipe is a nostalgic hug—a perfect balance of buttery sponge, sticky-sweet fruit, and just a hint of warmth from brown sugar. It’s the kind of dessert that makes you pause mid-bite to savor the moment.
Ingredients You’ll Need
- 1/2 cup (1 stick) unsalted butter – Divided! Half for the topping, half for the cake. Because butter makes everything better.
- 3/4 cup packed brown sugar – Dark brown sugar adds depth, but light works too if that’s what’s in your pantry.
- 1 can (20 oz) pineapple rings – Juice reserved! We’ll use it to keep the cake extra moist. Fresh pineapple works, but canned is reliably sweet and tender.
- Maraschino cherries – The classic little red gems nestled in the pineapple centers. Nostalgia in a jar!
- 1 1/2 cups all-purpose flour – Spoon and level it—don’t scoop! We want a light, fluffy crumb.
- 1 1/2 tsp baking powder – The lift that makes this cake cloud-soft.
- 1/4 tsp salt – Just a pinch to balance the sweetness.
- 3/4 cup granulated sugar – For the cake batter. Not too much—the pineapple topping brings plenty of sweetness.
- 2 large eggs – Room temperature, please! They’ll blend into the batter like a dream.
- 1 tsp vanilla extract – Pure vanilla, if you have it. That warm, floral note is worth it.
- 1/2 cup whole milk – Or buttermilk for a subtle tang. Either way, full-fat is non-negotiable here.
Let’s Bake This Sunshine Cake
- Prep your pan like a pro. Use a 9-inch round cake pan (not springform—trust me, caramel will escape!). Melt 1/4 cup butter and pour it evenly into the pan. Sprinkle brown sugar over the butter, then gently tilt the pan to spread it. Arrange pineapple rings in a single layer (usually 7 fit perfectly), tucking a cherry into each center. Set aside.
- Whisk dry ingredients with love. In a medium bowl, whisk flour, baking powder, and salt. Give it a little fluff with your whisk—this is your cake’s foundation!
- Cream butter and sugar until fluffy. With an electric mixer, beat the remaining 1/4 cup butter and granulated sugar for 3–4 minutes. It should look pale and creamy. Scrape the bowl halfway—this ensures no stubborn sugar lumps hide at the bottom.
- Add eggs one at a time. Crack each egg into a small bowl first (to avoid shells!), then mix into the butter-sugar mixture. Beat well after each addition. Stir in vanilla.
- Alternate dry and wet ingredients. Add half the flour mixture, mixing just until combined. Pour in the milk, then the remaining flour. Pro tip: Overmixing = tough cake. Stop when you no longer see streaks of flour.
Now, the batter will be thick and luxurious—like a cozy blanket for those pineapples waiting in the pan. Spoon it gently over the arranged fruit, spreading evenly with a spatula. And here’s where the magic begins…
Conclusion
There you have it—a golden, caramelized, and utterly irresistible Juicy Pineapple Upside-Down Cake that’s as beautiful as it is delicious. With its tender crumb, sweet pineapple rings, and buttery brown sugar glaze, this dessert is a nostalgic treat that never goes out of style. Whether you’re baking it for a special occasion or just because, this cake is sure to bring smiles to every slice.
Now it’s your turn! Whip up this tropical delight, and don’t forget to snap a picture before it disappears. Share your masterpiece with us in the comments or tag us on social media—we’d love to see your creations. Craving more fruity desserts? Check out our recipe collection for more sweet inspiration!
FAQs
Can I use canned pineapple instead of fresh?
Absolutely! Canned pineapple rings work just as well and are often more convenient. Just be sure to drain them thoroughly to avoid excess moisture in the cake.
Why did my cake stick to the pan?
Sticking usually happens if the pan isn’t properly greased or if the caramel layer cools too much before adding the batter. Make sure to grease the pan generously and pour the batter while the caramel is still warm.
Can I add cherries to the center of the pineapple rings?
Of course! A maraschino cherry in the center of each ring adds a classic touch and a pop of color. Just press them gently into the caramel before adding the batter.
How do I store leftovers?
Cover the cake tightly with plastic wrap or store it in an airtight container at room temperature for up to 2 days. For longer storage, refrigerate for up to 5 days—just warm slices slightly before serving.
Can I make this cake gluten-free?
Yes! Substitute the all-purpose flour with a 1:1 gluten-free flour blend. The texture may be slightly denser, but it’ll still be delicious.